Have you ever been interested in learning How to Grow Chamomile?
Do you think it’s too hard? Or are you unsure of how to start?
Or where to go for the best information?
After much research and growing chamomile for years, I have created How to Grow Chamomile: 10 EASY Tips so that you can enjoy this tasteful herb all year, no matter where you live.
Choose These 2 Chamomile Types (Tips #1)
Are you interested in chamomile for tea? Or its herbal remedies?
There are more ways to use chamomile than you can count. But in order to have the most success with the uses of chamomile, you have to identify the correct type to grow.
I am recommending two specific types of Chamomile Plants when learning how to grow chamomile from seed.
These are the easiest chamomile to grow from seed and plant and have the most uses.
1. German Chamomile
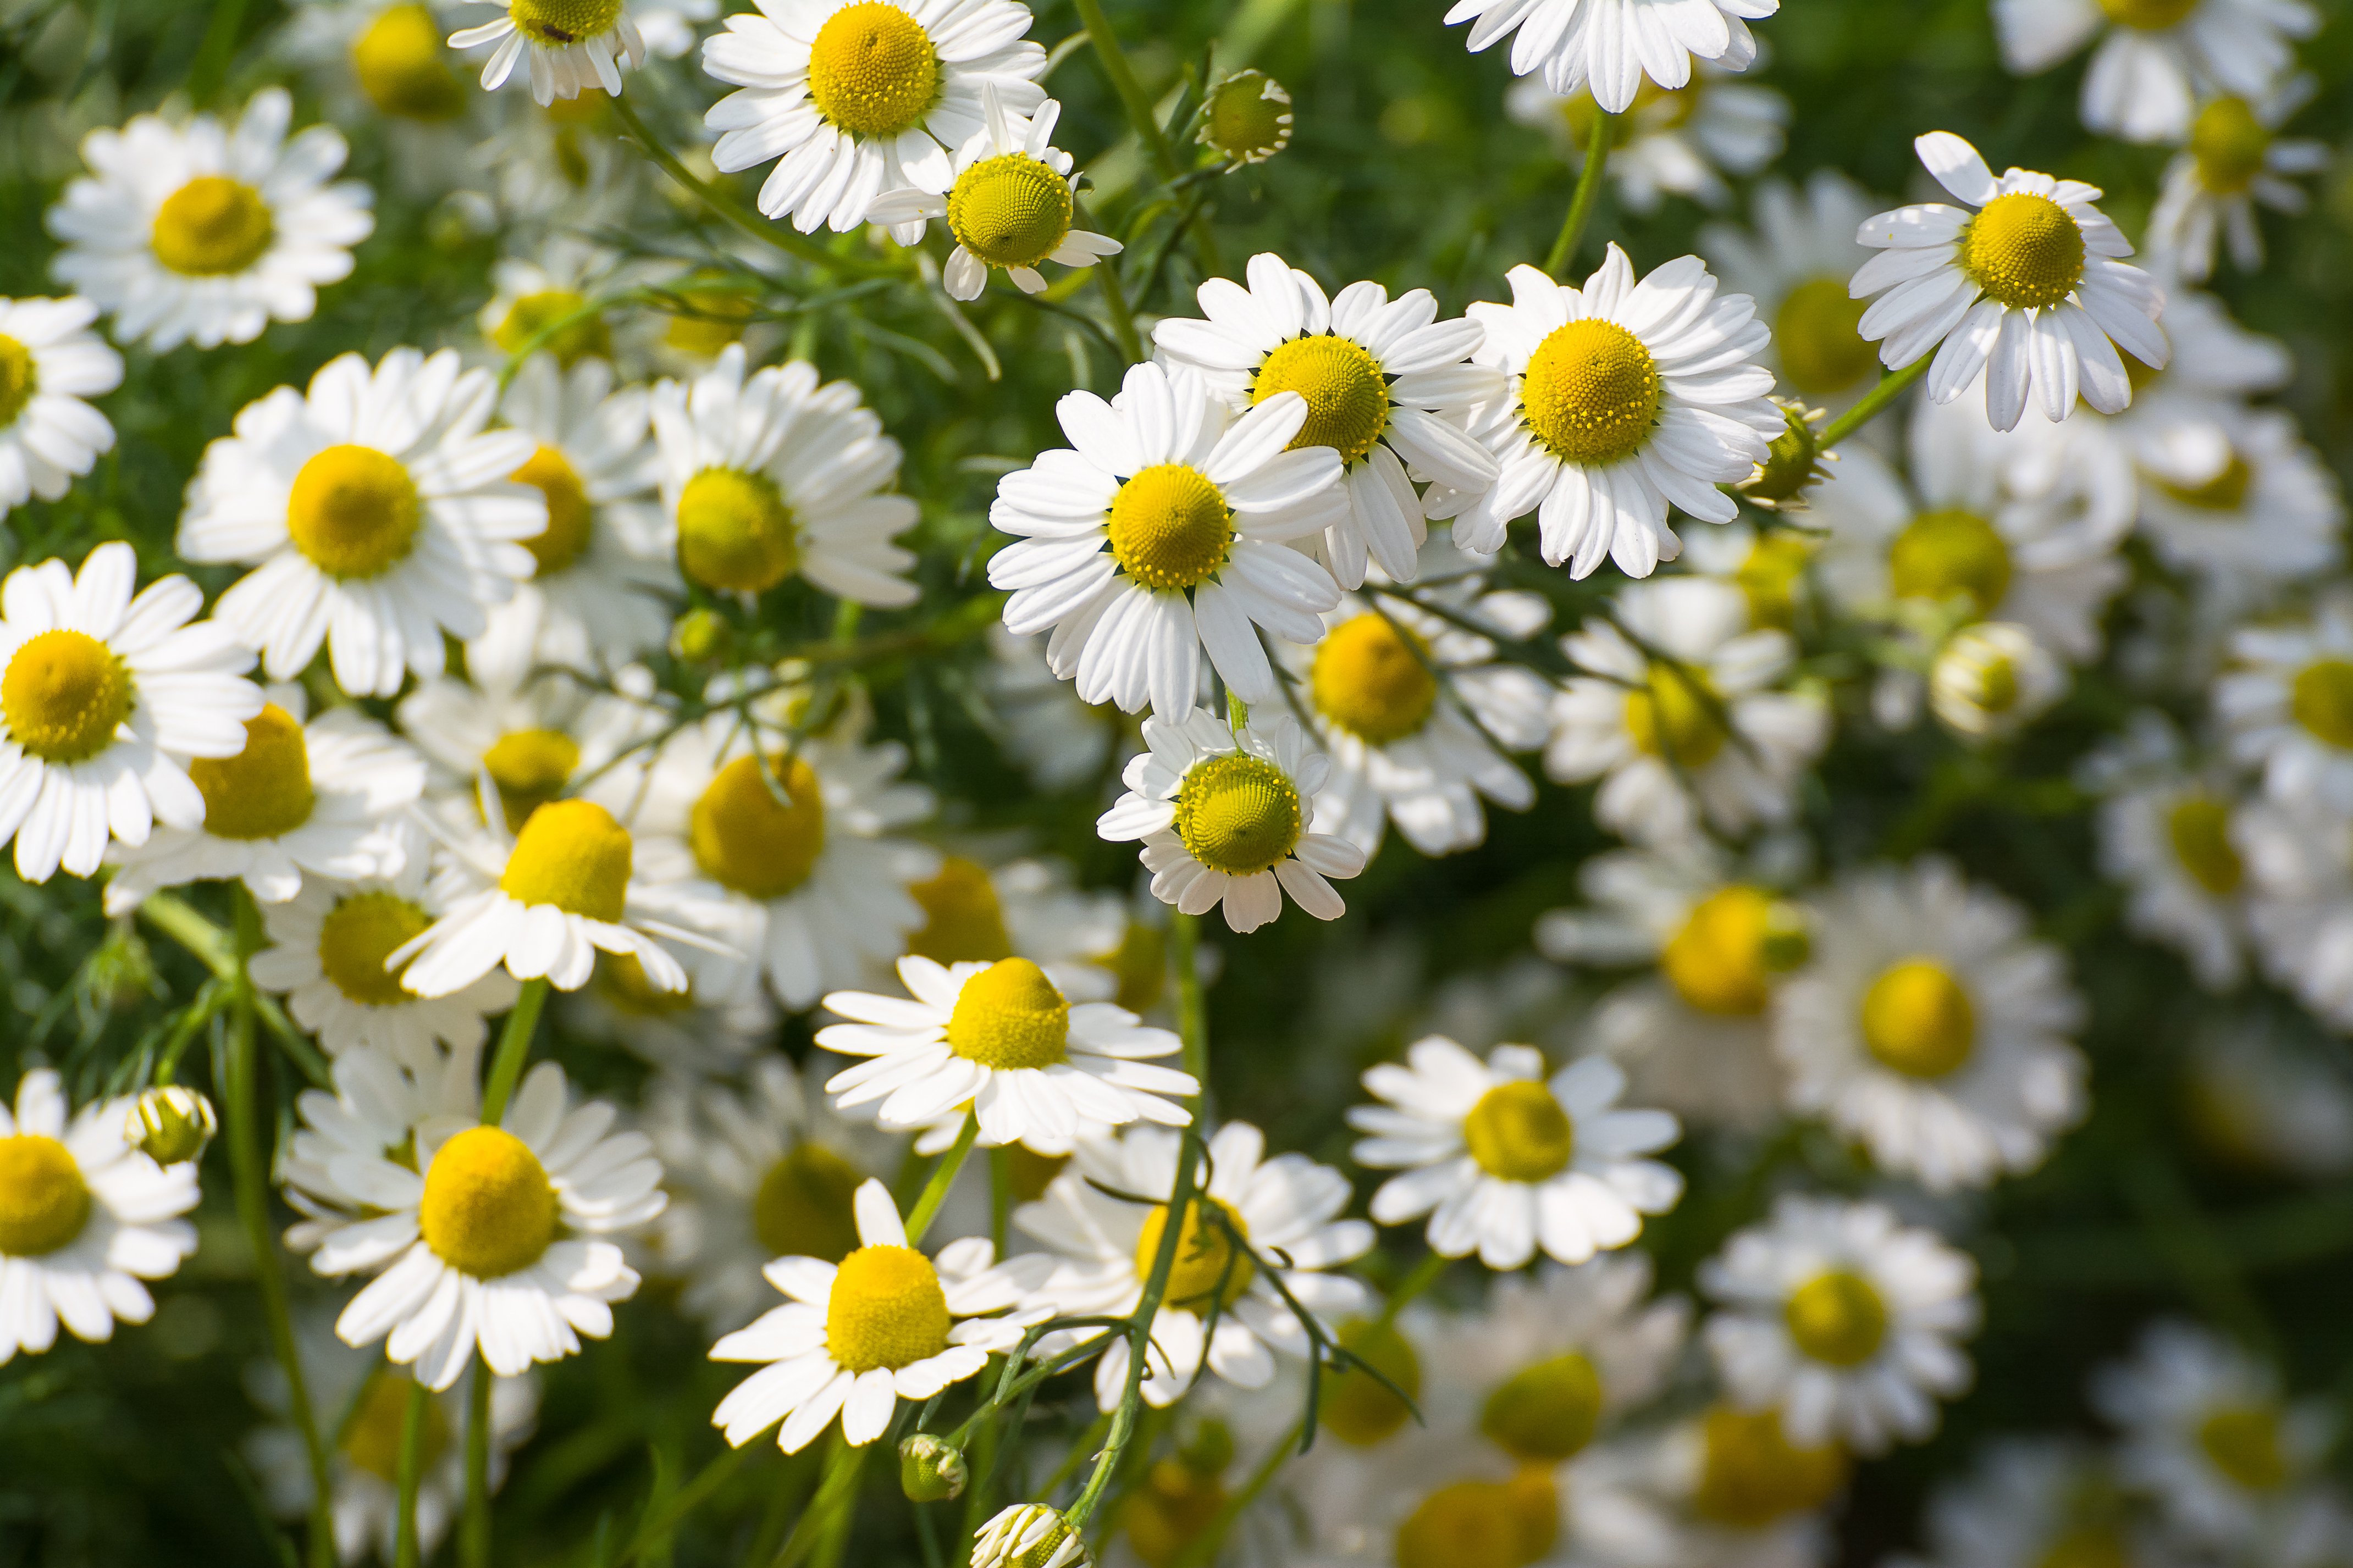
German Chamomile is native to Europe, Western Europe, Australia, and temperate United States climates.
This Chamomile can grow up to 2 feet tall and is easy to maintain.
This type of Chamomile’s oil is perfect for anti-inflammatory purposes, a sedative, and its antioxidants.
Also, the stem that is used in tea is much smoother than Roman Chamomile.
2. Roman Chamomile
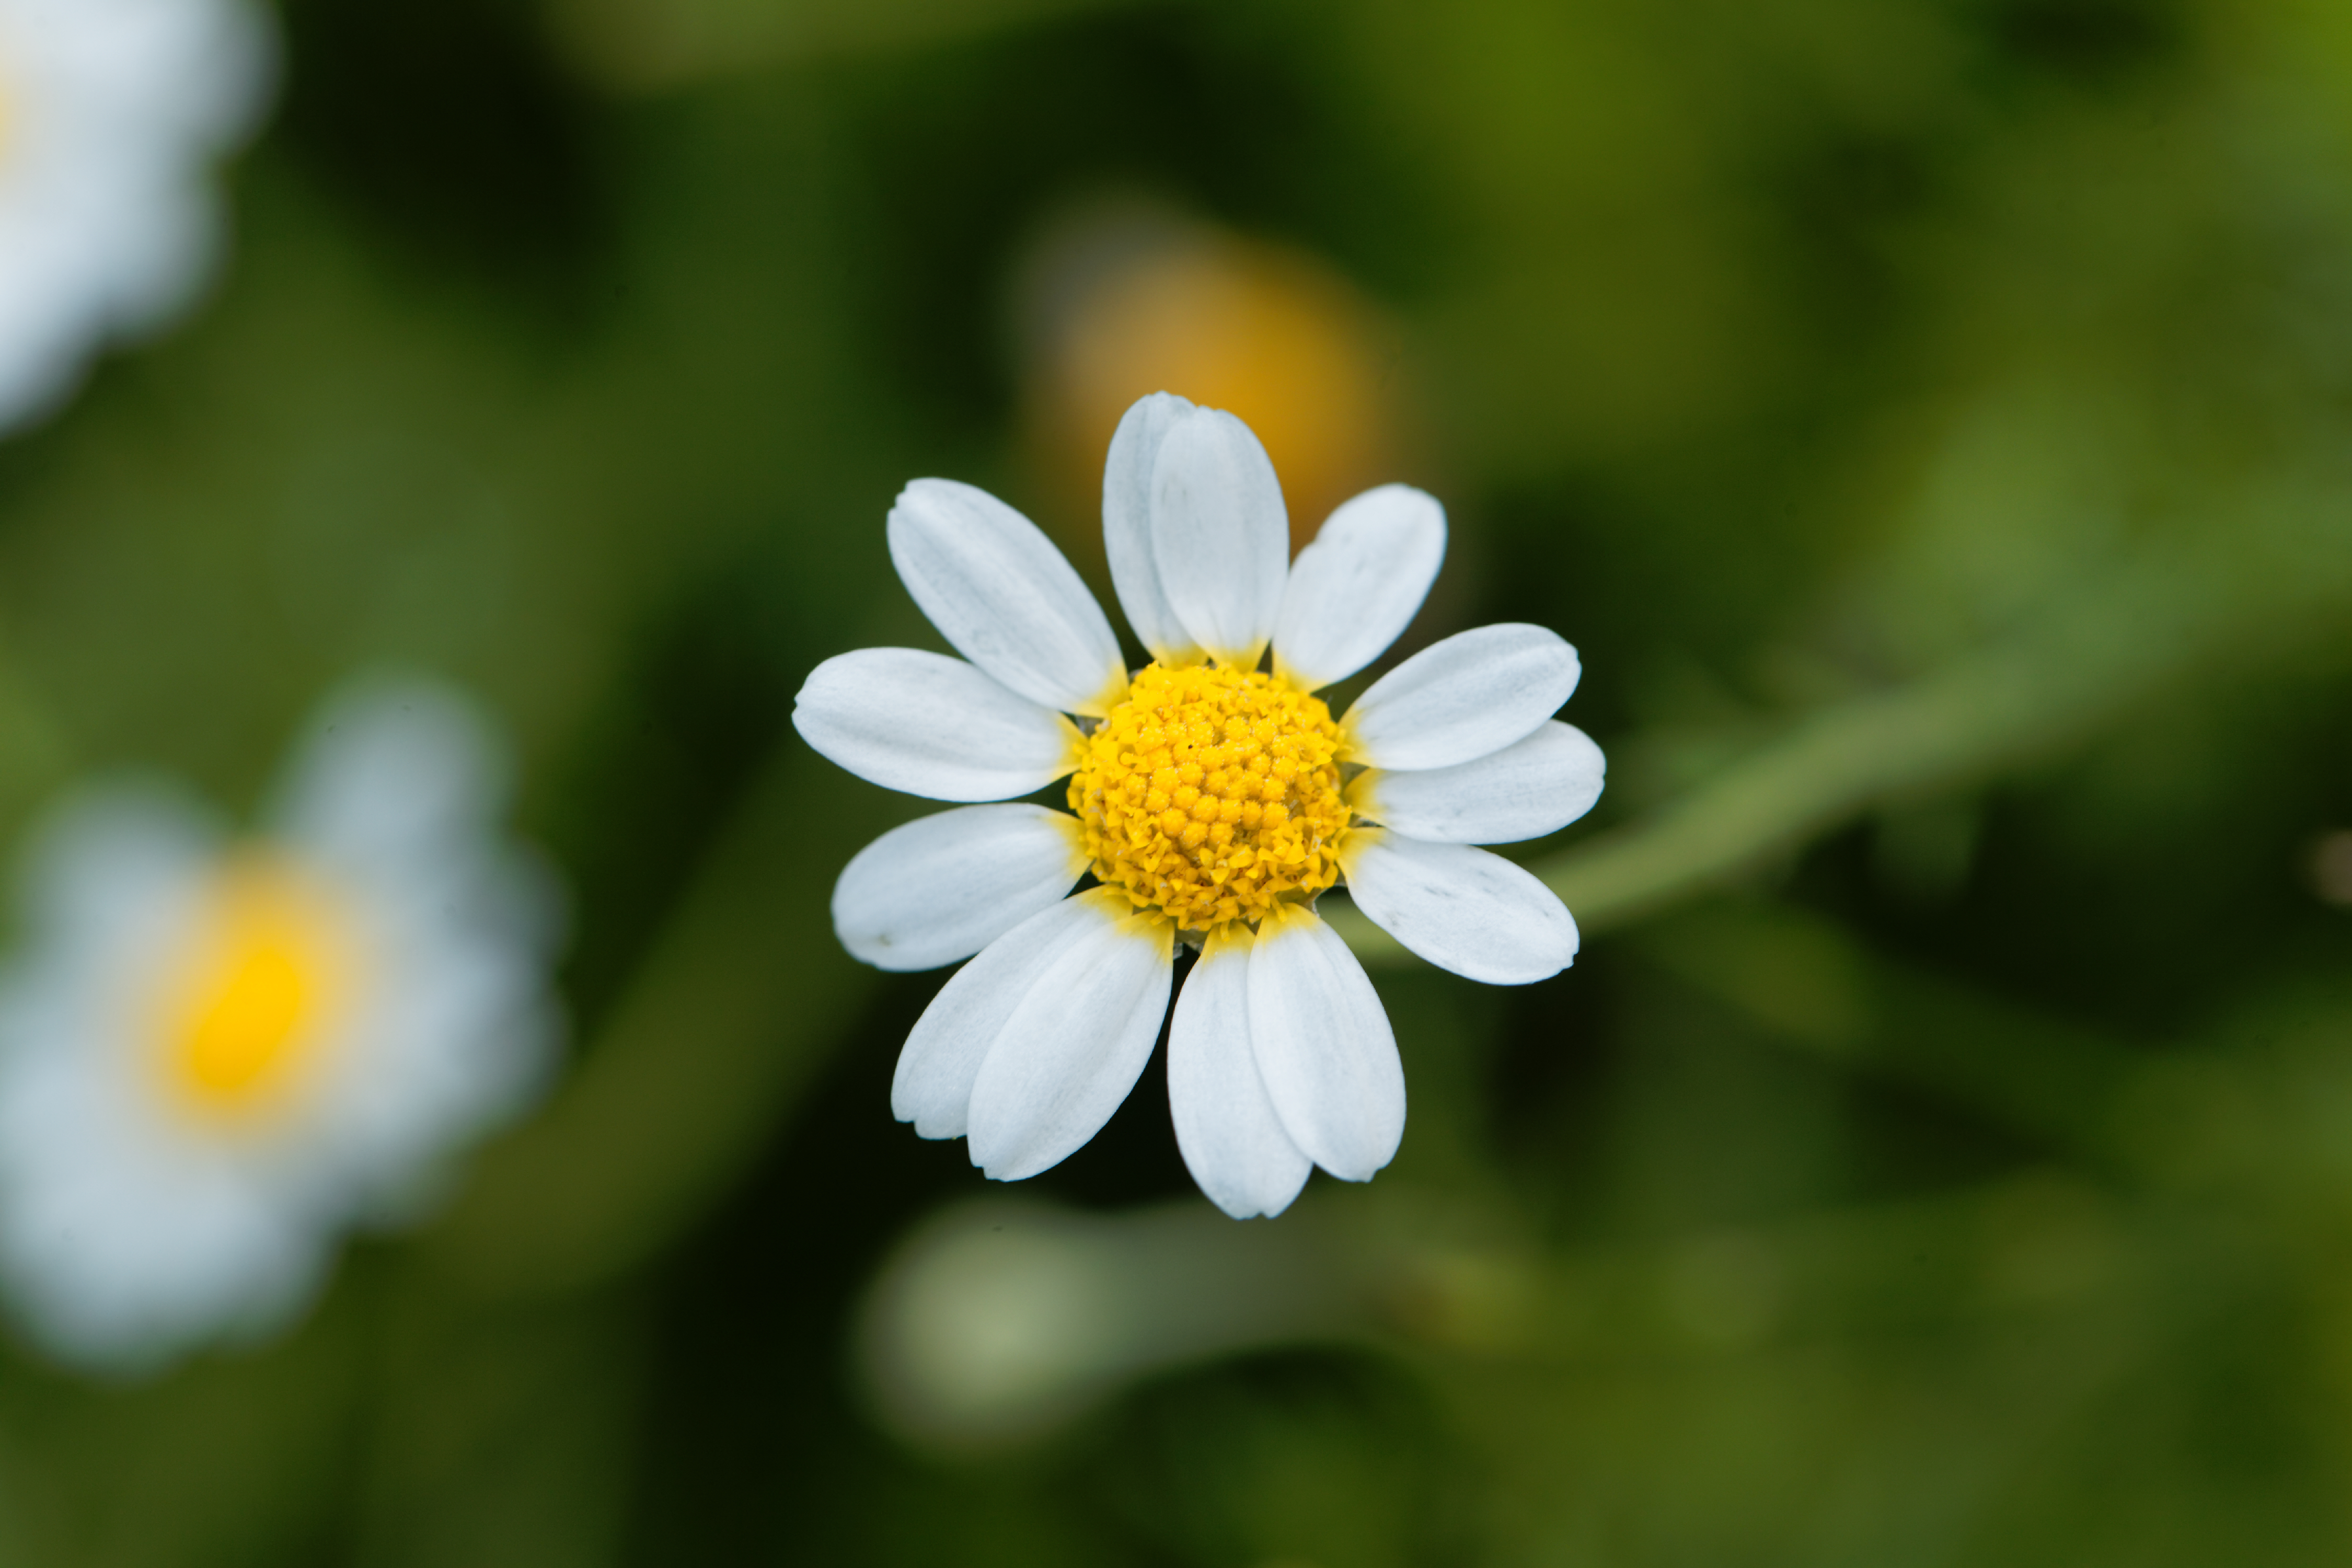
Roman Chamomile is a perennial herb that is grown in Europe and the United States and is distinguished by it thick, greeny leaves.
This type of Chamomile grows only to 1 foot tall and is also incredibly easy to maintain.
Also, this Chamomile is used to treat diarrhea, nausea, bloating, and vomiting.
This type of tea is also used for bags under your bags and is perfect for herbal tea.
Purchase the BEST Garden Supplies (Tips #2-5)
2. Purchase the Right Seed
When learning how to grow chamomile the seed itself is the most important supply.
While vegetables typically have numerous types of seeds like organic, heirloom, GMO, etc. chamomile plants typically grow from your traditional seed or organic.
Whether you purchase organic seeds or traditional seeds you will have the same results. There is no benefit to your health and your harvest will be no different.
What is important is where you purchase your chamomile seeds from.
If you want seeds that come from reputable companies at a reasonable price and with quick delivery then you want to purchase them from Amazon.
3. Buy 2 Types of Containers
Once you purchase your seeds you will need at least 1 type of pot to start your chamomile and two types of pots if you want to garden all year.
I typically don’t recommend planting your seeds directly into the soil because disease, pests, and mother nature will damage or destroy too many of them.
Instead, I recommend starting off your seed in 3-inch pots. My suggestion is GrowKo Peat Pots.
Next, you’ll want a much larger pot if you do not plan on transplanting your chamomile into a garden.
The reason for this is that 3 inch pots are great for seeds and starting small plants, but cannot sustain the root growth needed for chamomile growth.
I recommend: Viagrow 5 Gallon Nursery Pot
4. Buy These Garden Tools!
While containers and seeds are the only two essential tools you need when learning how to grow chamomile from seed there are other garden tools that will make your life easy.
Of the most basic, but handiest garden supplies to have is a good sprayer.
You want to use a good sprayer because hoses and cups will flood your seed rendering it useless.
I recommend Tolco Spray Bottle 8 oz.
In addition, it is also great to have good garden utensils to help minimize dirt and disorganization.
If you want one of the best gardening tool sets then I recommend: Vremi 9 piece tool set
And finally, you can’t grow chamomile seeds inside without a good grow light. If you have access to a warm sunny area for at least 8 hours a day you won’t need a grow light.
Most of us don’t have access to that much sunlight during the winter. And sometimes even if we do a grow light is just more effective for the best results.
I specifically recommend: Hydrofarm Grow Light
5. Buy Soil & Fertilizer
Just because you have the best seeds and a pot to start your chamomile doesn’t mean you’ll have success.
You want to make sure you have the correct soil and good fertilizer.
If you do not have the proper soil your seed will not fully grow and bare leaves. And while you can survive without fertilizer, a good mixture will help you get the most out of your chamomile plant.
While there are lots of soil you can buy, we will want to focus on the only one you need, potting mix.
Very simply, this soil will contain the right mixture of soil, sand, and nutrients needed for your chamomile seeds to grow healthy.
I am highly recommending: Miracle-Gro Potting Mix.
I am recommending this type of soil for a couple of reasons.
Everything you need to start seeds and provide your chamomile with the correct nutrients can be found in this soil.
And if you decide you want to transplant your chamomile plant to another pot you will not need to purchase a different type of soil.
In addition, you want to make sure you have a good fertilizer to help your chamomile grow as large and fruitful as possible.
I use and recommend: Miracle-Gro Plant Food
Why I like this type of fertilizer is that it provides everything your chamomile plant needs. And you won’t have to worry about the type of mixture to use or how to use it.
Best of all is that this type of fertilizer can be used on all your vegetable and herb plants!
How to Start Seeds Indoors (Tip #6)
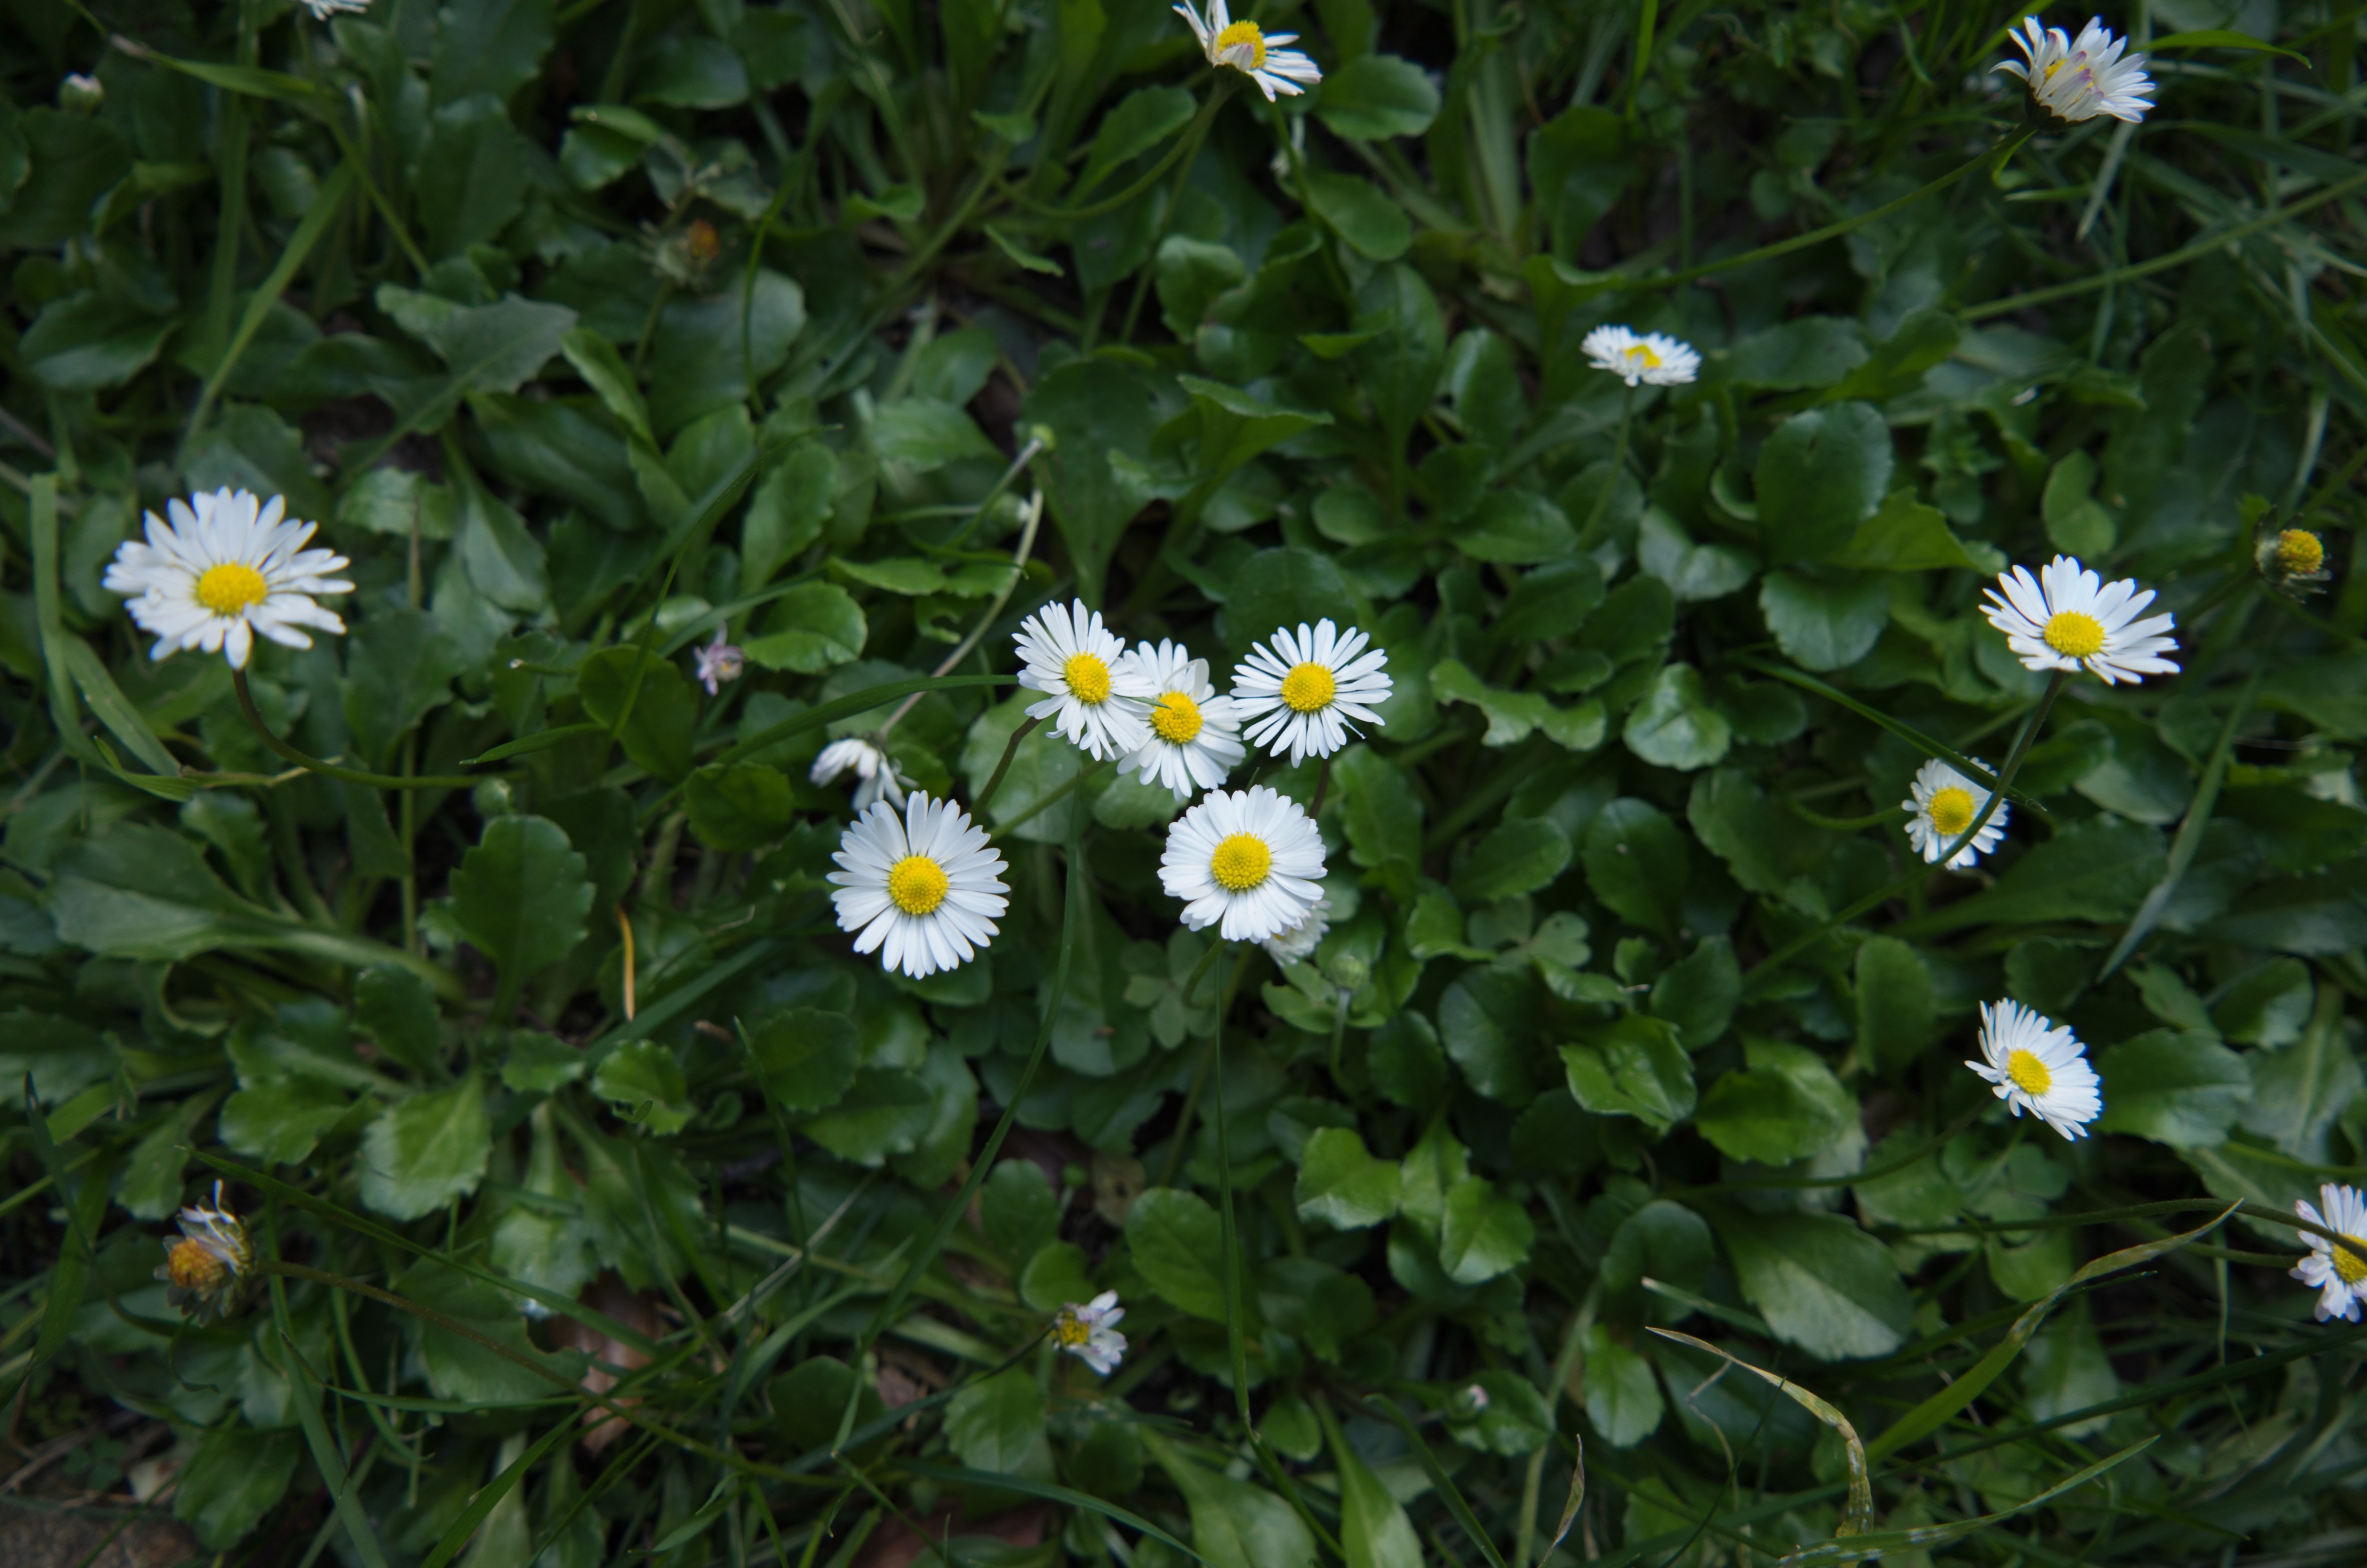
When learning how to grow chamomile from seed you should almost always start your process indoors.
Step 1
You will want to start your chamomile seeds inside approximately 6 weeks before you plan on moving your chamomile into your garden or moving your larger container.
You want to first start by filling your 3 inches pot 80% full with your potting mix.
Next, you will want to spray the soil immediately after 5-10 times. You want the soil to be damp, but not soaked. You will know the soil is damp when it turns a dark brown color.
Step 2
Next, use the tip of a pencil and make a circular motion to form a tiny hole. This will be approximately 1/8 inch deep.
Then place 2 seeds into the hole and brush the soil over the seeds.
You will then spray the soil again 5 to 8 times. Moisten, but do not dampen the soil.
Step 3
After planting your seeds place your pots in direct sunlight or under your grow light. Your seeds will need approximately 8 hours of sunlight.
If you put your seeds under the grow light keep it approximately 4 inches from the bulb. Anything closer will burn the seeds. Anything further away with not provides enough heat and light.
You will also need to make sure the room temperature is around 70 degrees Fahrenheit.
If the air temperature does not stay around this temperature then your seeds will not germinate or pop through the soil.
If you don’t have an area that will stay consistently around 70 degrees, I would recommend investing in a Plant Heating Mat.
A Plant Heating Mat is the perfect way to keep your pots and seeds at a consistent temperature that we may not otherwise be able to. The best part about a heat mat is you just plug it in and you are all set.
Step 4
After your initial planting, you will need to spray the soil once to twice a day. You will know it’s time to spray if the soil looks a light brown color or feels dry to the touch.
It will take approximately 7-14 days for your seeds to germinate or pop through the soil.
Do not worry if it takes a few days later as each growing situation is different.
Step 5
Continue spraying your chamomile (as referred to step 4) over the next 4-8 weeks.
Once your chamomile reaches 3 inches tall you will either want to move them into your larger containers or move them outside.
If you move your chamomile plants into a larger container you can continue to water them twice a day until they are ready to be harvested.
You should only move your chamomile plants outside if the temperature is above freezing.
You can view your hardy zone below to determine your first and last frost date of the year.
When transplanting your chamomile plant into a garden you will want to dig a hole that is the size of your chamomile plant root ball (where the roots meet the soil). Next, cover it with soil and water it for 30 seconds.
It should also be noted that chamomile grows best in soil with a pH from 5.5-7.5.
It should also be noted that you will not need to thin your chamomile plant like you would with vegetables or herbs.
If you learn better watching a video then I recommend watching the below youtube tutorial:
How to Care for Chamomile (Tip #7)
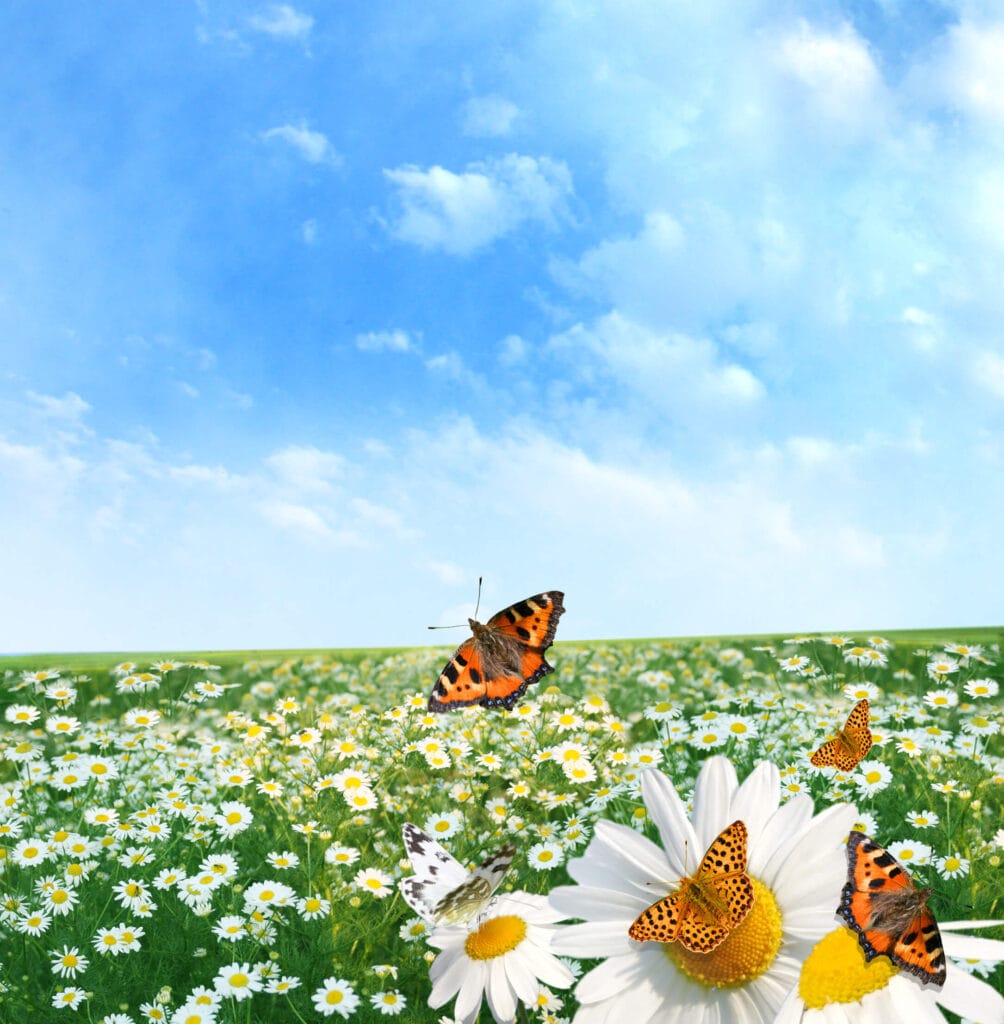
Chamomile is incredibly easy to care for.
Below are tips for caring for your Chamomile throughout the summer:
- Healthy Soil & Fertilizer – Inspect your soil for fungus, pests, and weeds before you plant and throughout the summer. Remove as needed.
- Water. Water once a week when planted outside. Too much water will not kill your chamomile but will stunt its growth.
- Harvest Often & Early: One of the best ways to care for your chamomile is to harvest it often and early. Within 60-90 days your chamomile should be ready for harvest.
How to Harvest Chamomile (Tip #8)
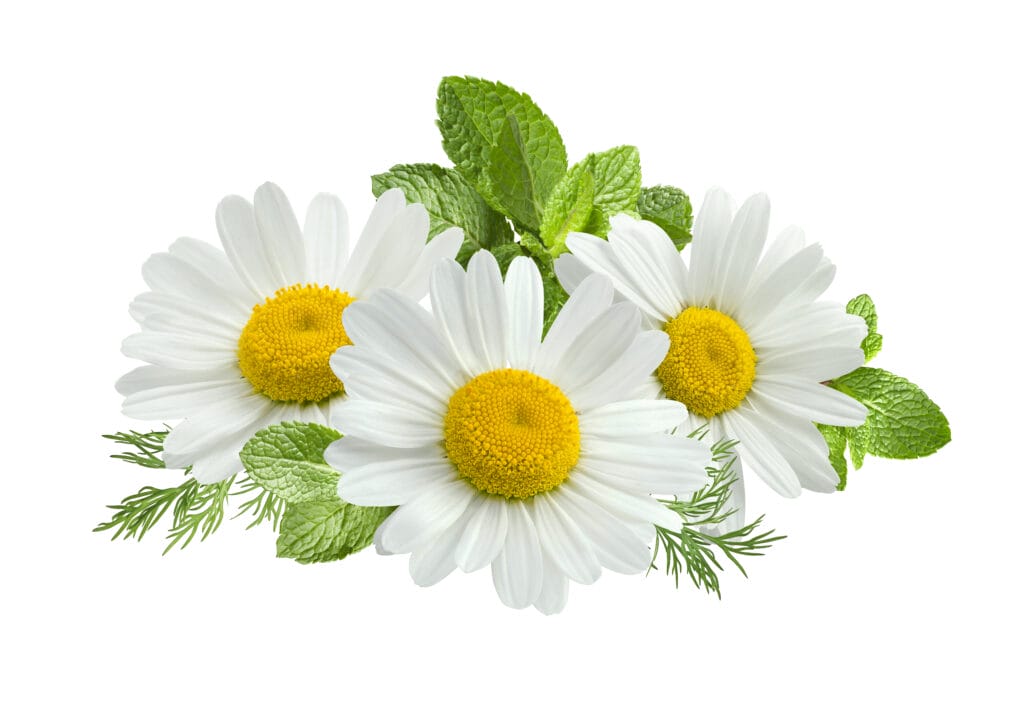
For every chamomile plant on this list, you can begin harvesting the leaves 60 to 90 days after your chamomile seeds pop through the soil.
Below are critical tips to remember when harvesting chamomile:
- Harvest only chamomile that is is nearly open.
- To harvest chamomile, pinch the stalk just below the flower head and pop off the bloom. If you need to use the stalk, cut the talk a few inches above where the base of the flower meets the soil.
- Harvest chamomile first thing in the morning when there is still a slight dew.
How to Store Chamomile (Tip #9)
There is nothing better than fresh chamomile.
And the best part is that you can harvest your chamomile only when needing it, giving you the freshest chamomile!
But what happens if you have too much chamomile?
How do you store it?
If you plan on using the chamomile leaves within the next 24 hours you can also repeat the same process as above and leave them in a cool dark space in your house.
And if you want to dry your chamomile for later use please watch the above video for detailed instructions.
BEST Chamomile Use Ideas (Tip #10)
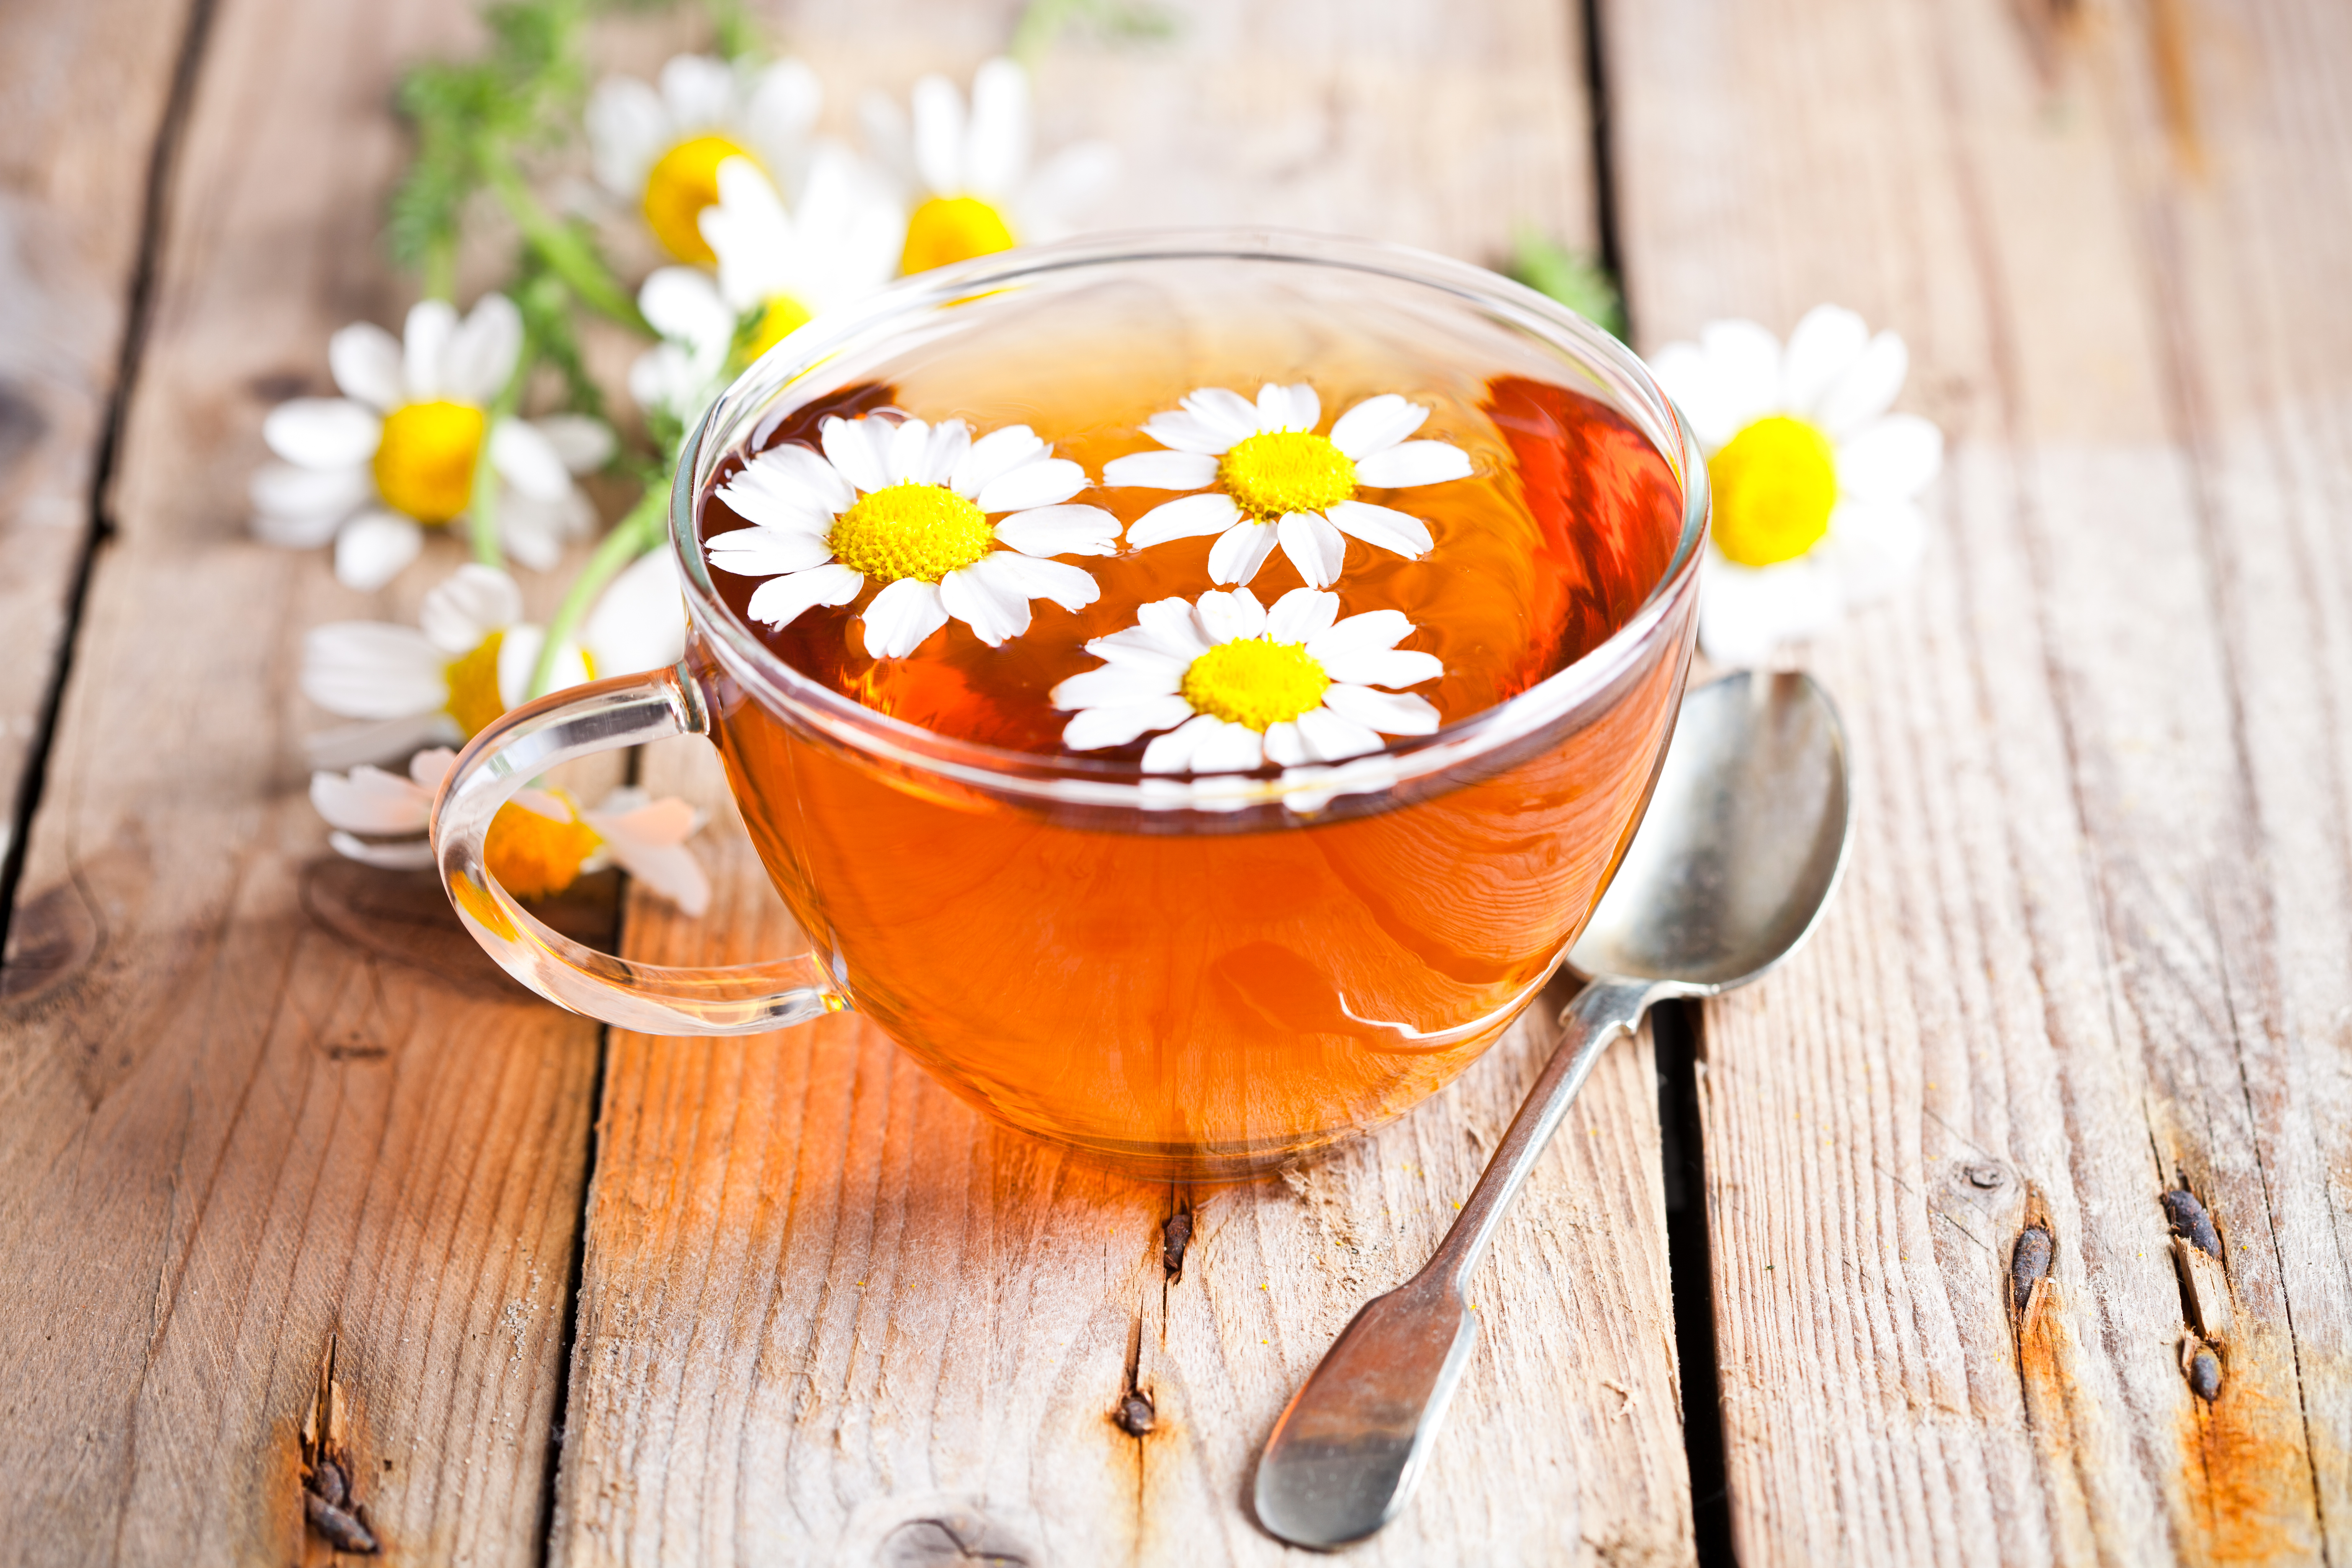
So planting, caring, and harvesting chamomile plants is fun, but using chamomile is the best part!
Below, are a few of the uses of chamomile that are both easy and most enjoyable:
- Reducing Menstrual Pain
- Upset Stomach and Nausea
- Treating Diabetes
- Reducing inflammation
- Slowing osteoporosis
- Help with relaxation
- Treating cold symptoms
- Help treat mild skin ailments
Bonus- How Do You Make Chamomile Tea?
If you want to make the BEST Chamomile Tea then you’ll want to follow the 5 EASY Steps Below:
- Boil Filter Water
- Pour the warm water into your teapot
- Place the dried chamomile into your teapot
- Cover the teapot and let it steep for 5 minutes
- Strain and pour the hot water into a cup
Conclusion
After reading this article you should now have a much better idea on How to Grow Chamomile and how to have the greatest chance for success.
If you want to have the most success, I recommend these 10 SIMPLE Tips:
- Use one of the 2 recommended types of Chamomile for the best chance of success
- Buy the Correct Seeds. Organic or traditional doesn’t matter as much as where you purchase them from
- Buy two different types of containers to help allow your chamomile to grow to its fullest potential
- Garden tools aren’t essential, but they will make gardening easier!
- The correct soil and fertilizer can turn your chamomile from good to great
- There are only 5 simple steps for starting your seed in a pot and this should take less than 10 minutes
- Proper care for your chamomile will allow you to get the most harvest
- Harvesting chamomile is an art and science. You should harvest its flower and stem within 90 days of planting.
- Chamomile can be stored in cool, dark places and can be dried for future uses.
- There are many great uses for chamomile. Don’t be afraid to try different recipes
If you enjoyed this article then please read my other articles:


