Do you want to start winter composting, but don’t know where to start?
If you are like me you want to compost in the winter, but know it’s different than traditional composting and don’t know where to start!
Because of this, I have created 11 Proven Tips for Winter Composting (2021 Guide).
This guide will provide you with not only Tips for Winter Composting, but also the best products for better composting!
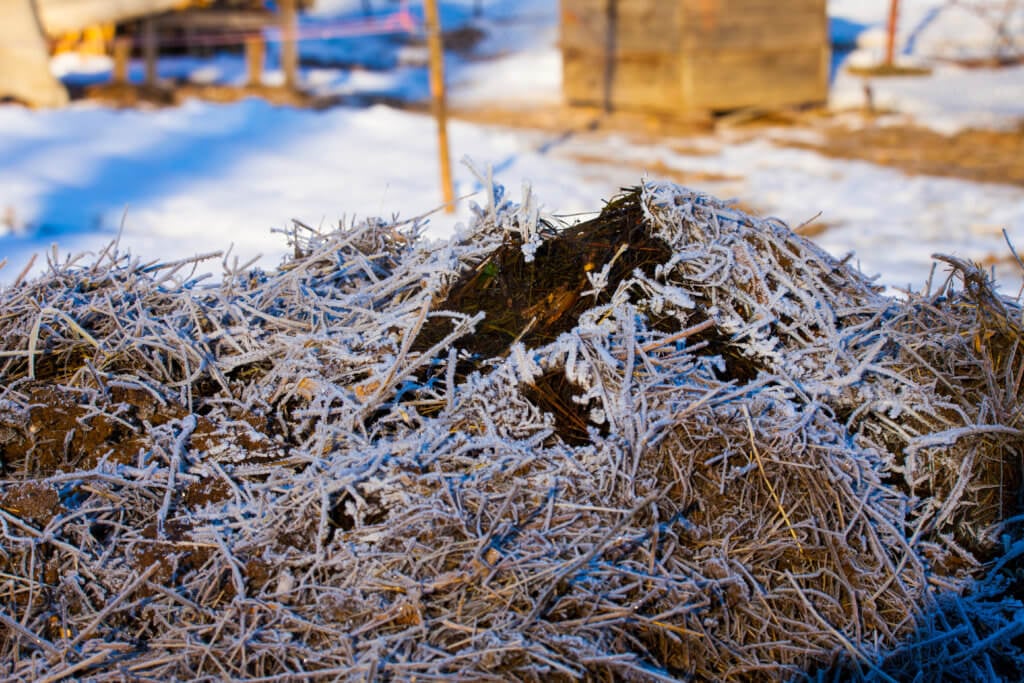
Fall Prep is Essential Before Winter Composting
Before you begin winter composting, it is important to properly prep your compost pile in the fall.
Step 1:
Collect all the fresh leaves and dead leaves in your yard. Store them in a lawn and leaf bag if need be.
Step 2:
Place hay bales around your winter compost bin to protect it against wind and freezing temperatures. It may also help to insulate the outside of your composter with straw, dead leaves, and even a tarp.
And if you want more fall tips then I recommend reading the University of Wisconsin-Madison’s article: The Art and Science of Composting or read Let it Rot: The Gardener’s Guide to Composting.
Best Winter Composting Techniques (Tips #1-3)
1. Use a Compost Tumbler
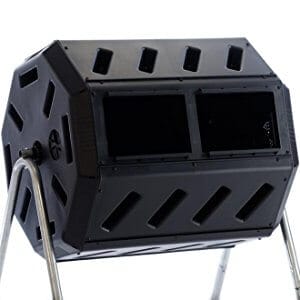
This is by far the easiest, most efficient, and most effective way to compost in winter.
It is sealed so rain and snow-melt don’t come in and ruin your compost.
It is also elevated, out of harm’s way from animals and the cold ground.
Finally, tumbling is the most effective way to provide oxygen to your waste to decompose.
Read below to learn How to Compost with a Tumbler Composter:
Step 1:
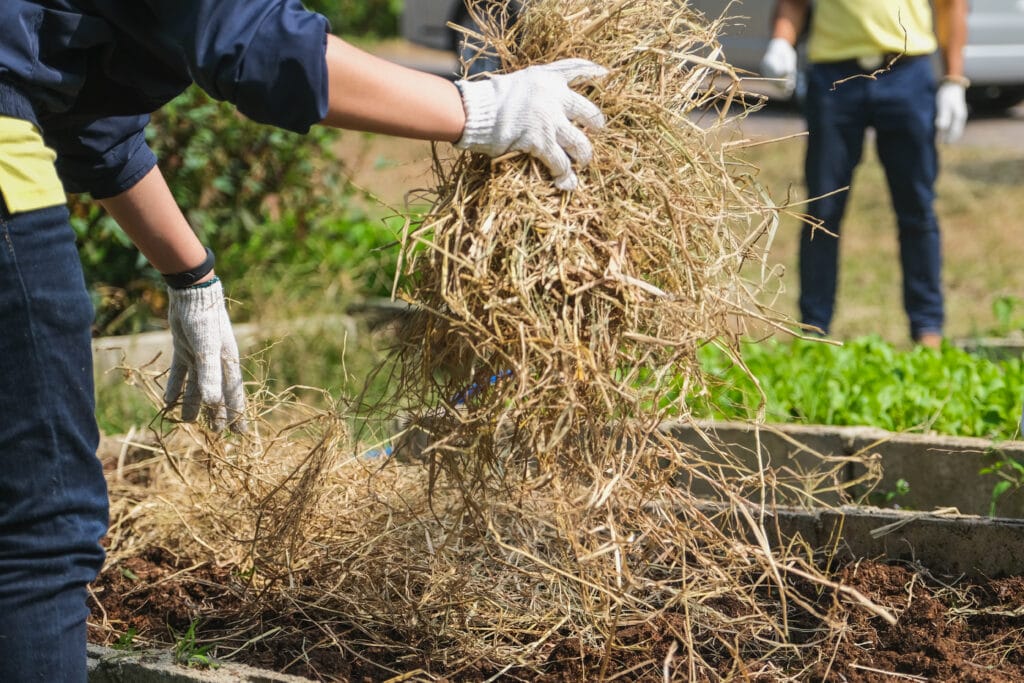
Start by adding a 65% brown waste (leaves, twigs, and wood clippings) to a 35% green waste (green grass, vegetables, fruits, etc.) ratio into the Compost Tumbler.
It will take more brown waste in the winter to start composting. This is because it takes more to absorb the moisture produced by green waste (nitrogen), due to less heat.
Step 2:
You will want to spin the Compost Tumbler once every two weeks.
It should be noted that the more frequently you spin it the quicker your waste will decompose. A couple of spins each time should do the trick!
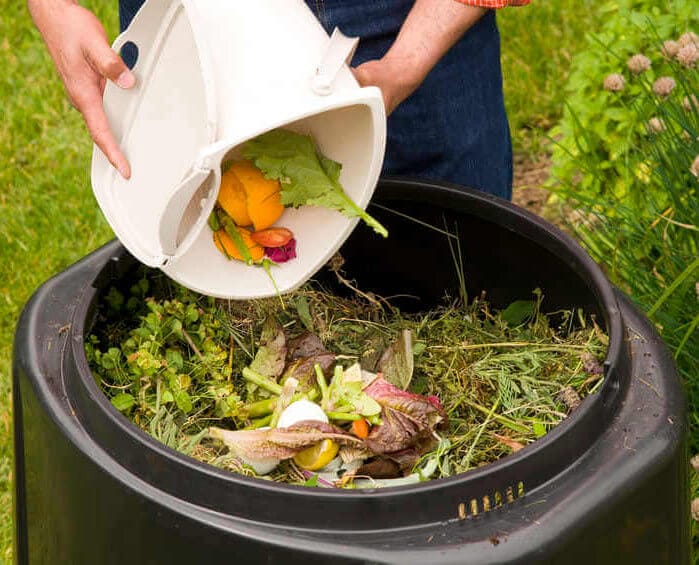
2. Use a Standard Bin
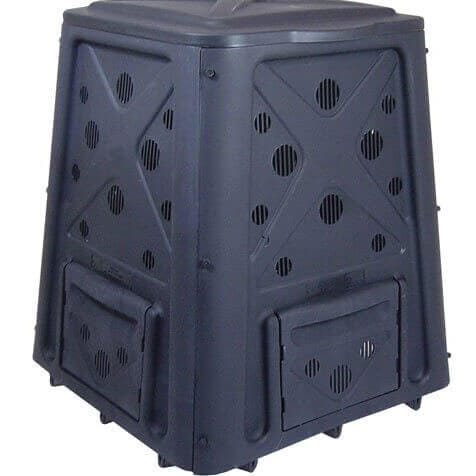
Another great way to compost in winter is to take advantage of a Traditional Bin Composter.
You will compost almost the exact same way as your Tumbler Composter except you will toss your pile with your pitchfork or hands.
Personally, this doesn’t sound fun to me in sub-freezing temperatures and snow. But if you live in moderate conditions this may be perfect for you.
Also, it should be noted that if your Compost Bin does not have a cover, you will want to place something on top of it. This will protect it against cold and water.
3. Dig a Trench Compost
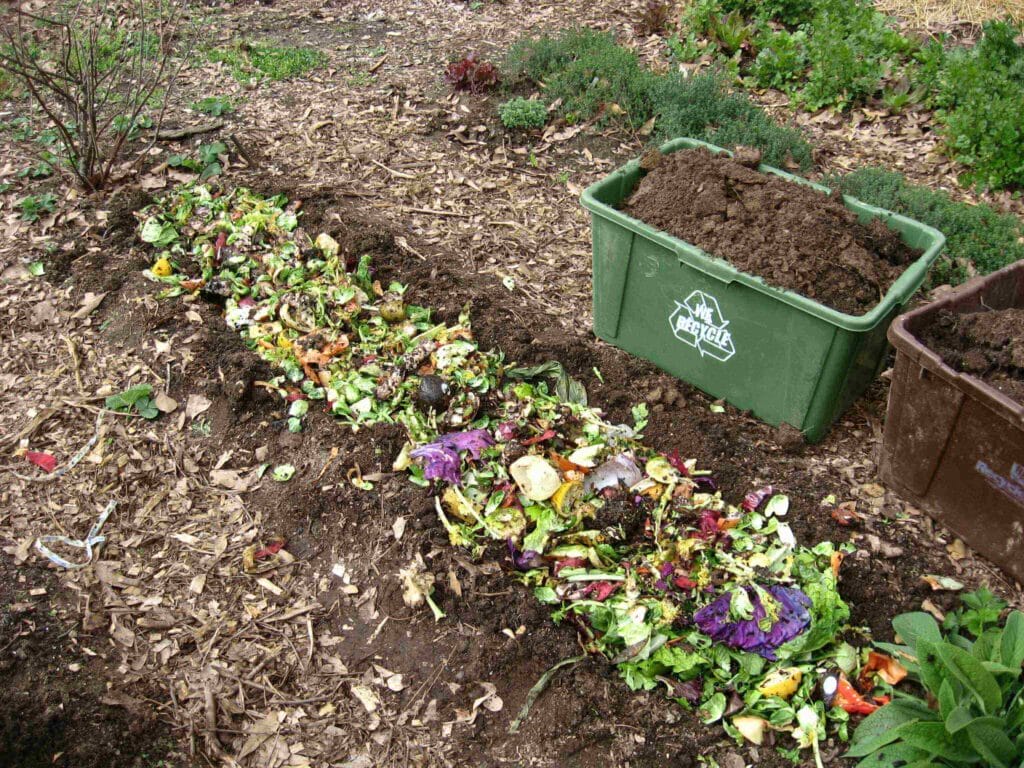
If going outside constantly in the winter is not your thing then Trench Composting is for you.
It’s easy, can be done before the weather gets bad, and adds nutrients directly into your garden.
So, how do you trench compost?
Think about Trench Composting like you would think about making lasagna. Layers are key!
Step 1:
You will want to first start off by digging
Step 2:
You will fill approximately 50% or 6 inches of the trenches with your brown and green waste.
Step 3:
Next, you will cover the rest of the trench with the dirt from your garden (approximately 6 inches or 50%).
Step 4:
Finally, you will want to put a top layer of approximately 4-6 inches of mulch over the soil. This will provide insulation and some protection from water.
If you don’t like the idea of digging trenches then very simply layer the top of your soil with brown and green waste. And then add a 6-inch layer of mulch to help speed up the decomposition process.
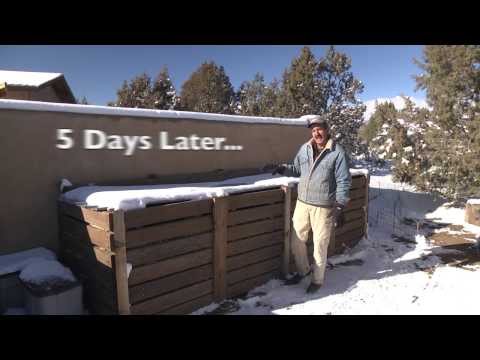
If you are a visual learner I highly recommend watching this video on how to compost in winter:
Best Waste for Winter Composting (Tips #4-8)
4. Use the RIGHT Waste Mixture
In the winter you will want to put in a mixture of 65% brown waste to 35% green waste.
You need more brown waste (carbon) to absorb moisture produced by green waste (nitrogen). The reason for more moisture is that it evaporates at a much slower rate due to colder temperatures.
5. Use MORE Brown Waste
So what are some example of brown waste?
The two best items to use for this are going to be brown leaves and twigs.
The problem with winter composting is that those two items are pretty hard to find once the snow falls and temperatures drop.
Therefore, I would suggest putting in a lot of effort in the fall to gathering as many brown leaves and twigs as you possibly can.
I would then store them in a Fiskars 30 Gallon Hardbottom Garden Bag and then apply as needed (weekly to monthly depending on decomposition rate).
6. Use the RIGHT Green Waste
So what’s
These are fruits, vegetables, and other waste that adds nitrogen to your compost.
In the winter, I would suggest a waste that breaks down quickest. And if it gets increasingly cold outside add more green waste to increase decomposition activity.
These include:
- Coffee Grounds
- Tea Leaves
- Paper Filters
- Banana Peels
- Egg Shells
7. Do Not Use This Waste
In the winter you do not want to compost the following:
- Pet droppings
- Dairy products
- Meat/Fish
- Chemicals, Fertilizer, or Pesticides
- Onions
- Citrus peels
- Treated wood or colored paper
- Weeds
- Coffee/Tea Bags
8. Rip, Tear, and Shred Waste!
One last hint that I highly recommend: Shred or rip apart the waste before putting it into your compost bin.
For a little extra work shredding, you will be able to keep the heat in the compost more uniformly.
This may not seem like a big deal, but when temperatures near 0 degrees every little bit counts.
Make Your Compost Pile Bigger! (Tip #9)
Bigger is not always better. But that is a topic for another post.
When it comes to winter composting, you will want to make your compost as big as possible.
It’s no different than insulating your house. The bigger the pile the more insulated it is. The more insulated it is the more heat it will retain.
So what is big?
You will want to make sure your compost is at least 1 cubic yard.
By keeping your compost one cubic yard you accomplish two things.
- You will keep the center of the compost warmer. This will allow the waste ingredients to remain active and will put you in a good position for spring.
- The bigger the compost the longer it will remain active during colder months.
It should also be noted that you should compost big piles all at once. This will help speed up the composting process and keep your pile warmer, longer.
And if adding large piles of waste doesn’t help the composting process fast enough for you then I recommend purchasing a Compost Starter.
Use a Tarp (Tip #10)
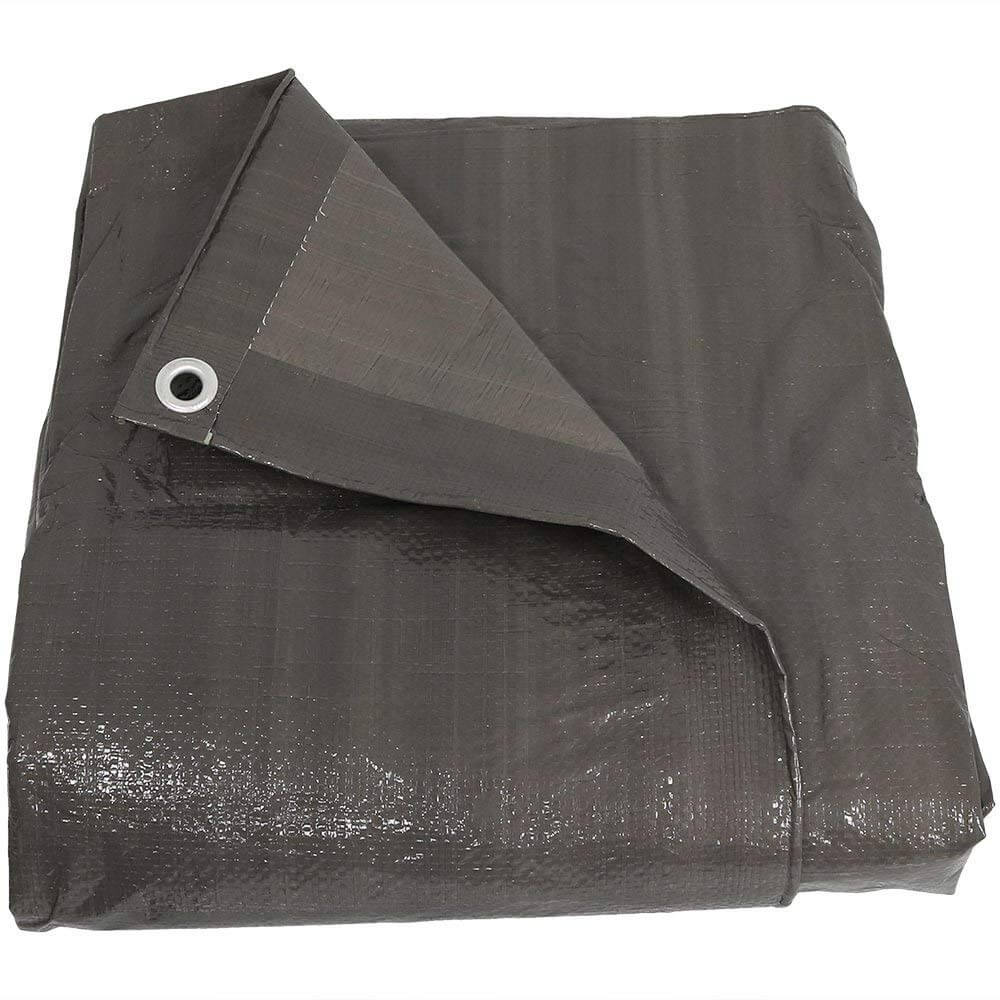
If you want to compost in the winter then a Tarp is a must!!!
I recommend the Trademark Supplies Tarp Cover.
Tarps are essential for three things:
Insulation
- In order for composting to occur in the winter, the temperature of the compost has to be warmer than outside in order for decomposition to stay active. Placing a tarp on top of your bin is the most effective way to insulate and add heat.
Unwanted Water
- What destroys a winter compost the quickest? Too much water from rain or snow. And while bins help prevent this problem, they do not eliminate it. Placing a tarp on the top of your bin/pile will help protect your compost against unwanted water.
Protection Against Animals and Insects
- Animals and insects are always finding their way into things,
aren’t they? While a tarp won’t eliminate this problem, it will add a layer of protection against these pests and at the very least deter them from tearing up your compost.
And if a tarp isn’t enough then you should position your composter towards the south. This will provide the most sunlight, while also protecting it against the winter winds that can come from the north, east, or west.
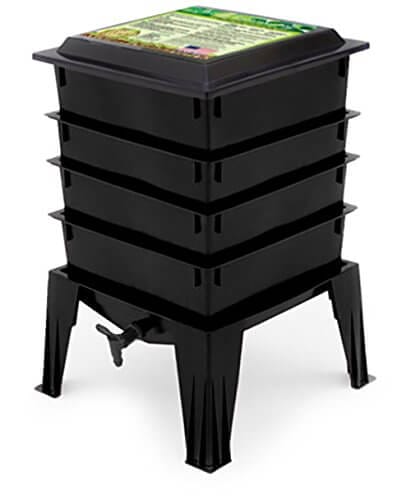
Use a Vermicomposting Bin (Tip #11)

If this is the first time you are reading about worm bins or vermicomposters then you are not alone.
This is one of the least well-known methods for winter composting. It is also one of the most inexpensive and effective to use.
Added bonus: You will not have to set foot outside in the frigid winter to take advantage of this.
So What is Vermicomposting?
In plain
You don’t need to think any harder about it than that.
If you do want to learn about all the nuances though, I recommend checking out my friends over at the EPA’s article How to Create and Maintain an Indoor Worm Composting Bin.
For the rest of us though let’s keep it simple:
Step 1:
Start off by buying a worm composting bin.
Don’t try to make one yourself. It will be too time-consuming and messy.
I recommend Nature’s Footprint Worm Factory 360 Worm Composter
Step 2:
You will then want to buy Red Wriggler worms.
These are the most effective composting worms out there. You can purchase them online or through the United States Department of Agriculture’s Extension Office.
Step 3:
Once you have your bin and your worms you will want to first add 1 pound of dirt to the bin.
Next, you will want to add about 3 inches worth of shredded paper (my suggestion is newspaper).
You will then want to add water to moisten the paper and dirt. You don’t want it to be soaked, but just wet enough that everything looks visibly wet.
Let the worms get used to their environment for about a day or two.
Step 4:
Add in your food waste.
You will continue to add food waste and shredded paper weekly. If you are noticing there is a lot of waste remaining after a week, try adding it every two weeks instead.
Step 5:
Every couple of months you will take out the bottom bin that will be filled with liquid waste. This is your compost fertilizer. Feel free to save this for the spring or add it to your indoor plants immediately.
BONUS: Bokashi – A Home-Friendly Way to Compost

If composting in your house with worms doesn’t fit into your interest or needs then I highly recommend using the newest form of indoor composting called Bokashi.
Bokashi is a fermentation process that turns food scraps (including meat and dairy) into a concentrated liquid, also known as compost tea.
The best part about Bokashi is how easy it is.
You put kitchen waste into a packing bucket. You then sprinkle it with microbes and let the fermentation process take place.
Finally, you continue this process until the bucket is filled with liquid.
If you want to purchase an affordable and easy starter kit then I recommend: SCD Bokashi Composter Kit
Final Thoughts
A few final thoughts I have about winter composting:
Although winter composting takes a little more planning and time than summer composting, it is a rewarding experience that can keep you gardening year-round.
I have done all of the above tips myself, have done a tremendous amount of research, and have spoken to gardeners, farmers, and employees at different garden shops.
It should be noted that some have tremendous success with certain tips, while others have challenges. Trial and error is half the fun!
Finally, you don’t need to do all 5 tips to be successful.
Start off with one or two that you think you will enjoy and go from there.
Part of the fun of gardening is trying new things that may pleasantly surprise you.
If it doesn’t work I would recommend trying it again or trying another tip!