Have you ever been interested in learning How to Grow Dill from Seed?
Do you think it’s too hard?
Or are you unsure of how to start?
Well, I have great news! I have created 10 SIMPLE Tips on How to Grow Dill from Seed so that you can enjoy this tasteful herb all year, no matter where you live.
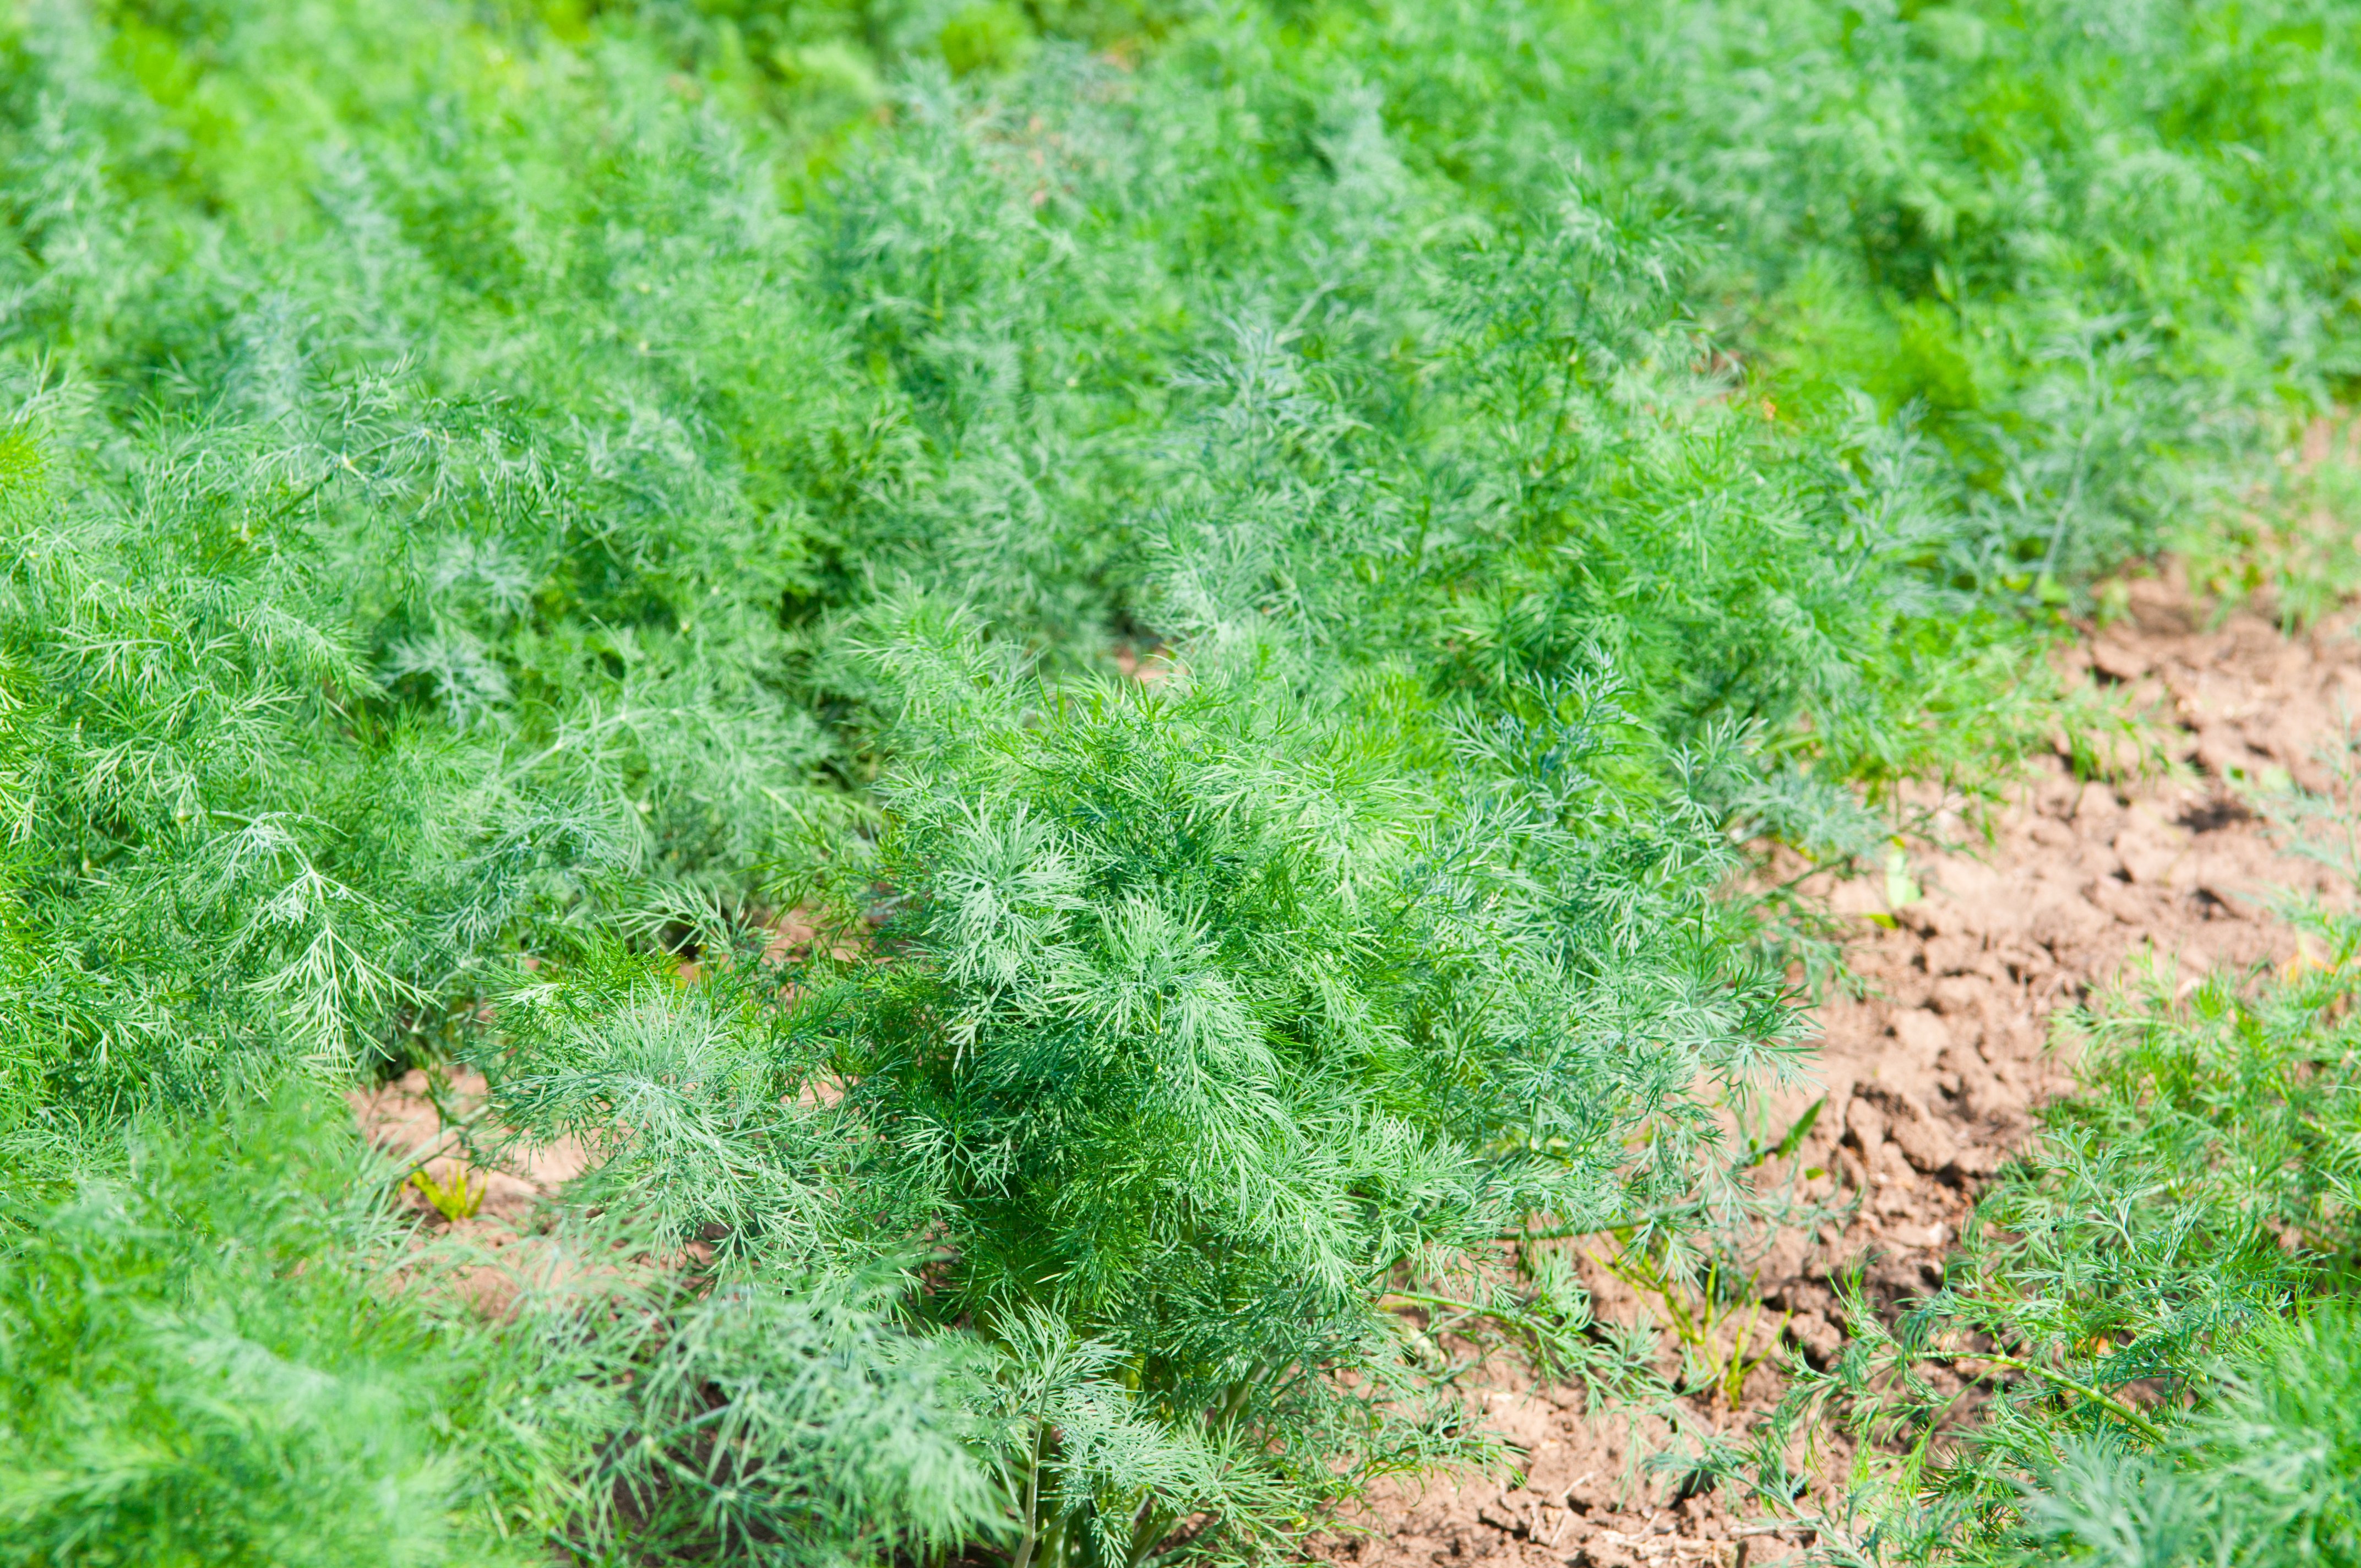
Choose These 4 Dill Types (Tips #1)
Are you interested in dill for a garnish? Or how about to flavor pickles?
There are more ways to use dill than you can count. But in order to have the most success with the uses of dill, you have to identify the correct type to grow.
I am recommending five general types of Dill Plants when learning how to grow dill from seed.
These are the easiest dill to grow from seed and plant. Also, these four provide the most uses.
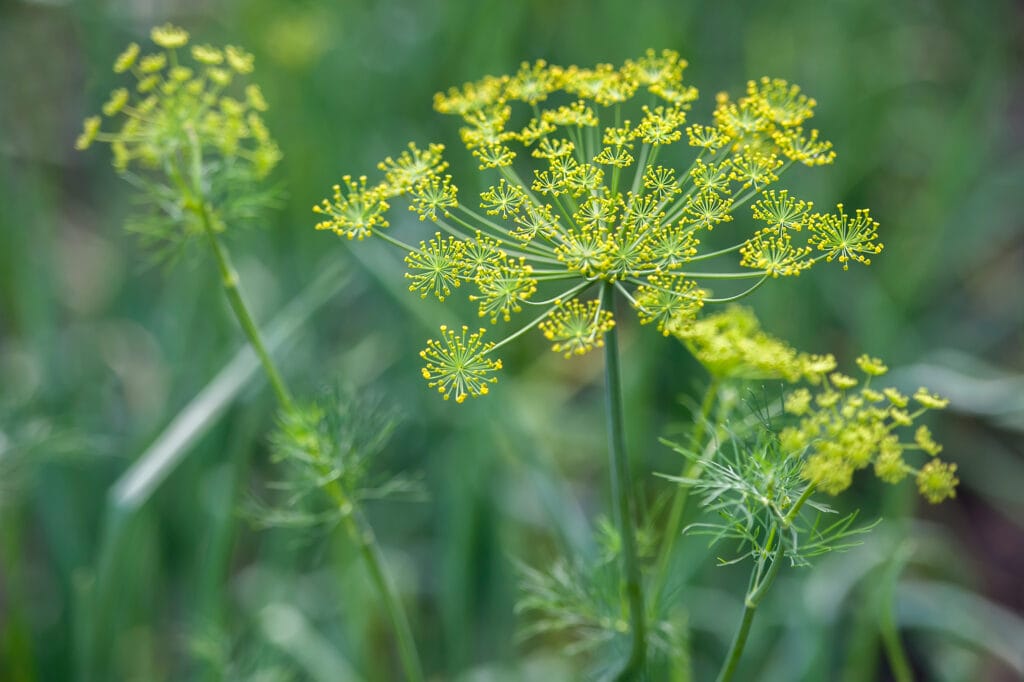
1. Bouquet Dill
Bouquet Dill is the most common dill in the entire world.
This is typically what you see in your average grocery store and farmers’ markets.
This type of dill has dark-blue & green colors, is aromatic, and can be sprinkled on a wide array of food and is perfect for pickling.
Bouquet Dill grows 2 feet tall and is ready 90 days after planting your seeds.
Best of all is that you can grow this dill in a pot, raised garden bed, or in a traditional garden.
2. Dukat Dill
Dukat Dill is also known as tetra dill and is mainly grown for its rich foliage and strong aroma.
This Dill is the perfect type of dill for salads and other green leafy dishes.
The seeds of the Dukat Dill herb is perfect as an added condiment to almost any dish you need to add a subtle, but tasty flavor.
This type of dill is an annual herb that grows 2 feet tall and is also ready to pick 60-90 days after you plant your seeds.
3. SuperDukat Dill
Superdukat is the newest type of dill. It was introduced in 1997 and has the same uses as the dukat dill.
It was introduced to gardening to make it easier to harvest than other types of dill.
And if you are looking for a dill herb that has the most oil in its stems than look no further. This is the best way to add the most flavor to your food dishes.
This type of dill is an annual herb that grows to be 2 feet tall and can be harvested within 60 days.
4. Fernleaf Dill
Fernleaf dill is a great dill that can be planted in containers or indoors.
This type of dill only grows 18 inches, so it does not be staked and can grow literally anywhere in your yard.
This is the perfect type of herb that can be used in a flower arrangement.
Purchase the BEST Garden Supplies (Tips #2-5)
2. Purchase the Right Seed
When learning how to grow dill from seed the seed itself is the most important supply.
While vegetables typically have numerous types of seeds like organic, heirloom, GMO, etc. dill plants typically grow from your traditional seed or organic.
Whether you purchase organic seeds or traditional seeds you will have the same results. There is no benefit to your health and your harvest will be no different.
What is important is where you purchase your dill seeds from.
If you want seeds that come from reputable companies at a reasonable price and with quick delivery then you want to purchase them from Amazon.
3. Buy 2 Types of Containers
Once you purchase your seeds you will need at least 1 type of pot to start your dill and two types of pots if you want to garden all year.
I typically don’t recommend planting your seeds directly into the soil because disease, pests, and mother nature will damage or destroy too many of them.
Instead, I recommend starting off your seed in 3-inch pots. My suggestion is GrowKo Peat Pots.
Next, you’ll want a much larger pot if you do not plan on transplanting your dill into a garden.
The reason for this is that 3 inch pots are great for seeds and starting small plants, but cannot sustain the root growth needed for dill leaf growth.
I recommend: Viagrow 5 Gallon Nursery Pot
4. Buy These Garden Tools!
While containers and seeds are the only two essential tools you need when learning how to grow dill from seed there are other garden tools that will make your life easy.
Of the most basic, but handiest garden supplies to have is a good sprayer.
You want to use a good sprayer because hoses and cups will flood your seed rendering it useless.
I recommend Tolco Spray Bottle 8 oz.
In addition, it is also great to have good garden utensils to help minimize dirt and disorganization.
If you want one of the best gardening tool sets then I recommend: Vremi 9 piece tool set.
And finally, you can’t grow dill seeds inside without a good grow light. If you have access to a warm sunny area for at least 8 hours a day you won’t need a grow light.
I specifically recommend: Hydrofarm Grow Light
5. Buy Soil & Fertilizer
Just because you have the best seeds and a pot to start your dill doesn’t mean you’ll have success.
You want to make sure you have the correct soil and good fertilizer.
If you do not have the proper soil your seed will not fully grow and bare leaves. And while you can survive without fertilizer, a good mixture will help you get the most out of your dill plant.
While there are lots of soil you can buy, we will want to focus on the only one you need, potting mix.
Very simply, this soil will contain the right mixture of soil, sand, and nutrients needed for your Lavender seeds to grow healthy.
I am highly recommending: Miracle-Gro Potting Mix.
In addition, you want to make sure you have a good fertilizer to help your dill grow as large and fruitful as possible.
I use and recommend: Miracle-Gro Plant Food
How to Start Seeds Indoors (Tip #6)
When learning how to grow dill from seed you should almost always start your process indoors.
Step 1
You will want to start your dill seeds inside approximately 8-10 weeks before you plan on moving your dill into your garden or moving your larger container.
You want to first start by filling your 3 inches pot 80% full with your potting mix.
Next, you will want to spray the soil immediately after 5-10 times. You want the soil to be damp, but not soaked. You will know the soil is damp when it turns a dark brown color.
Step 2
Next, use the tip of a pencil and make a circular motion to form a tiny hole. This will be approximately 1/8 inch deep.
Then place 2 to 3 seeds into the hole and brush the soil over the seeds.
You will then spray the soil again 5 to 8 times. Moisten, but do not dampen the soil.
Step 3
After planting your seeds place your pots in direct sunlight or under your grow light. Your seeds will need approximately 8 hours of sunlight.
If you put your seeds under the grow light keep it approximately 4 inches from the bulb. Anything closer will burn the seeds. Anything further away with not provides enough heat and light.
You will also need to make sure the room temperature is around 65-70 degrees Fahrenheit.
If the air temperature does not stay around this temperature then your seeds will not germinate or pop through the soil.
If you don’t have an area that will stay consistently around 65-70 degrees, I would recommend investing in a Plant Heating Mat.
A Plant Heating Mat is the perfect way to keep your pots and seeds at a consistent temperature that we may not otherwise be able to. The best part about a heat mat is you just plug it in and you are all set.
Step 4
After your initial planting, you will need to spray the soil once to twice a day. You will know it’s time to spray if the soil looks a light brown color or feels dry to the touch.
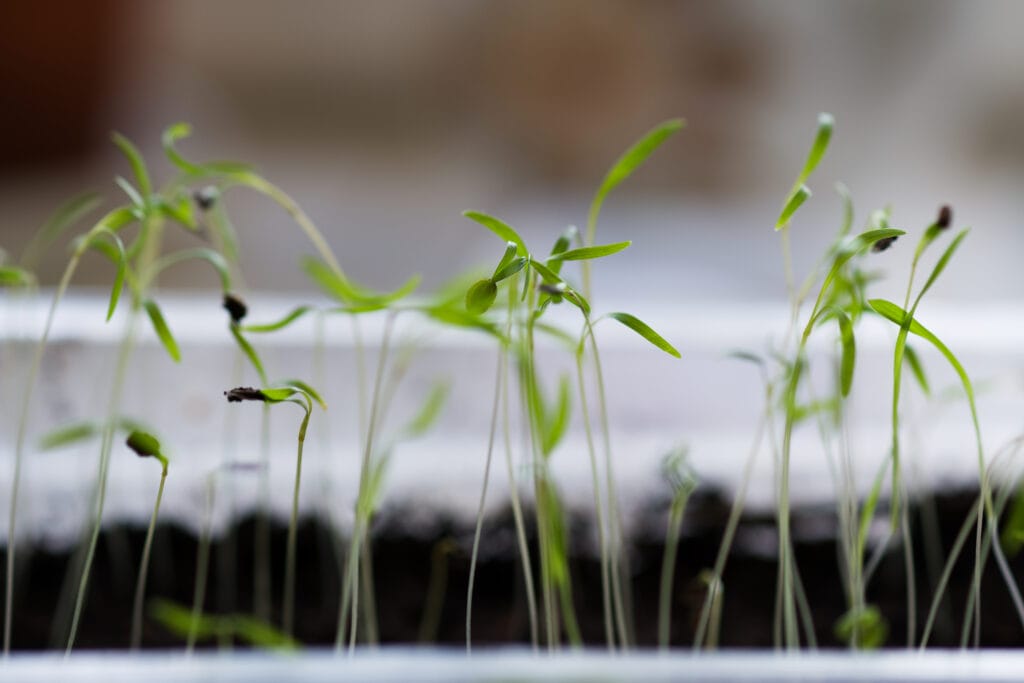
It will take approximately 10-14 days for your seeds to germinate or pop through the soil.
Do not worry if it takes a few days later as each growing situation is different.
Step 5
Continue spraying your dill (as referred to step 4) over the next 4-8 weeks.
Once your dill reaches 3 inches tall you will either want to move them into your larger containers or move them outside.
If you move your dill plants into a larger container you can continue to water them twice a day until they are ready to be harvested.
You should only move your dill plants outside if the temperature is above freezing.
While dill plants are cold hardy plants, consistent frost will kill them.
You can view your hardy zone below to determine your first and last frost date of the year.
When transplanting your dill plant into a garden you will want to dig a hole that is the size of your dill plant root ball (where the roots meet the soil). Next, cover it with soil and water it for 30 seconds.
It should also be noted that you will not need to thin your dill plant like you would with vegetables or herbs. Typically, 2-3 dill plants can grow in one pot without any problems. This will also give you the fullest harvest.
If you learn better watching a video then I recommend watching the below youtube tutorial:
How to Care for Dill (Tip #7)

Below are tips for caring for your Dill throughout the summer:
- Healthy Soil & Fertilizer – Inspect your soil for fungus, pests, and weeds before you plant and throughout the summer. Remove as needed.
- Water. Water once a week when planted outside. Too much water will not kill your dill but will stunt its growth.
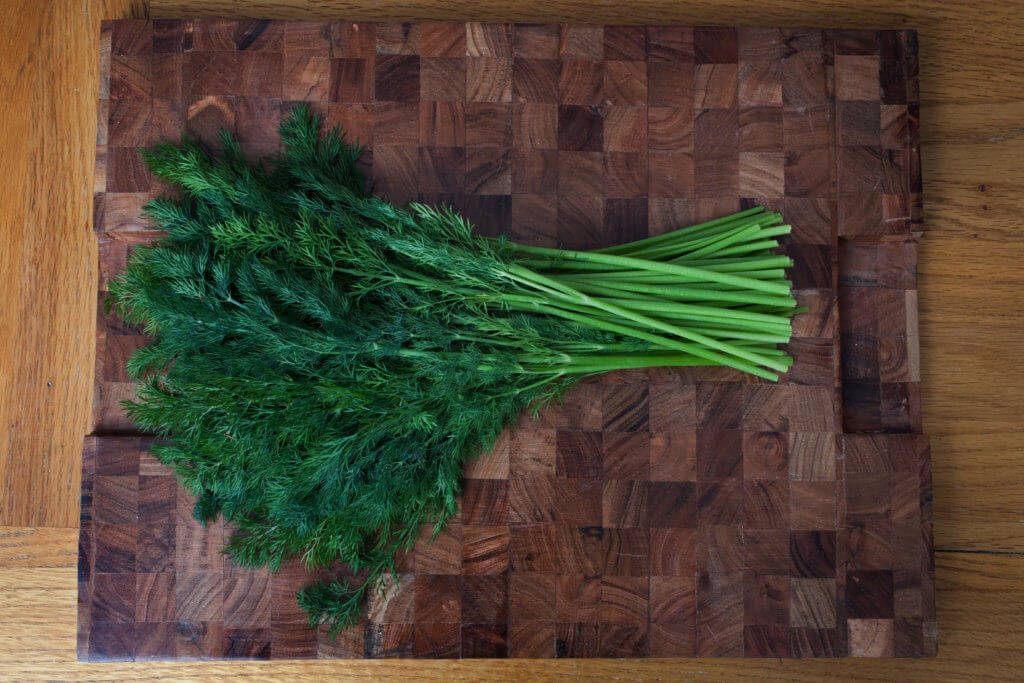
- Harvest Often & Early: One of the best ways to care for your dill is to harvest it often and early. This will help your dill to continue to grow and become healthier
How to Harvest Dill (Tip #8)

Below are critical tips to remember when harvesting dill:
- Harvest your dill plants under the leaves. Only harvest it when there are 4 to 5 leaves. This will allow more leaves to grow.
- I highly recommend only harvesting 30% of your dill at a time. This will allow more leaves to grow at a faster rate.
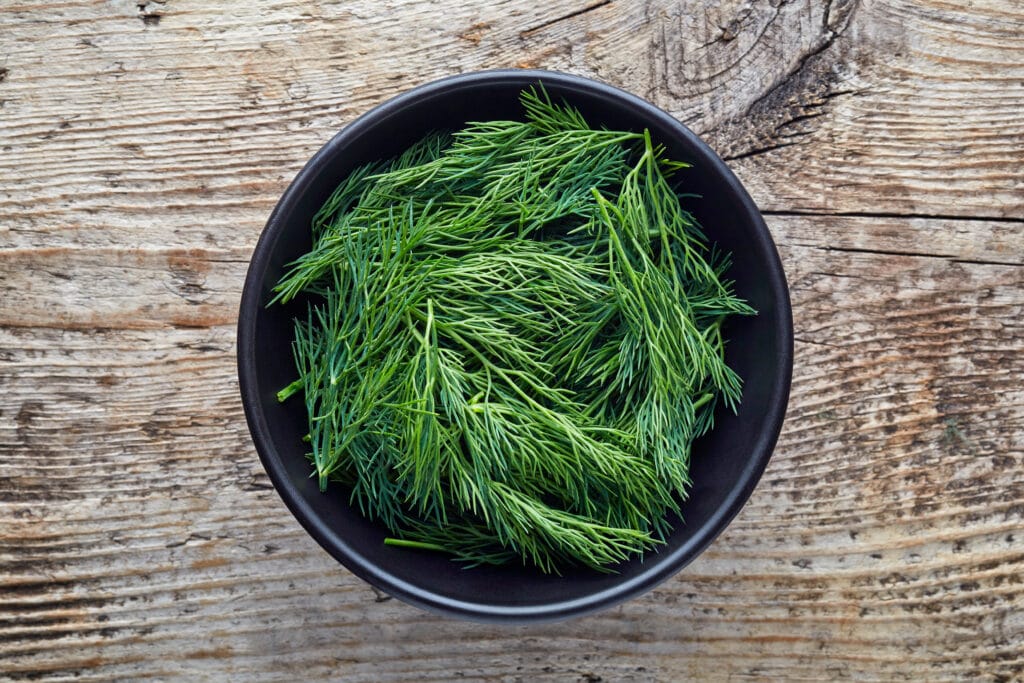
- After you harvest your dill leaves you will want to wash them, place them in a plastic bag, and store them in your fridge.
How to Store Dill (Tip #9)

There is nothing better than fresh dill. And the best part is that you can harvest your dill only when needing it, giving you the freshest dill!
But what happens if you have too much dill?
How do you store it?
The place way to store your dill leaves is to wash them, place them in a plastic bag where you remove all oxygen (by pressing on the bag after the leaves are inside), and storing them in your fridge.
If you plan on using the dill leaves within the next 24 hours you can also repeat the same process as above and leave them in a cool dark space in your house.
If you want to use your dill leaves in the future (1 week or longer after harvesting) then you can repeat the same process as above and store them in your freezer.
When storing dill leaves in your freezer than please use them within 6 months for the best taste.
BEST Dill Use Ideas (Tip #10)
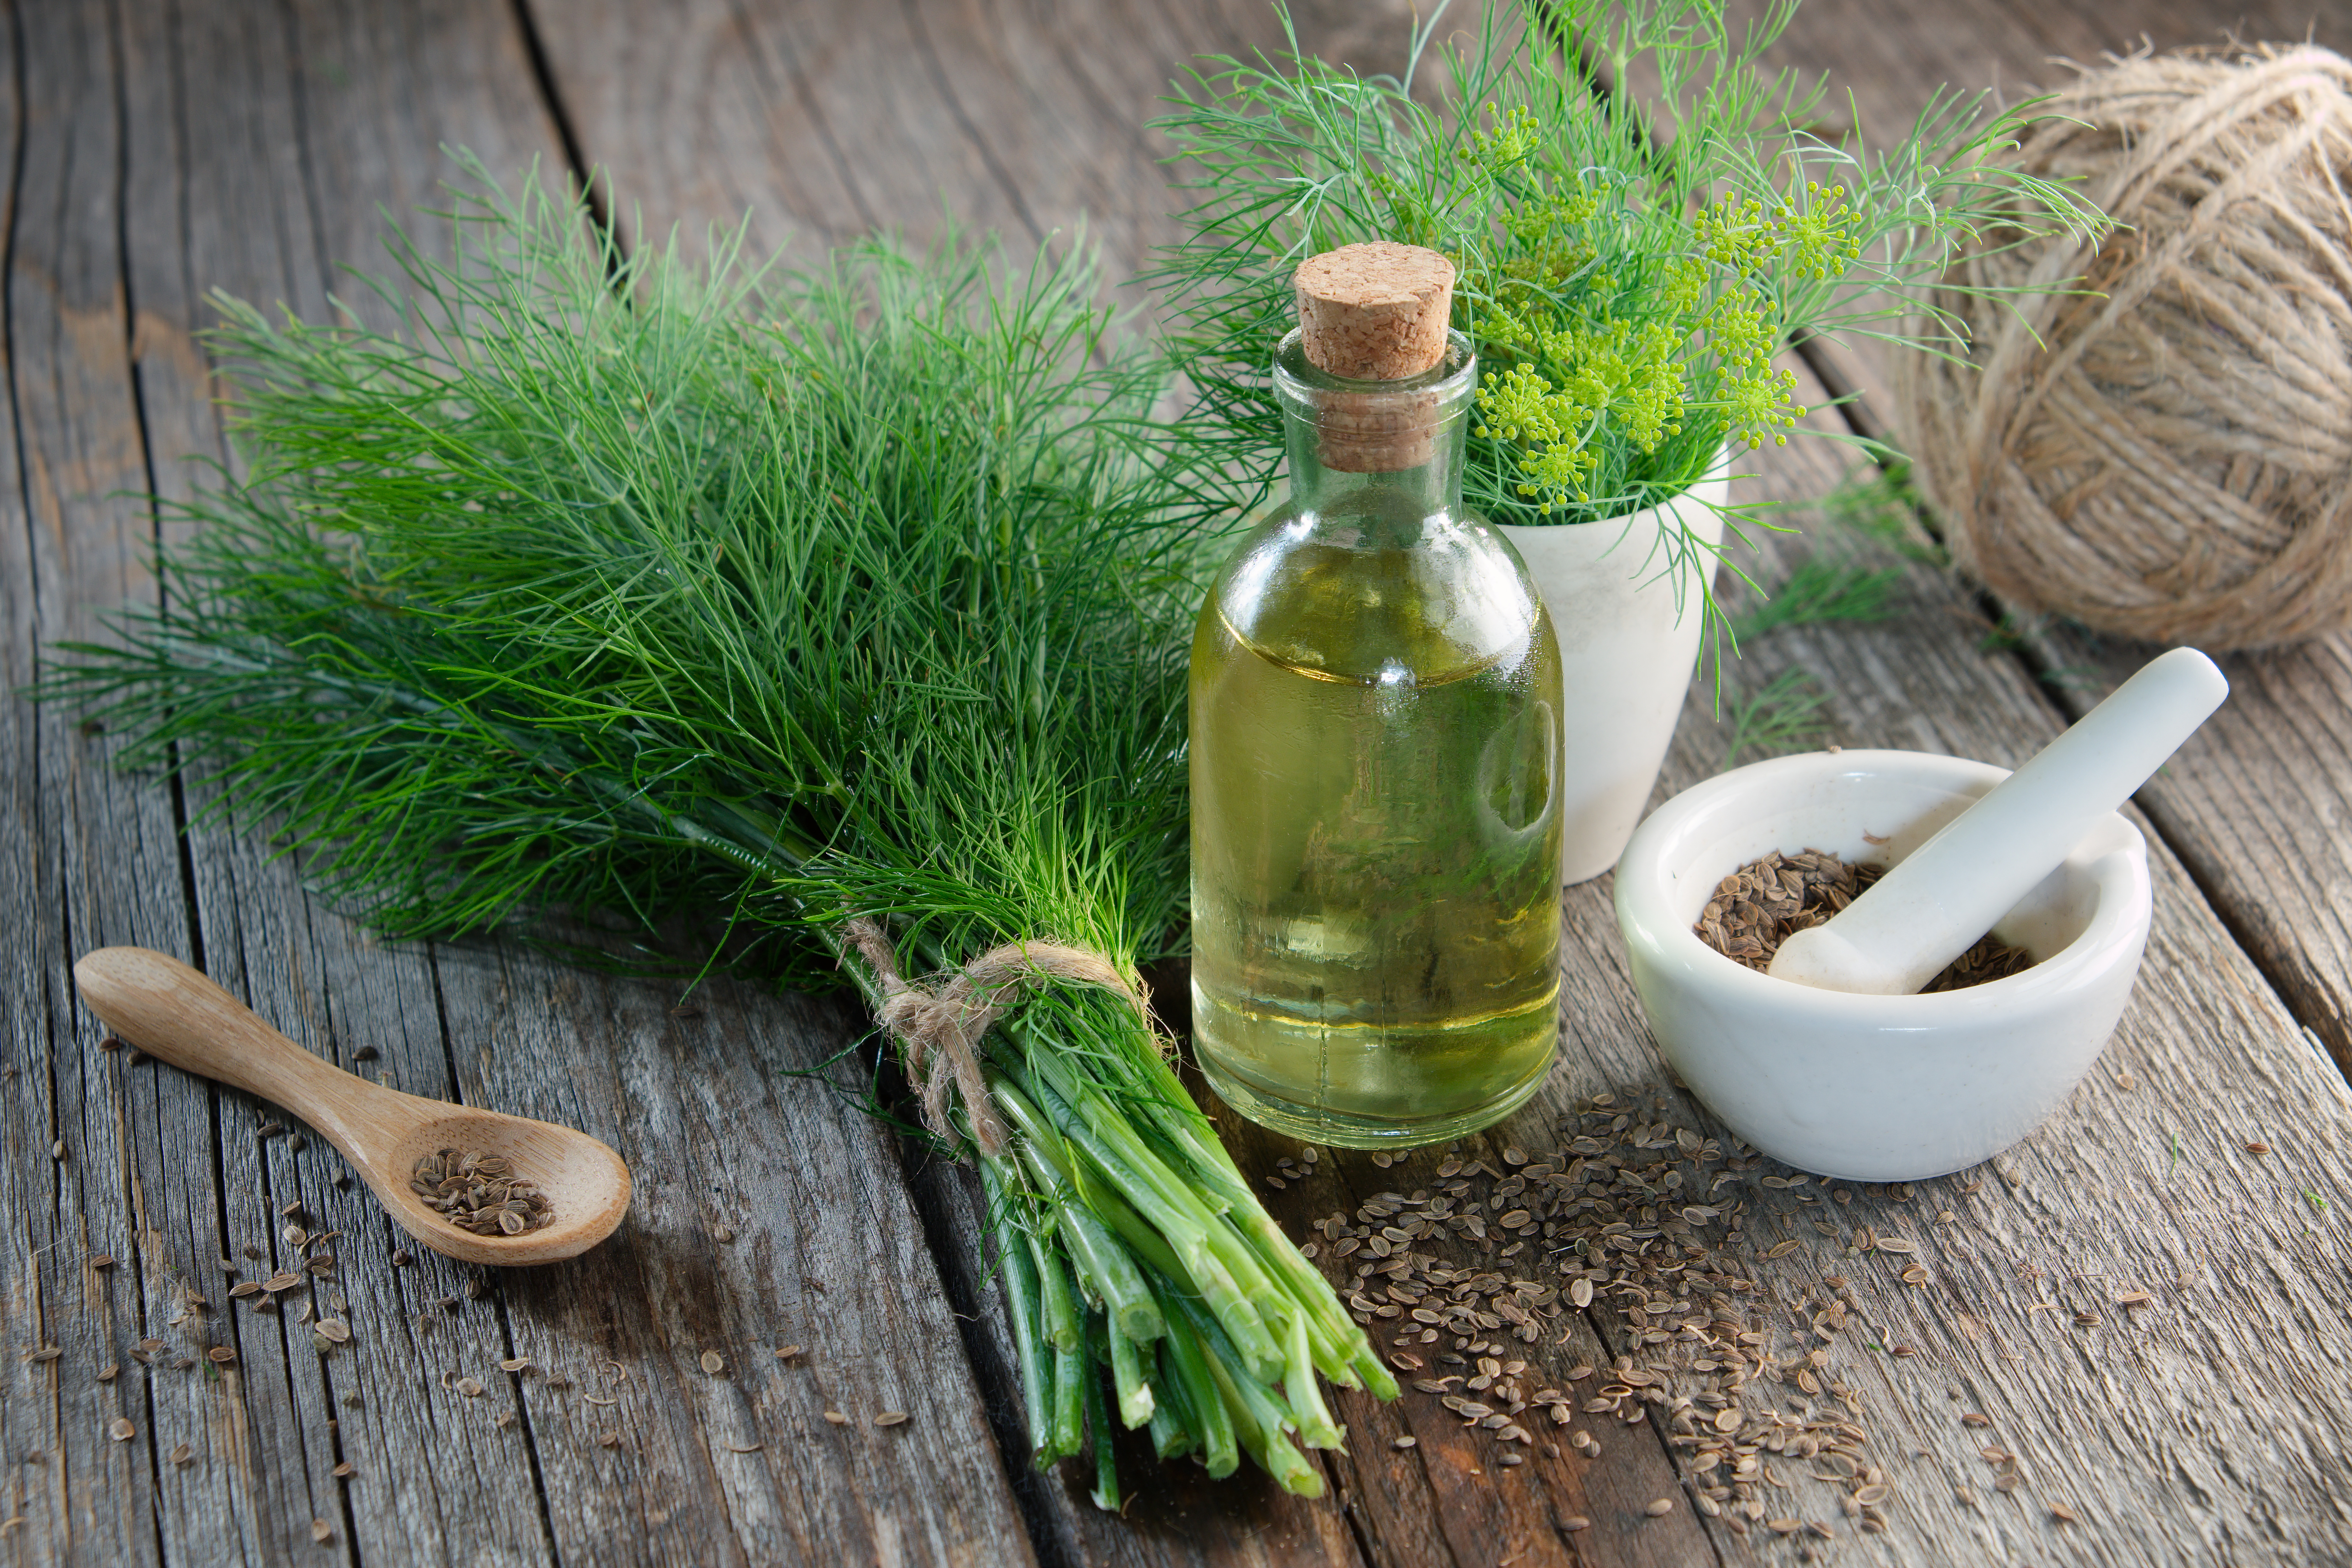
Below, are a few of the uses of dill that are both easy and most enjoyable:
- Creating essential oil: Dill oil can be used to reduce stress, is great for your skin, and can help repel mosquitoes.
- Health: If you are interested in learning more about health remedies that dill can be used for, I highly recommend reviewing WebMD
- Food: There are so many different uses, but if you want to learn my favorite ways to use fresh dill then check out: The kitchen
Conclusion
After reading this article you should now have a much better idea on How to Grow Dill from seeds and how to have the greatest chance for success.
If you want to have the most success, I recommend these 10 Quick Tips:
- Use one of the 4 recommended types of Dill for the best chance of success
- Buy the Correct Seeds. Organic or traditional doesn’t matter as much as where you purchase them from
- Buy two different types of containers to help allow your dill to grow to its fullest potential
- Garden tools aren’t essential, but they will make gardening easier!
- The correct soil and fertilizer can turn your dill from good to great
- There are only 5 simple steps for starting your seed in a pot and this should take less than 15 minutes
- Proper care for your dill will allow you to get the most harvest
- Harvesting dill leaves is an art and science. Never over-harvest
- Dill leaves can be stored in cool, dark places, the fridge, or even the freezer
- There are many great uses for dill leaves. Don’t be afraid to try different recipes
If you enjoyed this article then please read my other articles: