How do you Grow Fritillary from Bulbs?
This can be a difficult question to answer for beginner gardeners because of numerous factors including climate, soil, and experience level.
But it doesn’t have to be!!!
This article will help give you 2 Easy-to-Follow Steps on growing Fritillary ANYWHERE.
And I recommend scrolling to the bottom of this page to find answers to the 7 Most Frequently Asked Questions for growing Fritillaries.
Step #1: Plant One of These 3 Types of Fritillary
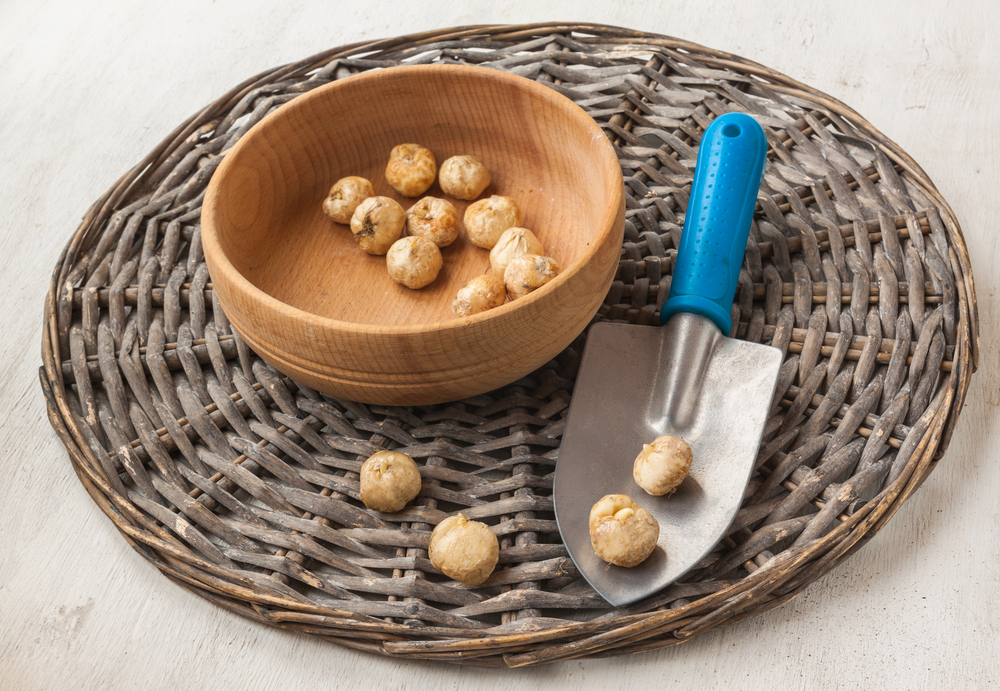
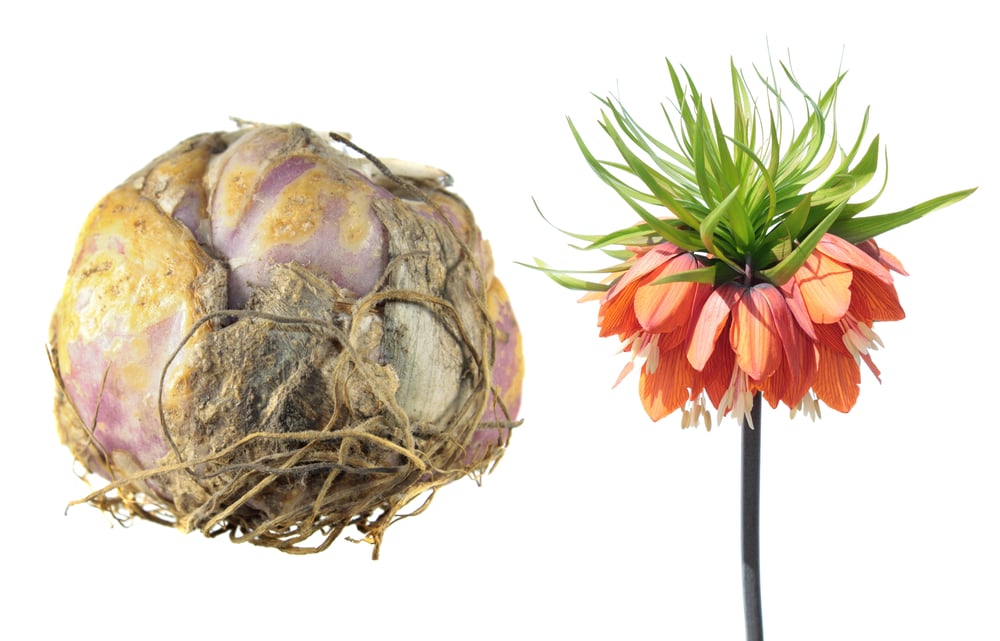
When buying and planting one of these 3 types of fritillary you should make sure that the bulbs are firm, unblemished, with few or no tears to the outer coating.
I am recommending three specific types of Fritillary that are simple to grow and care for regardless of your experience.
Best of all is that all of these Fritillary are perennials and beautiful!
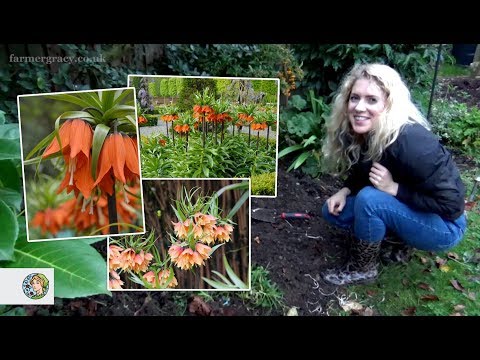
A) Pointed Petal Fritillary
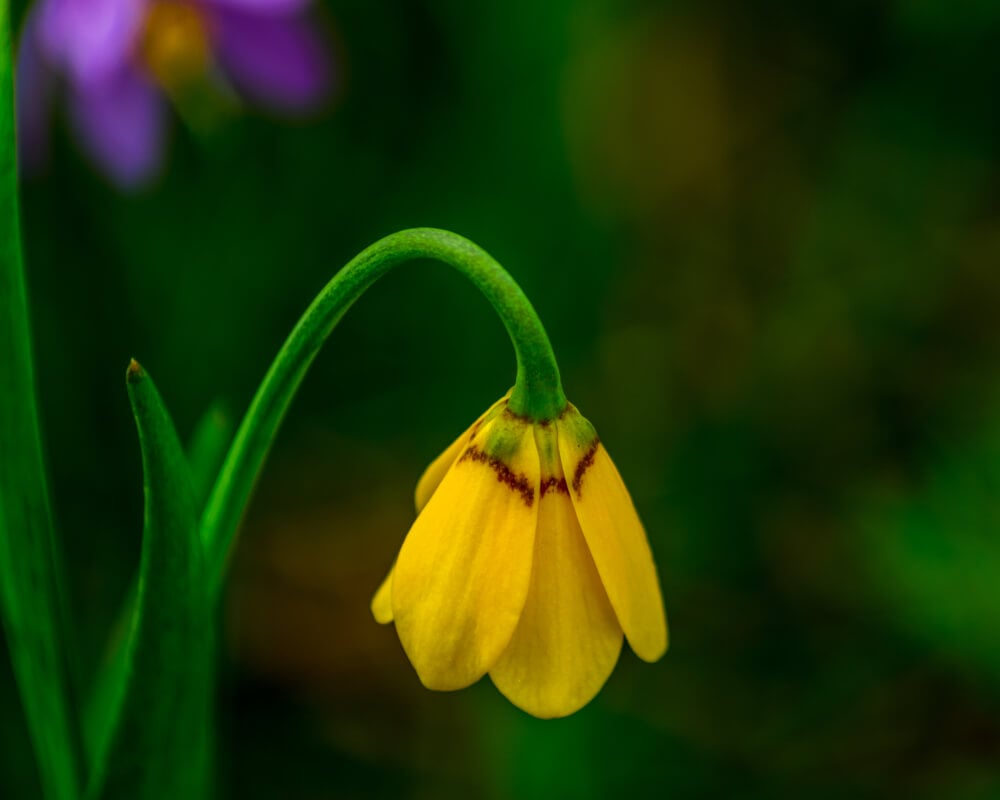
- Hardiness Zone: 3 – 8
- Length & Width: 12 inches x 36 inch
- Watering Needs: Average
- Sun Exposure: Full
- Bloom Time: Late Spring
When the typical gardener thinks of Fritillary they are thinking of the Pointed Petal Fritillary.
The Pointed Fritillary has a goblet or cup shape and includes some of the tallest varieties of fritillary that you can grow.
They are incredibly easy to grow and are perfect for raised garden beds, edges, rock gardens, and containers. To have the best results you should plant 15 at a time.
B) Chocolate Fritillary
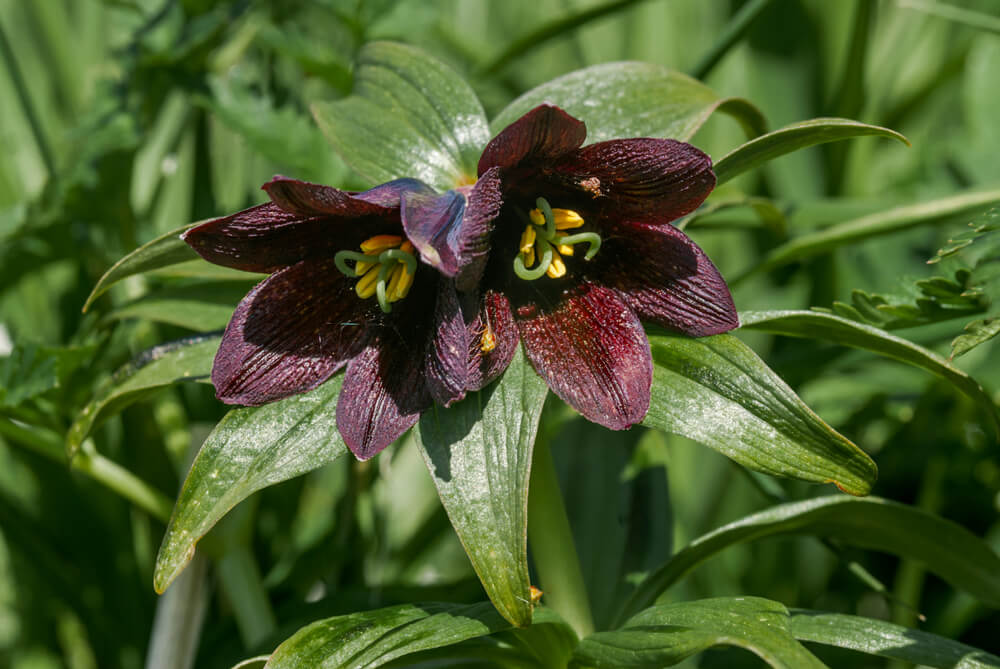
- Hardiness Zone: 3 – 8
- Length & Width: 12 inches x 36 inches
- Watering Needs: Average
- Sun Exposure: Full
- Bloom Time: Late Spring
Because of their color, Chocolate Lily Fritillary is a sought after for its beautiful colors and unbelievable smell.
They are incredibly easy to grow and are perfect for raised garden beds, edges, and containers. To have the best results you should plant this flower in humus-rich soil.
Not only that, but these are incredibly fragrant fritillary and are perfect to be cut and displayed indoors. It is also great to attract pollinators.
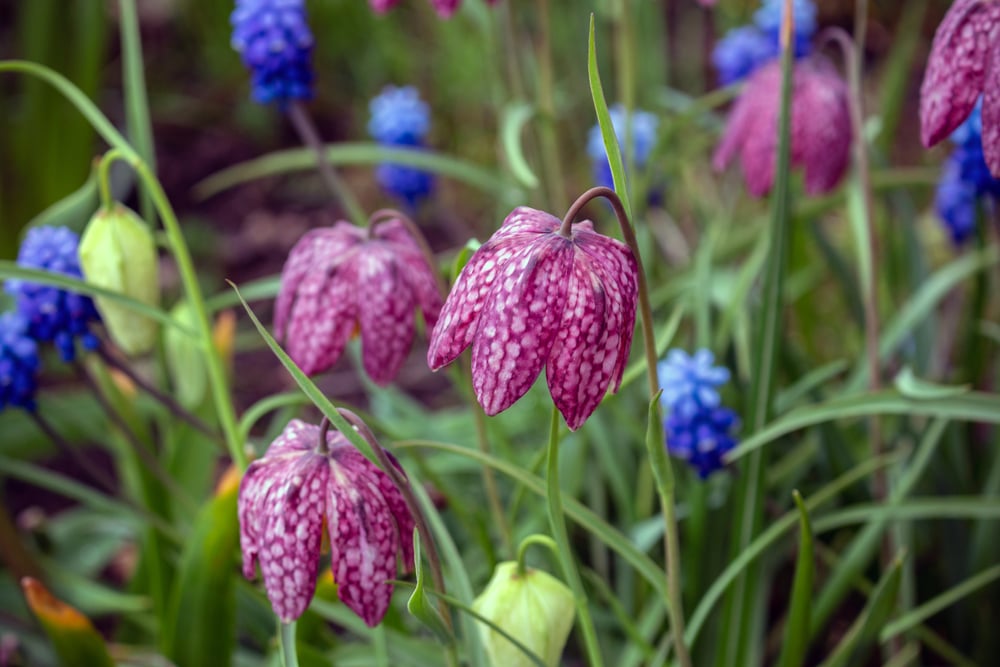
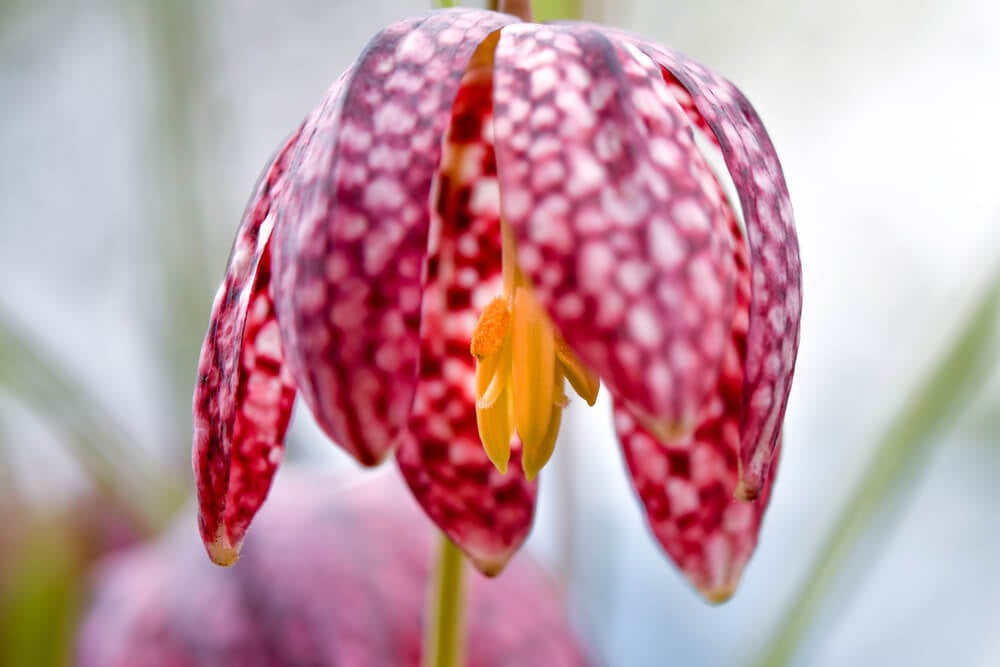
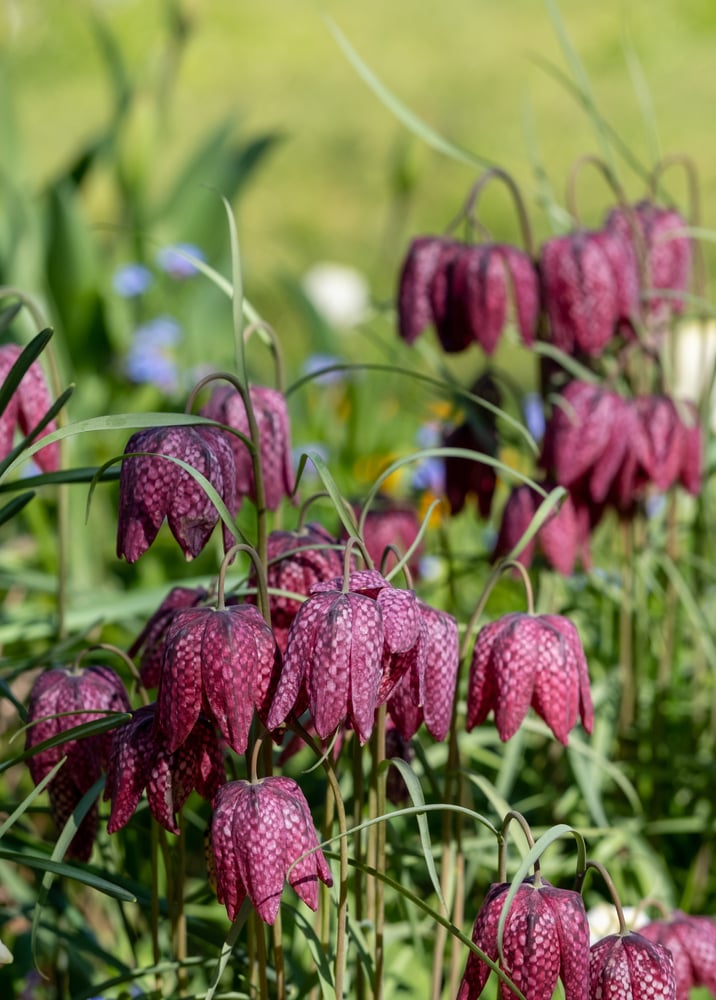
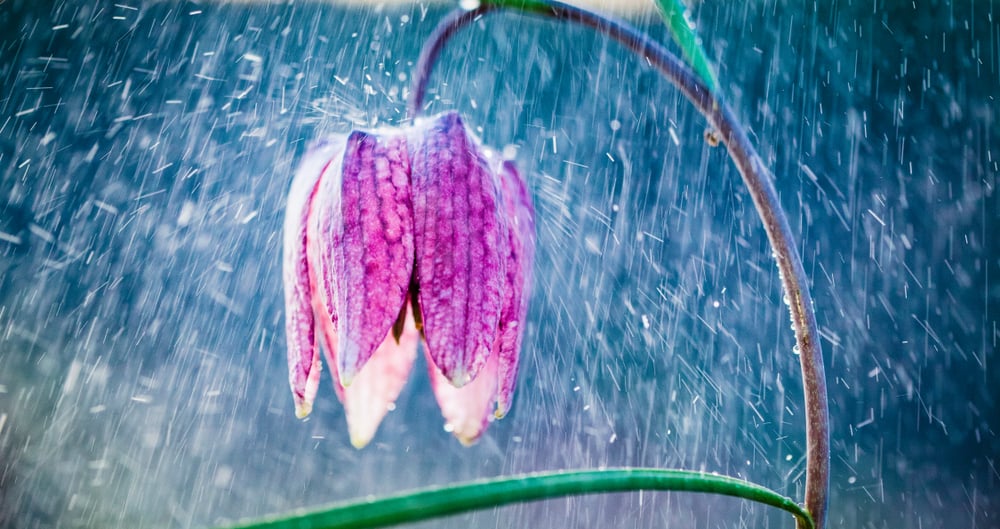
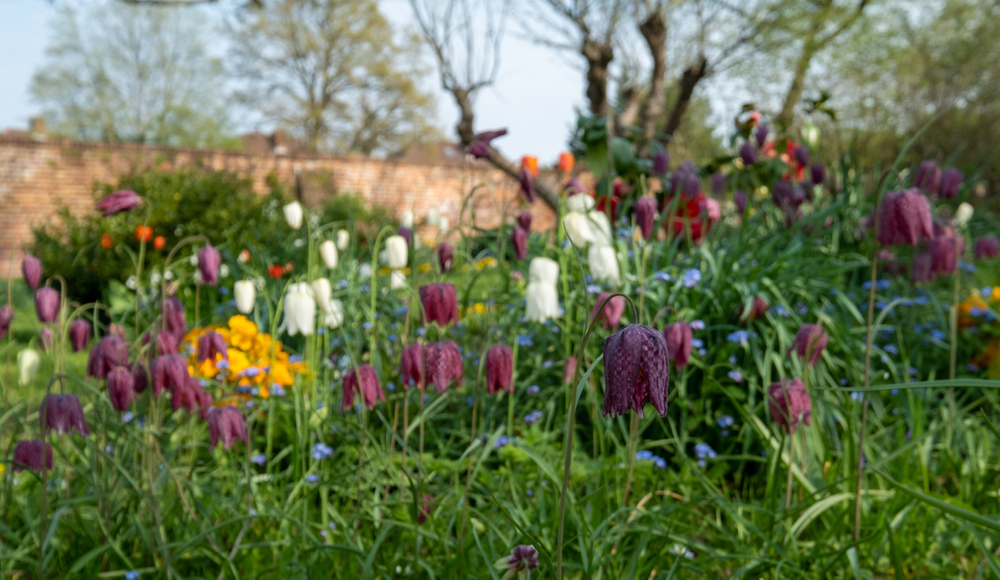
C) Checkered Fritillary
- Hardiness Zone: 3 – 8
- Length & Width: 12 inches x 36 inches
- Watering Needs: Average
- Sun Exposure: Full
- Bloom Time: Mid Spring
This checkered Fritillary is my favorite type of perennial flower because of its beautiful colors that mixed together.
They are incredibly easy to grow and are perfect for raised garden beds, edges, and containers. To have the best results you should plant 15 at a time.
If you are looking to add a burst of color to your spring garden then look no further than this perennial flower.
The best part about this flower is that it is perfect for beginner gardeners.
Step #2. How to Grow Fritillary from Bulbs
Fritillary is a beautiful flower that blooms in early to mid-spring.
Unlike conventional thinking, Fritillaries are perennial flowers.
Most flower gardeners think Fritillary are annual flowers because hybrid fritillary can become weakened perennials over time.
Step 1 – Plant Your Fritillary Bulbs in the Fall
First, make sure you buy your appropriate Fritillary on Amazon on another reputable garden vendor.
Plant your bulbs in the fall when your soil has cooled & the temperature is between 40 to 50 degrees Fahrenheit.
Plant your bulbs before the first frost!
Take the temperature of your soil and ensure that it will stay below 60 degrees for 12 weeks or think about planting your fritillary in pots.
- Hardiness Zones 3 – 5: Plant in September
- Hardiness Zones 6 – 7: Plant in October
- Hardy Zones 8 – 9: Plant in December
*Find Your Hardiness Zone HERE*
Step 2 – Prepare Your Soil THIS Way!
Locate the area of your flower garden or yard where you want to plant your fritillary.
- Fritillary do best in an area that receives partial to full afternoon sun.
- The soil should be well-draining and should be neutral to slightly acidic (6.0 – 7.0 pH level).
- The flower garden should be well protected from wind and heavy rain.
Mix 3 inches of Flower Garden Soil to the top 6 inches of your garden soil.
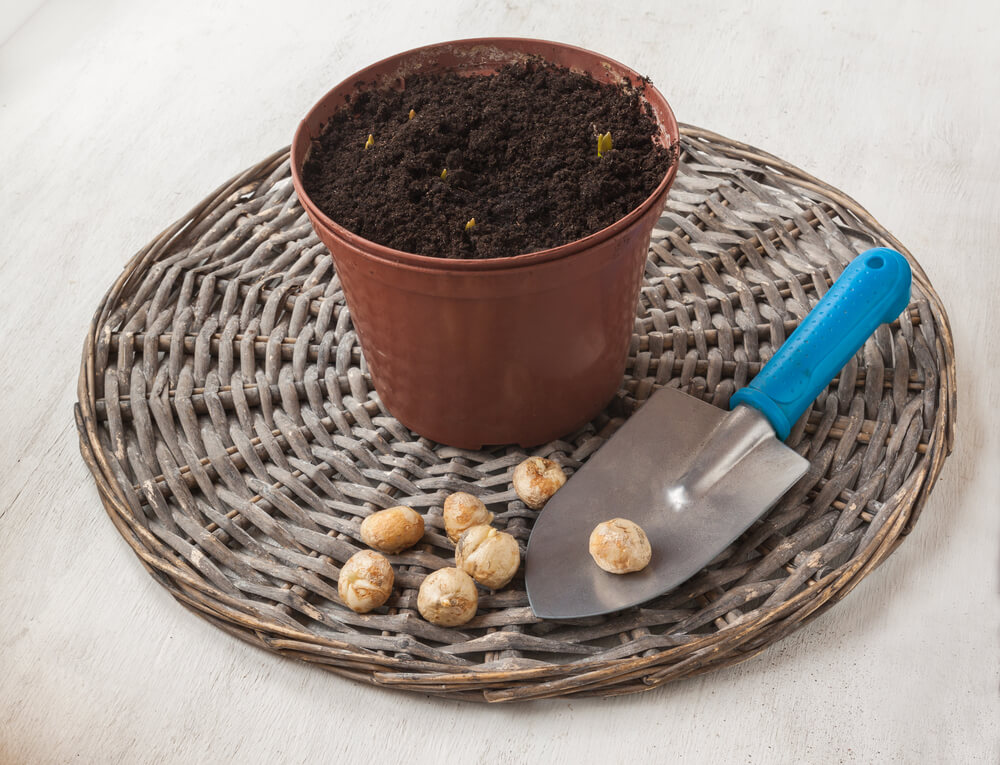
Step 3 – Simply Plant Your Fritillary Bulbs
To have the most success planting your bulbs you should dig a hole 8 inches deep and plant 10 next to each other.
*Make sure the Fritillary Bulbs “pointy” part is facing up*
Then mix flower fertilizer (that has a 10-10-10 NPK ratio) in the hole (according to the the instructions). And then fill the holes with your flower and garden soil mix.
Next, water your fritillary bulbs for 15 seconds. This will help promote the start of root growth. Continue to water your bulbs for 15 seconds once a week for the first month.
Then continue this process for as many bulbs as you want to grow. Make sure to spread each set of 10 fritillary bulbs 4 inches apart.
Step 4 – Do THIS in the Winter
In the beginning of winter you will want to mulch your flower garden bed.
After you mulch the flower garden bed do nothing else to your fritillary bulbs the rest of winter.
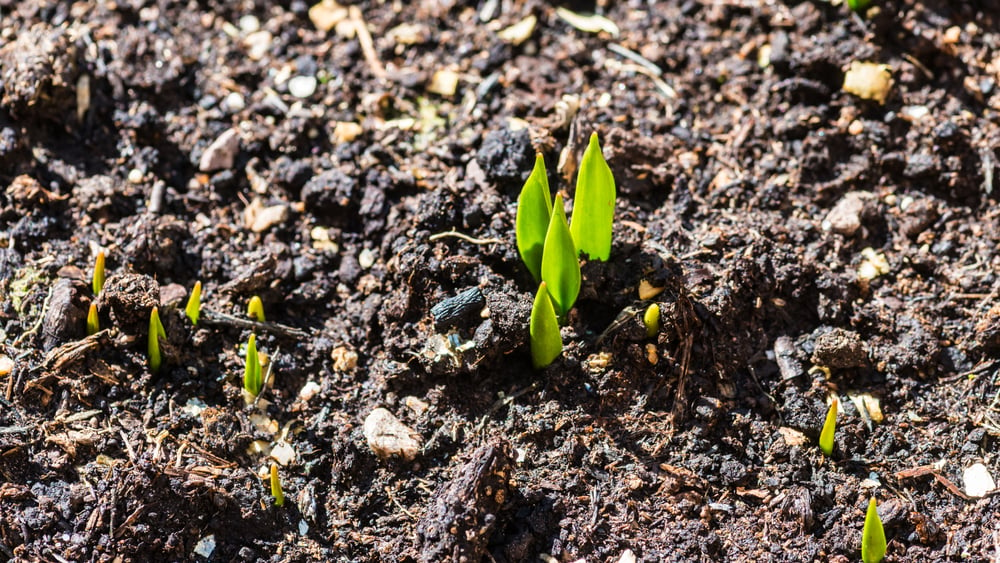
Step 5- And do THIS in the Spring
Once the year becomes spring and your fritillary grow leaves then you should add flower fertilizer again.
Then water your fritillary once a week until your fritillary bloom.
As soon your fritillary petals fall off the flower deadhead it.
And make sure to keep leaves on the flower for 6 weeks while your flower absorbs energy for next year’s bloom.
Step 6 – Maintain minimal maintenance in summer
Once it becomes summer you should cut the stem and leaves of your fritillary where it meets the soil.
Do not water your fritillary in the summer. Do not fertilize your fritillary in the summer. Simply leave your fritillary in the ground all summer.
Frequently Asked Questions (9 Questions)
#1. How Do You Grow Fritillary in Pots?
If you are not able to plant your fritillary bulbs in an area your garden or yard, or if your soil will not stay below 60 degrees Fahrenheit then you should plant your Fritillary in a container.
To have the most success planting Fritillary Bulbs in pots you should do the following:
- Bury your bulbs in a container with 8 inches of Flower Garden Soil over it.
- Make sure the “pointy” end of the bulb is facing up
- Immediately water your fritillary bulbs for 15 seconds
- Before the first frost of the year move your container to an area of your property that is cool and dry. Keep it here throughout winter
- Once you notice green growth emerging in the winter move your container into a sunny area and begin watering it once a week.
- Once your fritillary petals fall off you will want to deadhead your flower.
- Let the green growth of your plant remain for 6 weeks. Then cut it and your stem where it meets your soil.
#2. How Do I Water My Fritillary?
You should water your Fritillary three different ways.
- Immediately after you plant your fritillary bulbs you should soak the soil for 15 seconds
- Continue watering your fritillary bulbs once a week for the first month and then don’t water until the spring
- Begin watering your fritillary once a week once green growth returns in the spring
#3. How Do I Feed My Fritillary?
To properly feed your fritillary with the fertilizer you should wait until the fritillary flowers have faded and begun falling off your flower.
To have the most success use Fritillary Fertilizer. This will help your fritillary store nutrients properly for the next season.
For best results, simply follow the instructions on your fertilizer product.
#4. How Do I Cut Fritillary?

If you want to display your fritillary indoors then cut fritillary when the flowers have grown, but not blossomed.
It is okay if the flower bud is slightly green, but should have color.
Place the cut fritillary in a vase with water at room temperature. Every few days change your water.
If you want your fritillary to last longer in the vase then you should add Miracle-Gro for Fresh Cut Flowers.
#5. How Do I Protect my Fritillary from Pests

The biggest threat to your fritillary is deer, squirrels, and chipmunks. This is both when your fritillary is growing and blooming.
To prevent your bulbs from digging up place bird netting over the ground where they are planted.
If you are trying to prevent deer then you should use deer repellent. If this does not work then grow your fritillary bulbs in pots and containers out of the deer’s reach.
#6. How do I Prevent Common Fritillary Diseases
The most common fritillary diseases and harmful insects are gray molds, slugs, snail, aphids, nematodes, and bulb rot.
You can help prevent these diseases and harmful insects by using a fungicide spray and an insecticide spray in early spring as green growth begins to emerge.
#7. What are the Best Uses for Fritillary?
Fritillary is best used for indoor display, but can also add color to raised garden beds, container gardening, or even in your traditional flower garden.
Fritillary can complement columbines, azaleas, lilacs, daffodils, crocus, and even hyacinths.
#8. What types of Bulb Should I buy?
Purchasing Fritillary Bulbs is a much easier task than say vegetable or herb seeds, where you have to worry about GMOs, Organic, Heirloom, etc.
When buying fritillary bulbs you should stick to hybrid or heirloom. These will give you the best success in growing Fritillary.
Hybrid Fritillary Bulbs are weakened perennials that may or may not come up every year.
Heirlom Fritillary Bulbs are perennial bulbs that come up yearly but have a higher risk of contracting a disease, harmful insect, or fungus.
Just as important is where you buy your bulbs from. I recommend buying your seeds from Amazon. This will provide you with the best price and quickest delivery.
#9. What Type of Gardening Pot Should I Buy?
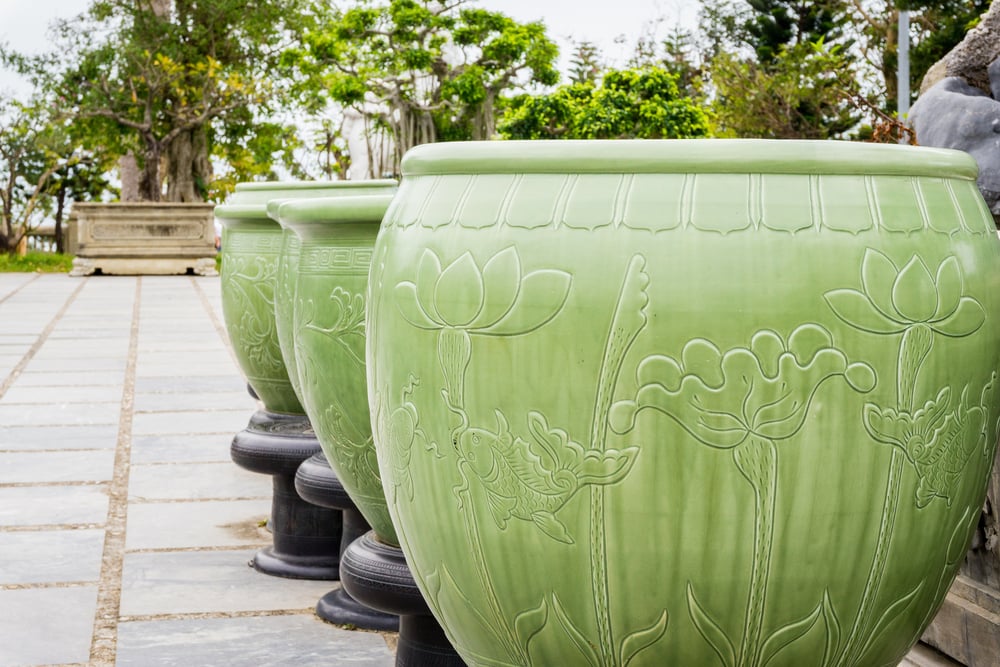
I recommend buying one type of pot.
Buy a 5-gallon pot.
- This is essential if you want to allow your fritillary to grow to its fullest. It is also important if you want to continue to grow your fritillary outside.