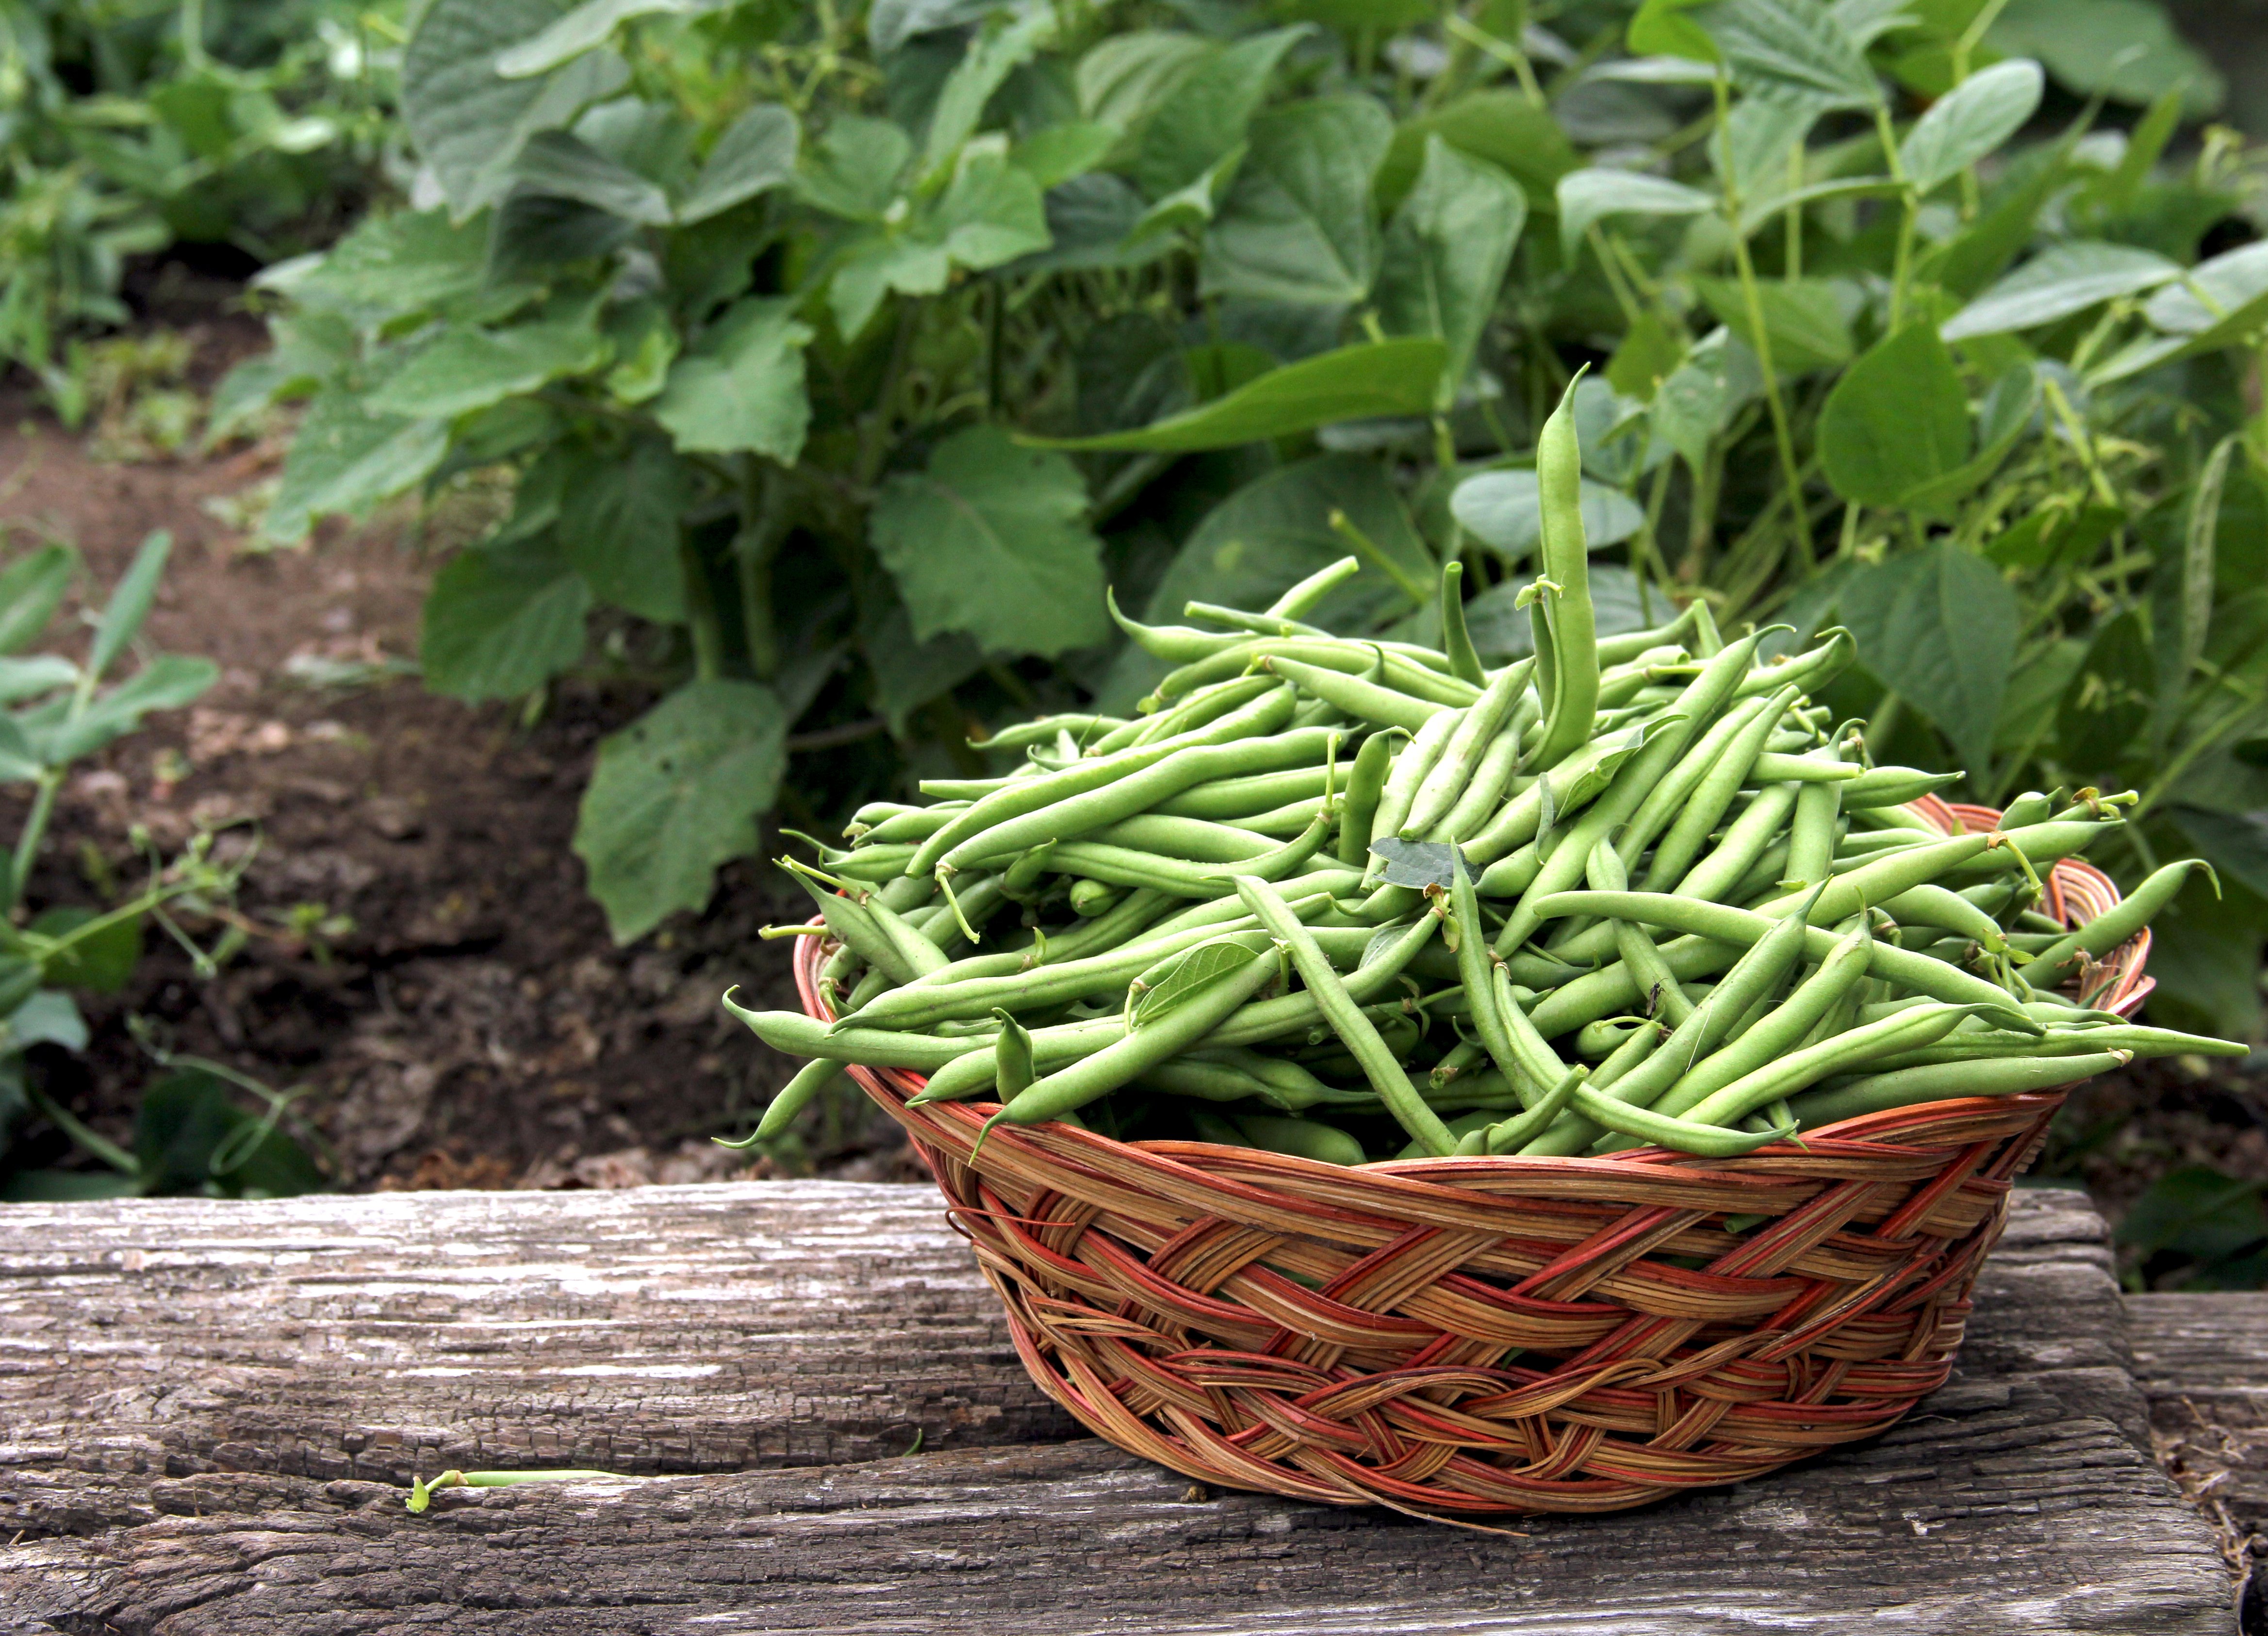
How do you Grow Green Beans from Seed?
This can be a difficult question to answer for beginner gardeners because of complex factors like weather, soil, type of green bean, and pests.
This article will help solve this problem and give ALL experience levels of gardeners Easy-to-Follow Tips on growing Green Beans from seed indoors and outdoors.
And I recommend scrolling to the bottom of this page to find answers to the 5 most frequently asked questions most gardeners have when growing Green Beans from Seed.
Tip #1: Choose THESE 2 Green Bean Types
While there are hundreds of varieties of green beans you can grow from seed, I am recommending 2 kinds to choose from.
These are the easiest types when trying to learn how to grow green beans from seed.
It should be noted that both types of green beans will require well-draining soil that has a pH level between 6 – 6.5, full-sun, plenty of water, and hardiness zones between 3-10.
A) Snap-Bush Green Beans
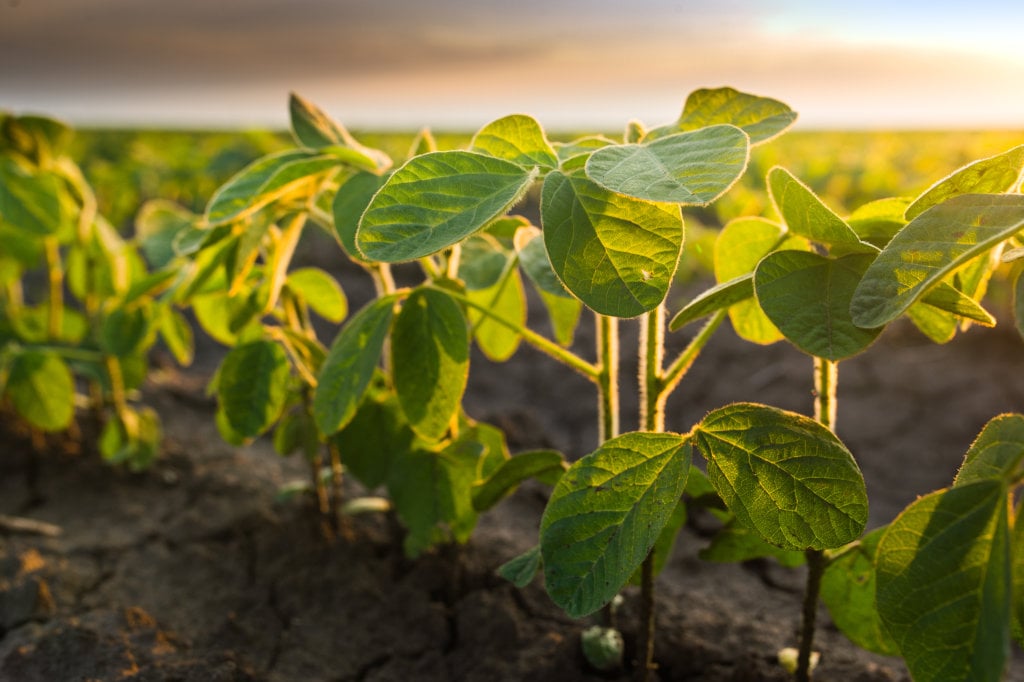
Snap-Bush Green Beans are a type of green bean that grows closer to the ground, is the easier type of bean to grow, and tends to produce the biggest harvest.
The varieties within the type of green bean include Blue Lake, Big Kahuna, Early Bush Italian, Contender, Greencrop, and Maxi Dwarf.
Almost every variety of Snap-Bush Green Beans takes between 50-65 days to grow, produce an abundance of green beans, and have beans that range from 6 to 7 inches long.
Plant sizes usually don’t get any larger than 2 feet tall. They will quickly die with frost and cold weather and are prone to disease and pests. You should follow the simple care steps below to prevent this.
B) Snap-Pole Green Beans

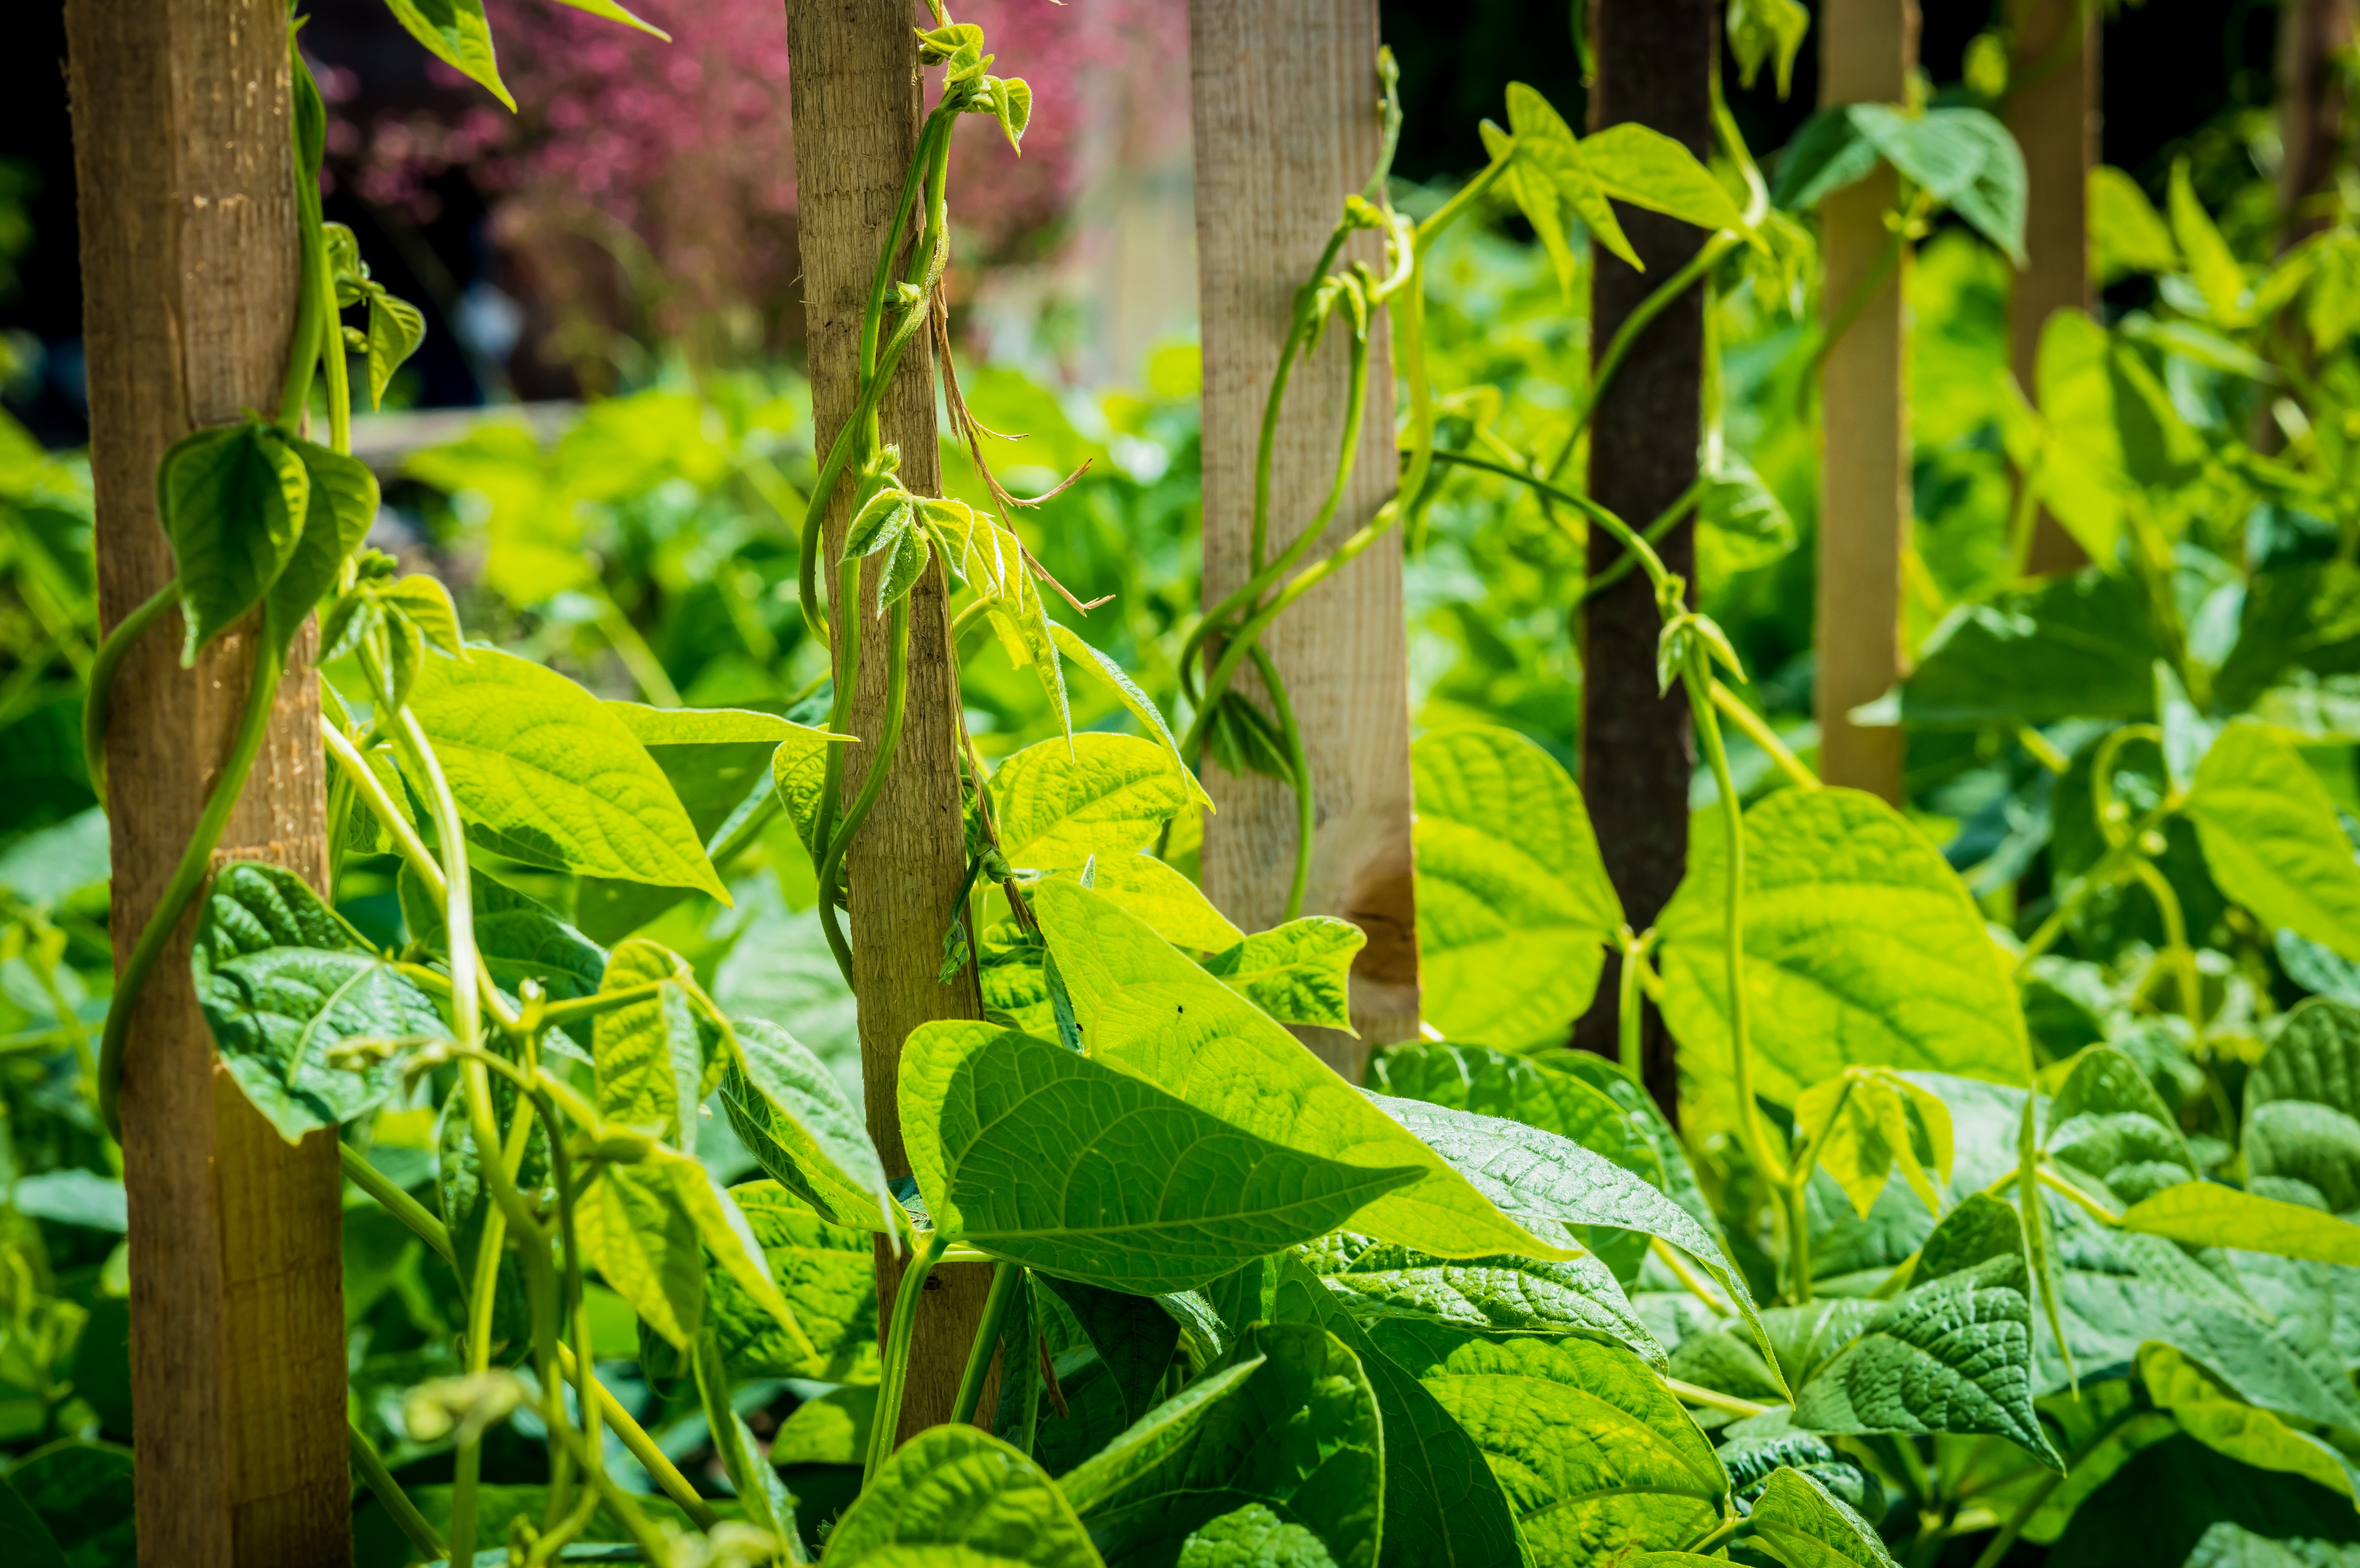
Snap-Pole Green Beans are the type of green bean that needs to grow on a pole, trellis, or other structure, produces a large crop, and is relatively easy to care for with the right steps.
The varieties of Snap-Pole Green Beans include Kentucky Blue, Blue Lake, Kentucky Wonder, Scarlet Runner, and Fortex.
Almost every variety of Snap-Pole Green Beans takes between 65-85 days to grow, produce an abundance of green beans, and have beans that can grow to 1 foot long.
Plant sizes can get as tall as 9 feet. Like Snap-Bush, they will quickly die with frost and cold weather and are prone to disease and pests. You should follow the simple care steps below to prevent this.
Tip #2: Starting Seeds Indoors

When learning how to grow green beans from seed it is typically not recommended to start your seeds indoors due to the quantity you need.
With that being said some of the benefits of starting seeds indoors is minimizing the effect of weather, pests, and disease on your green beans plants.
Step 1 – Begin Planting Seed 8 weeks Before the Last Frost

You will want to start your seeds inside approximately 3 weeks before you plan on moving your green beans into your garden or moving your planter outside.
- You will first want to start by buying your seed. I recommend buying from Amazon because it is quick and inexpensive.
- You will then want to take 3-inch GrowKo Peat Pots and fill them up to approximately 80% full with Miracle-Gro Potting Mix.
- Next, spray your soil 5 to 8 times with a spray bottle. You will want the soil to be moist, not damp. Damp soil can cause unwanted fungus.
*Find Your Last Frost Date HERE*
Step 2 – Plant 2 to 3 Seeds Per Pot

- Sprinkle 2 seeds per pot about 1 inch deep and then gently brush the soil over the seeds. *Note, do not to bury the seeds.
- Then spray the soil again 5 to 8 times until it turns a dark color.
The video below also gives a great tutorial on how to plant seeds.
Step 3 – Provide Your Seeds with At Least 8 Hours of Sunlight

- After planting your seeds, provide at least 8 hours of sunlight by placing the pots by a window or a Grow Light if your windows do not receive enough sunlight.
*If you put your seeds closer than 4 inches they will burn and die. If you put them further away than 4 inches there is a chance they won’t get enough sun to germinate.*
You will also want to keep the room temperature between 65-70 degrees Fahrenheit
- This is the temperature needed so that your seeds can turn into plants.
If you don’t have an area that will stay consistently around 70 degrees, I would recommend investing in a Plant Heating Mat.
- A Plant Heating Mat is the perfect way to keep your pots and seeds at a consistent temperature that we may not otherwise be able to.
Step 4 – Spray, Spray, Spray
After your initial planting, you will need to spray the soil once to twice a day for approximately 7 days.
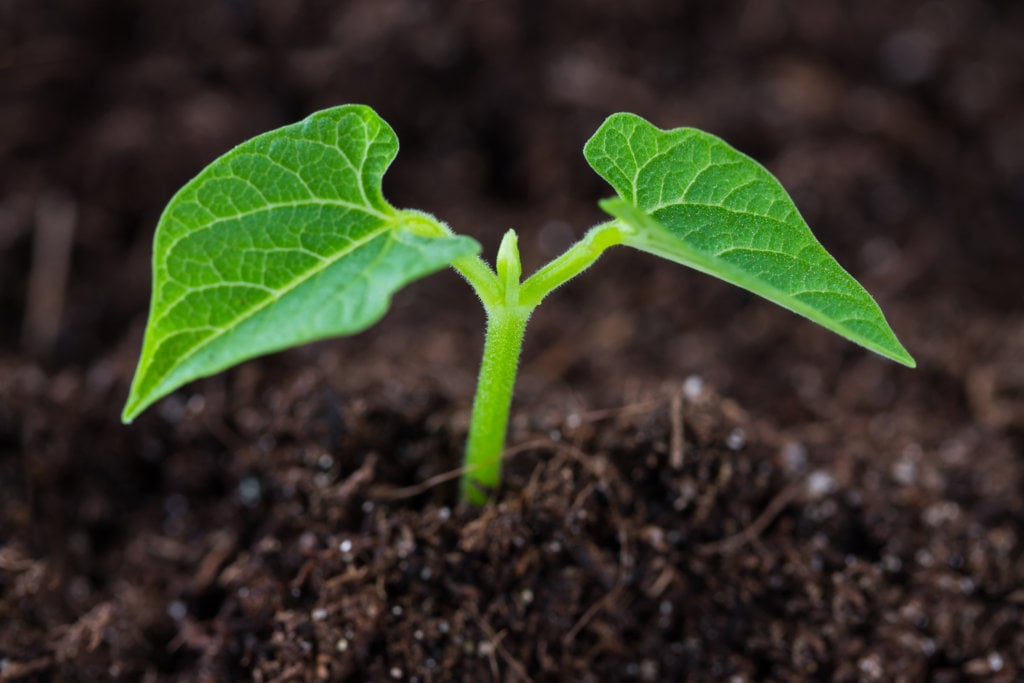
It will take approximately 4-7 days for your seeds to germinate or “pop” through the soil.
Once your seeds have germinated and sprouted through the soil, you will want to continue to spray them twice a day for 2 more months until they are about 3 inches tall. This may take an additional 10 days.
Step 5 – Thin & Transplant your Green Bean Plant into a Larger Pot

Once your green beans reach about 3 inches tall you can remove the smaller of the two plants.
You can do this by taking scissors and snipping the smaller of the two plants right at the soil line. This will allow the healthier green bean plant to grow to its full potential.
Next, you can transplant your green bean plant to a 1 Gallon Nursery Pot.
Again, you will want to fill these pots about 80% full with your potting mix.
Next, you will want to make a hole approximately 3 inches deep (about the size of your green bean plant at this point).
Then turn your existing small pot upside down, pinch the bottom of it, and then gently pull the soil and your plant out.
You will then place it in your 5-gallon pot and fill it with soil.
Immediately after you do this, spray the soil about 5 to 10 times.
You will then want to leave your green bean in this pot until it is ready to transplant outside.
Step 6 – Introduce your Green Beans to Outside Weather
This next step is what most beginner gardeners miss, but is critical to your success.
For about two weeks, you will want to slowly introduce your Green Beans to outside.
On the first day, you will want to place your Green Beans (still in its pot) outside in direct sunlight for approximately 2 hours.
Each day thereafter, place the Green Beans outside for an additional hour until you build up to 6 straight hours.
Tip #3: Transplant Green Beans Outside
Once the last frost of the year has happened you can transplant your Green Beans outside. Never do it before because you risk your plant quickly dying.
Below, is a 2 step process for transplanting your Green Beans outside into your garden.
Step 1 – Do THIS if you will be keeping your Green Beans in its container all summer!
If you decide to keep your Green Beans in the pots then there is no need to transplant. You will only need to apply compost or Miracle-Gro Potting Mix
- Apply approximately 1/4 inch of potting mix to your planter
- As soon as you apply your fertilizer make sure to water the Green Beans for approximately 15 to 30 seconds
- Every week until harvest water your Green Beans twice a day and keep it in full sun to promote fruit growth.
If you want to learn more about growing Green Beans in containers, I recommend watching the below video:

Step 2 – Do THIS to Transplant your Green Beans into your Garden!
- About 1 month before you plan on transplanting your green beans into a garden dig holes about 8 inches deep and filling it with compost. Space holes 6 inches apart.
- Dig your holes in an area that will receive at least 8 hours of light.
- Then after the last frost transplant your green beans into the garden exactly the same way you transplanted it into the larger pots.
- Immediately after you transplant your green beans outside add
Miracle-Gro Plant Food and water the soil for about 30 seconds. - Finally, water your green beans once a day for about 30 seconds. Continue doing this until you harvest your green beans mid-summer.
- Related To: Best Garden Hoses
Tip #4: Starting your Seeds Outside
Green Beans is one of the easiest vegetables to grow outside, no matter where you live.
Whether you do not have the ability to start your seeds indoors or just want to start your seeds directly in a garden then I recommend following the below directions when learning to grow green beans from seed.
Step 1: Start Your Seeds After the Last Frost
You should always start your green bean seeds after the last frost. Green Beans will germinate best at temperatures between 70-75 degrees Fahrenheit.
If you want to know your last frost date then I recommend Clicking HERE.
Step 2: Plant Your Seeds This Way!
Once you decide to start seeds outside you will want to do the following simple steps:
- Find a location that is full-sun and has a pH level between 6.0-6.5.
- Dig 1-inch holes with the tip of your finger or a pencil.
- Keep holes approximately 6 inches to 1 foot apart to allow for the green beans to grow.
- Lightly sprinkle 2 green bean seeds in each spot. It should be noted that not all seeds will germinate and you can always thin your plants out after they grow.
- Lightly cover your seeds and spray 8-10 times until the soil turns a dark brown color.
Step 3: Continue Watering your Seeds
After you initially plant your seeds you will want to water them 2-3 times a day until the soil is dark brown.
You will do this until the seeds germinate and then continue doing this until they become at least 3 inches tall.
*If the weather is hotter than usual for your garden then you may need to water several more times a day then described above.
Tip #5: Grow Seeds on a Pole or Trellis
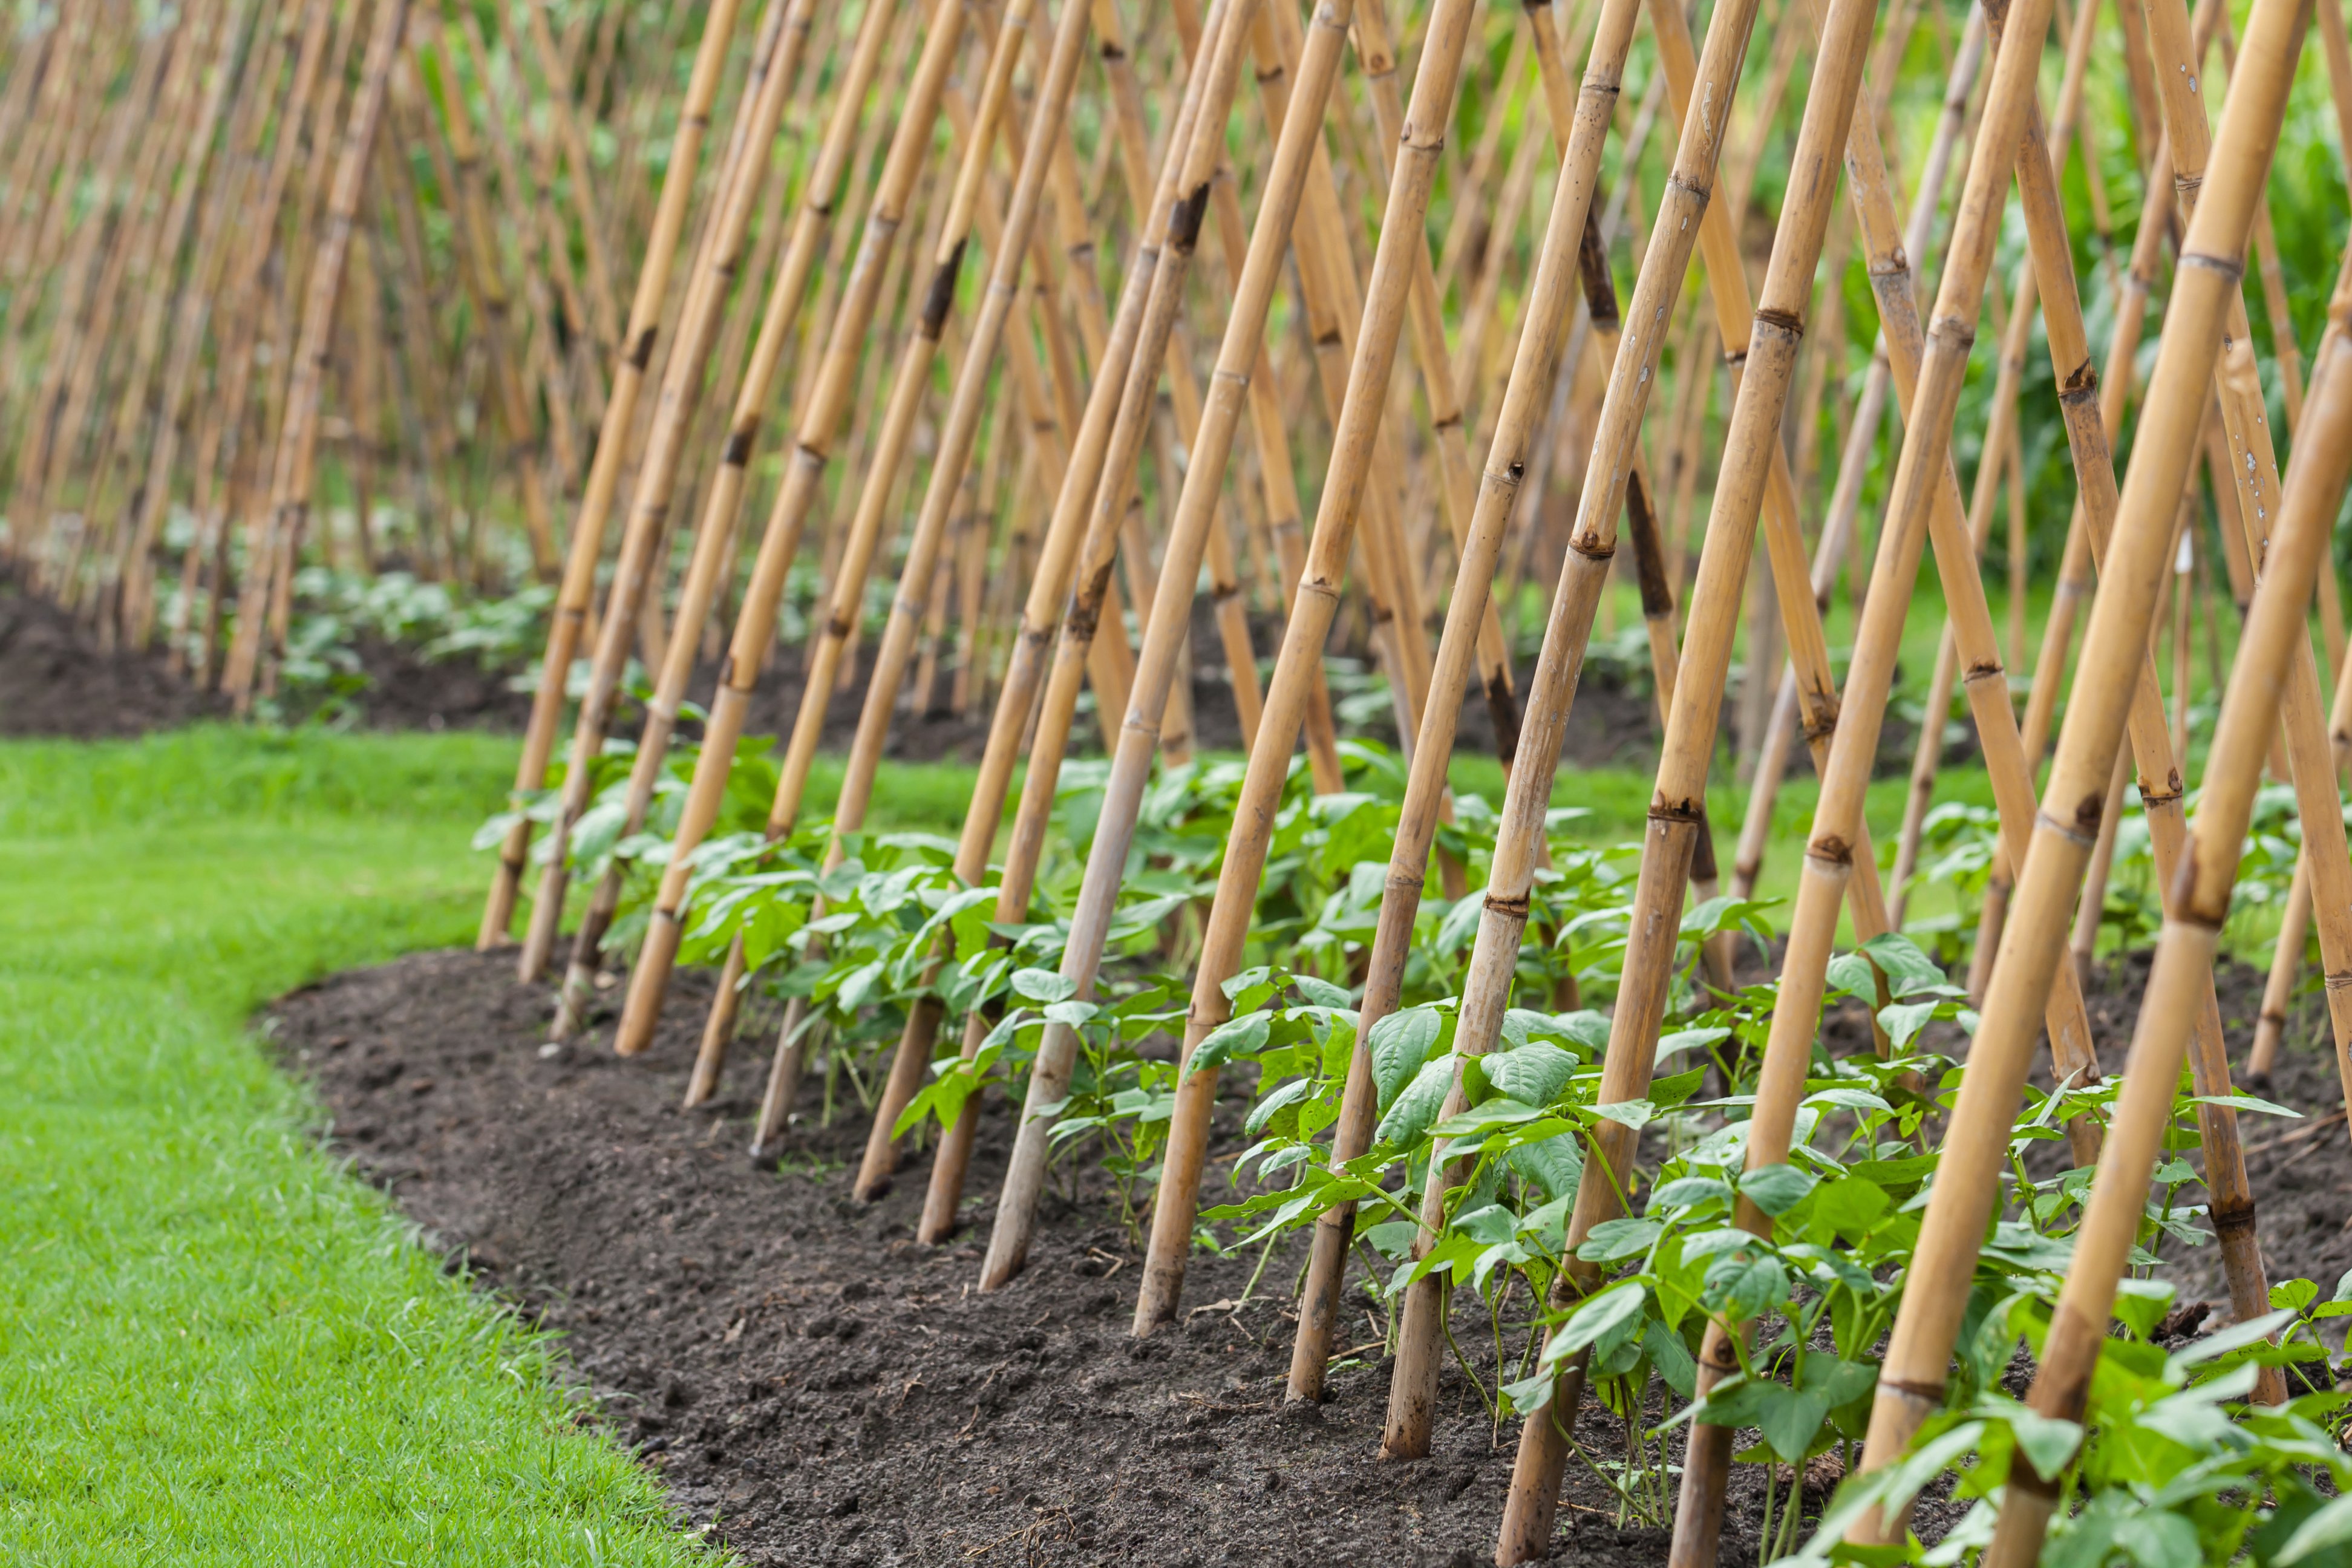
Growing beans on a pole, trellis, or structure are relatively easy but it does require a few extra steps. Follow the directions below to help make growing beans as easy as possible on a pole.
Step 1: Start Your Seeds After the Last Frost
You should always start your green bean seeds after the last frost. Green Beans will germinate best at temperatures between 70-75 degrees Fahrenheit.
If you want to know your last frost date then I recommend Clicking HERE.
Step 2: Plant Your Seeds This Way!
Once you decide to start seeds outside you will want to do the following simple steps:
- Find a location that is full-sun and has a pH level between 6.0-6.5.
- Dig 1-inch holes with the tip of your finger or a pencil.
- Keep holes approximately 6 inches to 1 foot apart to allow for the green beans to grow.
- Lightly sprinkle 2 green bean seeds in each spot. It should be noted that not all seeds will germinate and you can always thin your plants out after they grow.
- Lightly cover your seeds and spray 8-10 times until the soil turns a dark brown color.
- Provide your green beans a structure to help it climb. Trellises are perfect. If you are growing them up a pole you may need to apply string from the top to the bottle in two different directions. This will help the beans grow properly up the pole.
You can also watch the below video to learn how to grow beans from seeds up a pole.

Step 3: Continue Watering your Seeds
After you initially plant your seeds you will want to water them 2-3 times a day until the soil is dark brown.
You will do this until the seeds germinate and then continue doing this until they become at least 3 inches tall.
*If the weather is hotter than usual for your garden then you may need to water several more times a day then described above.
Tip #6 Effectively Care for your Green Beans THIS Way!
Below are caring tips for your Green Beans throughout the summer:
- Keep Your Soil Healthy – Quickly inspect your soil for fungus, harmful worms, and weeds before you plant and throughout the summer. Remove and replace it with new soil as needed.
- Mulch – Mulch around your plants with compost at the beginning of the year to prevent the possible spread of fungus.
- Water the soil, not the plants. By watering leaves, you increase the risk of spreading fungus and other diseases.
- Remove diseased and dead plants. This is the easiest way to prevent the spread of deadly diseases. If you notice yellow spots on leaves it means you may have blight fungus and will want to remove the leaves.
- Plant your green beans at a new spot yearly. This is key to preventing seasonal diseases and insects from attacking the same plants year in and year out.
- Prevent Insects. The best way to prevent them is through an insecticide. If you don’t want spider mites, stinkbugs, or Japanese beetles ruining all your hard work I recommend purchasing Sevin Bug Killer.
Tip #7: Effectively Harvest Green Beans THIS Way!
Below are several tips to remember when harvesting green beans:
- Harvest your Green Beans 8 weeks after planting.
- For the best flavor, you want to harvest your green beans when the beans are a dark green and no bigger than 6 inches. The bigger the green beans the less flavor it will have.
- Harvest your green beans no later than the first frost and compost your plants to help replenish the soil next year. It is better to harvest your plants too early instead of too late.
Frequently Asked Questions (5 Questions)
1. What are the best ways to store green beans?
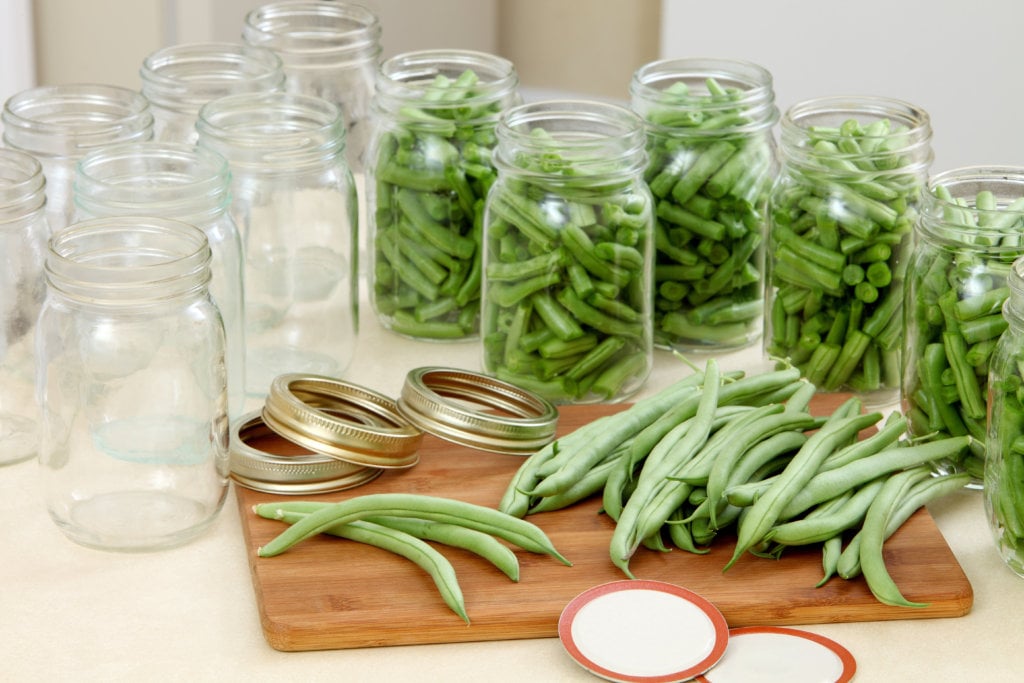
Below, will give you several guidelines depending on the type of green bean:
- You can store green beans are room temperature for up to a week before using them.
- You can store unwashed green beans in the fridge for a little over a week.
- If you want to store green beans in the freezer for up to a year you should first blanch them.

2. What are the Best Uses for Green Beans?

There are numerous uses for green beans in food. Below, are some of the best ways to use green beans:
- Eating Green Beans Cooked
- Salad – Green BEans
- Green Bean Casserole
- Green Bean Soup
- Almonds & Green Beans
- Related: 15 Green Bean Recipes
3. What type of Green Bean Seeds should I Use?

There are four types of seeds that can be used to grow green beans; heirloom, organic, hybrid, and GMO.
I recommend using Heirloom or Hybrid seeds. Gardeners do not have access to GMO seeds and organic seeds is a marketing term and not truly a type of seed.
A. Heirloom
- These seeds contain all the green bean’s original traits and produce some of the most beautiful and best-tasting green beans out there.
- The downside of this seed is that it is the costliest (due to its rarity).
- In addition, expect the least amount of yield from this type of seed due to susception of disease and other elements.
B. Hybrid
- Hybrid seeds were made from combining the genes of the same group of plants. This is not a bad thing.
- This type of seed is what most gardeners use when learning how to grow green beans from seed.
- The goal with hybrids is to produce a plant that contains the best features of both parent plants.
- This seed is critical if you want the most resistant plant against mother nature’s elements, insects, and diseases or want the most yield!
4. What Type of Fertilizer Should I Use for My Green Beans?
The best type of fertilizer for green beans is compost.
- Related: Ultimate Composting Guide: What to Compost
- Related: Yimby Tumbler Composter: 5 Reasons to Buy Today
And if you don’t have the time or ability to create compost then I recommend buying Miracle-Gro Plant Food for your green beans.
.
5. What Type of Soil Should I Use for My Green Bean Plants?
If you will be keeping your green bean plants in containers all year then you will want a well-draining potting mix that provides the correct amount of nutrients like Miracle-Gro Potting Mix.
If you will be planting your green beans into a garden then you will want to add a nutritious garden soil mix into the ground, such as Miracle-Gro Expand N Gro