Are you interested in learning How to Grow Hops in your garden, but don’t know where to start?
Are you already growing hops, but not having the success that you want?
After much research, partnering with local breweries and beer experts across the world, TheGardeningDad has created How to Grow Hops: 5 EASY Tricks for Better Hops!
Whether you want to grow hops as a hobby or starting a business in a booming and expanding industry, I have the answers for you.
Not only will I be discussing 5 EASY Tricks for Better Hops, but this article will provide you with the BEST hops for your specific needs.
Hops 101
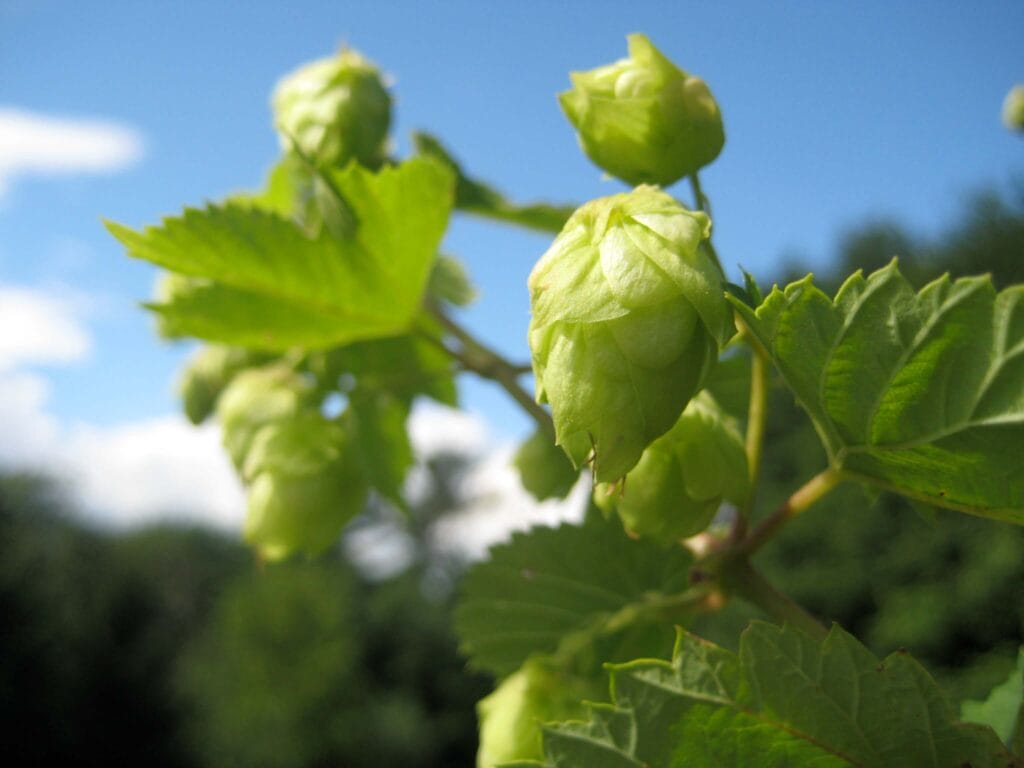
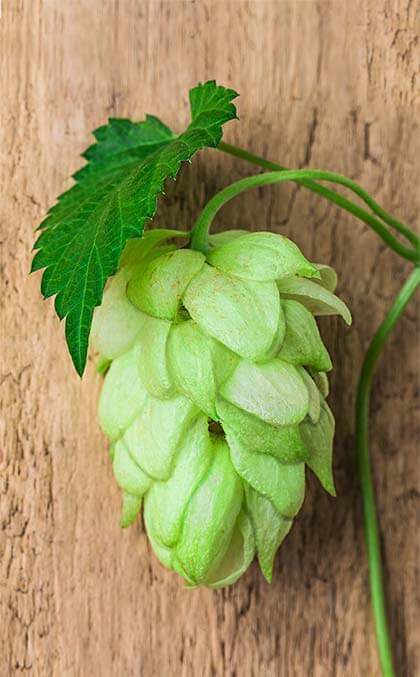
Hops are versatile bines that are an essential ingredient in all beers, certain herbal teas, and even delicious desserts.
You’ll notice that I refer to hops as bines and not vines.
The main difference between a bine and vine is that bines climb with short stiff hairs along the stems of the plant. Bines typically allow the plant to grow higher, longer and faster.
Hops are considered vigorous plants that can grow to over 25 feet in height (or length). Also, they are a perennial plant that can live up to 50 years!
And best of all is that they are a great plant for ALL gardeners.
They are easy to grow and maintain, have many uses, and have been known to help deter pests and disease.
Trick #1: Choose One of these 5 Hops
Did you know that there are over 150 varieties of hops?
And did you know that we brewers are finding and creating more varieties of hops every year?
While this is encouraging and exciting for brewers, most gardeners and brewers do not have access to most of these.
Also, not all of these hops are easy to grow and have very limited uses.
If you want the best marketplace to buy your rhizomes (aka hop plants) then don’t make it complicated and buy from Amazon.
If you want the easiest and best hops to use then I recommend the following:
Cascade
When you think of hops you think of cascade hops.
Cascade hops is the most popular type of hop. It has a strong floral, spicy, and citrus smell and flavor. Also, this is the easiest hop to find and grow.
Centennial

Centennial hops have been used for generations by brewers.
This type of hop is considered a super cascade and has a strong bitter aroma. It also has a lemon and floral taste and is double the alpha of cascade hops.
Alpha simply means the bitterness of a hop. The higher the alpha the more bitter the flavor will be.
Chinook
Chinook hops are quickly becoming a favorite among home and professional brewers.
The Chinook hop is considered a dual-purpose hop.
What this means is that is has a great spice and pine characteristic. It also has a balanced grapefruit flavor.
Columbus
Columbus hops is another variation of hops that is easy to grow.
It has a good flavor that is great for a wide range of beers. It has a higher alpha than most hops and has black pepper, curry, citrus flavor.
Comet
Comet hops is another high alpha hop.
While this hop is not as popular as the other hops on the list, it is incredibly easy to grow.
It also has a balanced grassy, grapefruit taste and fruitful aroma.
If you are already growing these hops or want even more variation then try growing one of the below:
- fuggle
- magnum
- crystal
- mt. hood
- northern
- nugget
- sterling
- zeus
If you happen to be interested in learning more about other hops and what is perfect for your garden then check out the below link:
USDA Hops
Remember, most of these can be purchased on Amazon.
Trick #2: Try This When First Planting Your Hops
Once you decide what hop to purchase it is time to actually plant it.
But when do you plant it?
How do you plant it?
Where do you plant it?
In order to have the best success when learning how to grow hops you will want to try my easy to follow instructions below:
Step 1:
For best results plant your hops in the ground if you live in hardy zones 5-8. If you do not live in hardy zones 5-8 then plant your hops in a giant pot.
Regardless of where you live, you want to make sure that you hops have at least 120 days of growing. What this means is you want to make sure your hops is growing for 120 days without frost.
If you want to know what hardy zone you live in then please see the link below:
If you want to know what type of pot to use then I recommend purchasing this.
Hop roots require a lot of room to grow.
If you purchase too small of a pot then you can expect your hop bine growth to be stunted or limited. This lack of growth will then affect the number of hop cones you get.
Step 2:
Once you determine your hardy zone you will want to plant your rhizomes (hops) in the ground or pots immediately after your last frost.
If you are not able to plant your hops after the last frost that is okay. Typically, you can plant rhizomes into early summer.
To learn more about the last frost date in your area, please see below:
Step 3:
So where in your garden do you plant your rhizome hops?
Hops like well-drained, nutrient-rich soil.
They grow best in soil that has ph between 6.0-7.5. If you aren’t sure what the ph level is in your soil then you can purchase a ph meter here.
Also, the best spot in your yard or garden to plant your hops is where it will receive at least 8 hours of sunlight, with afternoon shade.
Now, how do you plant your hop rhizomes?
First, dig a one-foot hole.
Next, add compost (if you make your own compost) and a hand-full of fertilizer to the hole. You want to use a fertilizer that is high in nitrogen and potassium. I recommend this
After, fill in your hole until you are about 2 inches below the surface of the ground.
The second to last step is to plant 3 to 6 rhizomes (of the same type of hop) 2 inches below the surface the ground and then fill the rest of the soil over it.
As soon as you are done planting your rhizome then I recommend mulching around your plant. This will help reduce weeds and disease.
If you are interested in planting different types of varieties of hops then make sure you plant them approximately 5 feet apart.
If you are more of a visual learner then I recommend watching the below video:

If you would like a great book for in-depth reading then I recommend this book.
Trick #3: Do THIS for More Hops!
If you want to have the most success growing hops then you only need to do one thing: Maintain and Care for them every single year!!!
But maintaining and caring for your hops is not just enough. You have to understand how to care and maintain hops differently during certain years.
Year 1
Year 1 is critical to your hops root growth.
During year 1 you should expect little hop cone production.
Also, during this time it may be good to plant a complimentary plant, like crimson clover. By planting crimson clover you can attract important pollinators and deter certain pests and disease.
Immediately after planting your hop rhizomes you want to water for at least 30 seconds.
You then want to begin using a hop trellis.
Without a hop trellis, your hops will not be able to properly grow and bear hop cones. If by chance they are able to grow hop cones, the cones will die if growing on the ground.
As your hop plants grow you will want to train it to climb the trellis. If you want a great tutorial then I recommend watching this video:

You will then want to water your plant 2-3 times a week. First-year growth of hop bines will require much more water to support root growth than it will in later years.
After your hop rhizome sprouts through the soil, you will then want to use a handful of the above recommend fertilizer.
You will want to repeat this step 3 weeks later and then one more time in mid-summer when you bine begins to flower.
Year 2-3
During year 2-3, you should expect a lot more root growth and quite a bit of hop cone production.
For year 2-3 you should still water your plant 2-3 times a week.
And finally, there is no need to begin pruning your hops yet.
Year 4+
Starting in year 4 you will notice that your hops plant grows higher and stronger than years before.
During this time you will also notice that you get more hop cones every single year.
Beginning in year 4 you will only need to water your hops once a week.
Most importantly though you will want to begin pruning your hops starting in year 4.
You will want to prune your hops plant in the spring when the first shoots occur. This will encourage better secondary growth.
Below, is a great video on how to prune your hops:

During the secondary growth, you will want to keep two to three of the best shoots and train them up to the trellis.
How to Protect Your Hops from Disease and Pests
Hops are a hardy plant that rarely succumbs to weather, disease, or pests.
With that being said hops are not invincible and need to properly care for to prevent stunted growth or even death.
Typical pests and disease that hops are prone to include:
- Downy Mildew
- Powdery Mildew
- Wilt
- Hop Student
- Aphids
- Mites
If you want to help prevent or kill this type of disease and pests then I recommend using Sevin and Spectracide Fungicide.
Sub-Below freezing temperatures is another factor you should pay extra close attention to if you want your hops to be as successful as possible.
If your hops grow in cold weather all year or if you experience incredibly low temperatures in the winter then I recommend mulching around your hop plant.
In the winter you may even want to put leaves or straw over the hops plant to help protect it from wind and cold weather.
Trick #4: Harvest Hops Only When This Happens
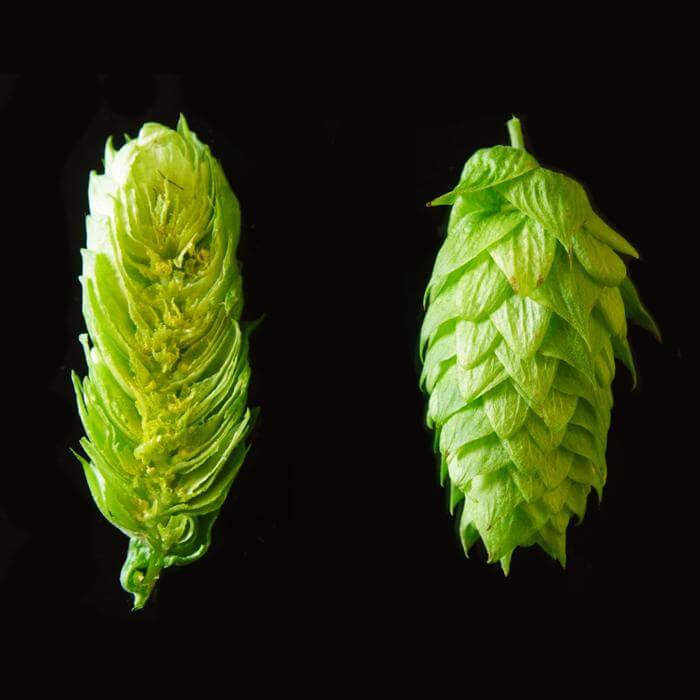
Harvesting Hops is both an art and a science. It is also one of the hardest parts when you learn how to grow hops.
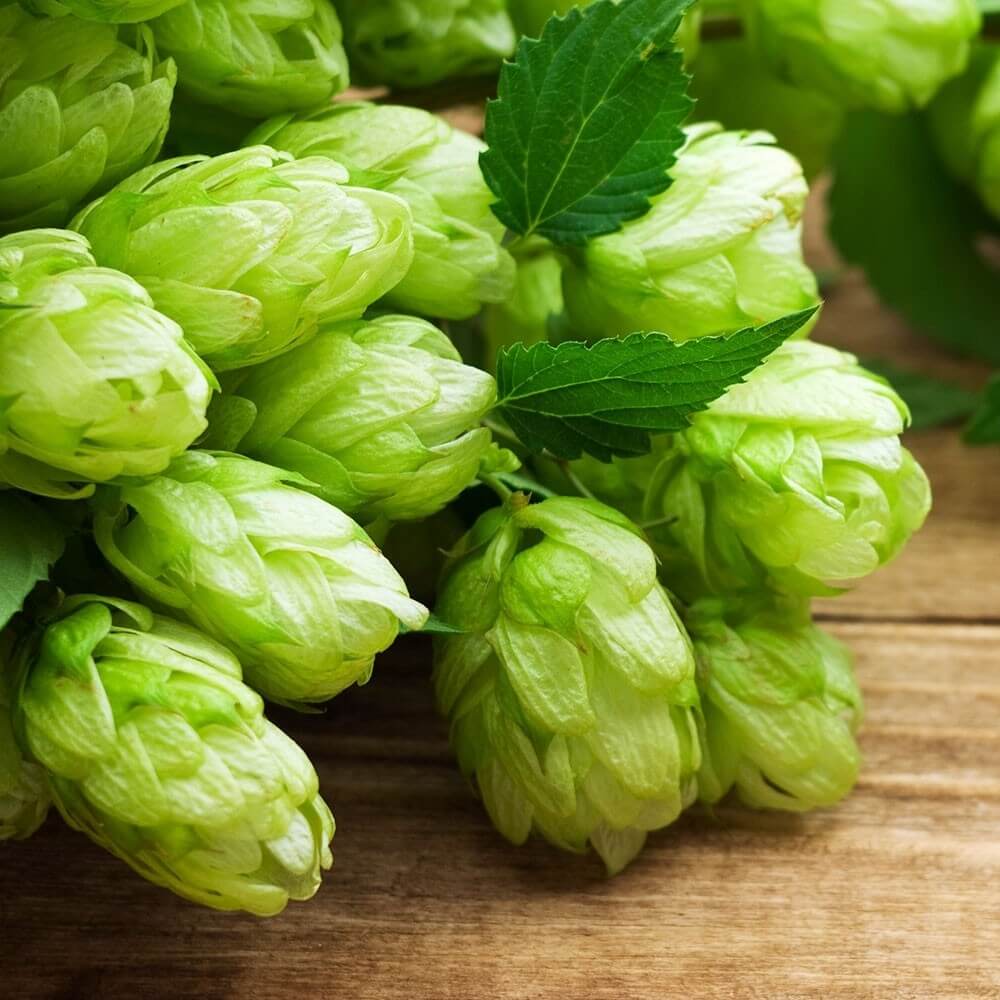
For every vine (bine) you should expect approximately 2 pounds of dry flowers. Typically, you should expect about 6 pounds of dried flowers from one hop rhizome.
If you have admirations to make your hop growing a business expect to make approximately $20,000 to $30,000 per acre of hops.
So how do you know when to harvest your hops?
Only harvest your hops when they are ripe or overripe. Never harvest your hops when they are underripe.
You will know when to harvest your hops when the cones are light in color, dry and puffy, and fragrant. And for most climates hops are ready to be harvested in August or September.
But what exactly does this mean? And is this the best way to tell hops are ready to harvest?
There are three PROVEN ways to tell if your hops are ready to harvest
Squeeze
Your hops are ready to be harvested if when you squeeze them they feel light and dry to the touch.
Roll
You also know when hops are ready to harvest if you can roll them in your hand and they begin breaking up. Just breaking up isn’t enough. You will want them to spring back to their original shape.
Sound
Finally, you will know that your hops are ready to harvest when they make a crunching sound if rolled up to your ear.
After Harvesting
After harvesting your hops I have one last recommendation.
To help increase your harvest for next year’s crop I recommend pruning your hops after harvest to prepare the plant for overharvesting.
Follow the same steps I described above for spring pruning for after harvest pruning.
Trick #5: Dry & Store your Hops this way!
Fresh hops typically have a 50% higher alpha then commercial hops.
What this means to you is that you have to be extra careful when drying and storing your hops.
If you don’t directly use your hops for brewing you will need to dry them.
To dry your hops you will want to place them on a sheet of paper (or drying rack) in a cool dry place out of light. You will not want to dry your fresh hops for more than 3-5 days.
You don’t want to dry your hops more than 3-5 days because any longer will oxidize your hops ruining or diminishing your brewing process.
If you want to speed up the drying process you can also put hops into the oven at 140 degrees Fahrenheit.
For a more exact process and science please see the video below:

Once you dry your hops it is incredibly important to properly store them.
The only way to store them, in my opinion, is in a vacuum dry freezer bag.
You can then store them in your fridge or in a freezer if you want to extend their shelf life.
Now What
If growing hops is a means to you brewing your own beer you may be wondering, Now What?
For that, I recommend going to the experts for brewing beer.
I recommend reviewing any one of these three beers to learn how to brew your own beer:
American Homebrewers Association
And if you want to learn about all the best beers in the world then you cannot go wrong with:
Conclusion
Learning How to Grow Hops can be both a fun and productive gardening experience.
As described above, I recommend the following 5 tips to make it as easy as possible:
- Use one of my 5 suggested Hops – These are the easiest hops to buy at the most reasonable price. This is also the easiest hops to plant and produce some of the beer hop cones.
- Plant Hops in 5 minutes – Planting hops should only take 5 minutes and three steps. Anything longer means you are spending too much time.
- Caring for Hops is a Science – Unlike other plants caring for hops varies from year to year. When hops are young they take more work than when they are older. When they are older they do require more pruning though.
- Use 3 techniques to determine if hops are ready to harvest – Rolling, squeezing, and crushing hops are the best ways to determine whether or not hops are ready to be harvested
- Pay close attention to your drying process – Learning how to grow hops will ultimately fail if you do not properly dry your hops. Never dry hops for more than 3-5 days.
If you enjoyed this article then I highly recommend my favorite article: