Are you interested in learning how to make a beehive, but don’t know where to begin?
Would you like to learn more about the type of material, bees, tools, equipment, and clothing you’ll need for beekeeping?
And would you like to learn about the biggest advantages and disadvantages of different beehives you can make?
After much research, trial and error, and help from other experts, I have created: How to Make a Beehive: 8 Simple Tips (2019).
This guide will help give you Simple Tips to making a beehive, while also providing you with valuable information on the bees you’ll need, the proper protective clothing, and the materials to give you the best success.
3 Types of Beehives
Before you learn how to make a beehive, it is important to have an understanding of the advantages and disadvantages of the three most popular types of beehives.
No matter what material you use or bees you purchase, the housing for your bees is the most important element of making a beehive.
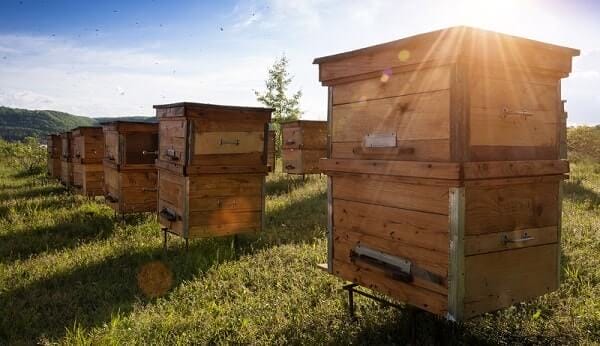
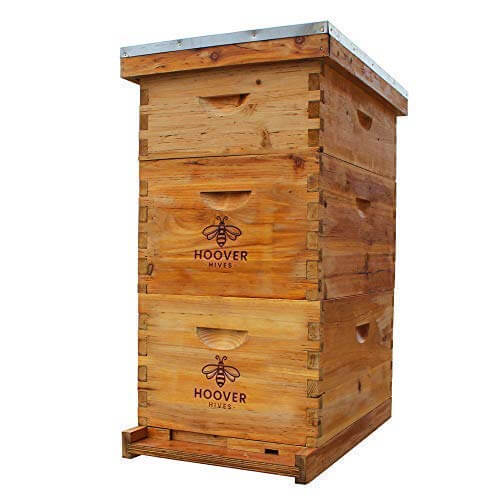
#1. Langstroth Beehive
When you picture a beehive, the Langstroth beehive is what you think of.
This is the most common beehive due to its convenient, easy to access structure.
The Langstroth beehive is an expandable beehive and bees create their comb vertically in this structure. The gaps in between the different levels are the space where bees will typically occupy.
- Advantages
- All dimensions are the same, regardless of manufacturer
- Least amount of maintenance/care
- Disadvantages
- Heaviest to lift
- No observation window
- If moving, there is a high disruption when bees are harvesting
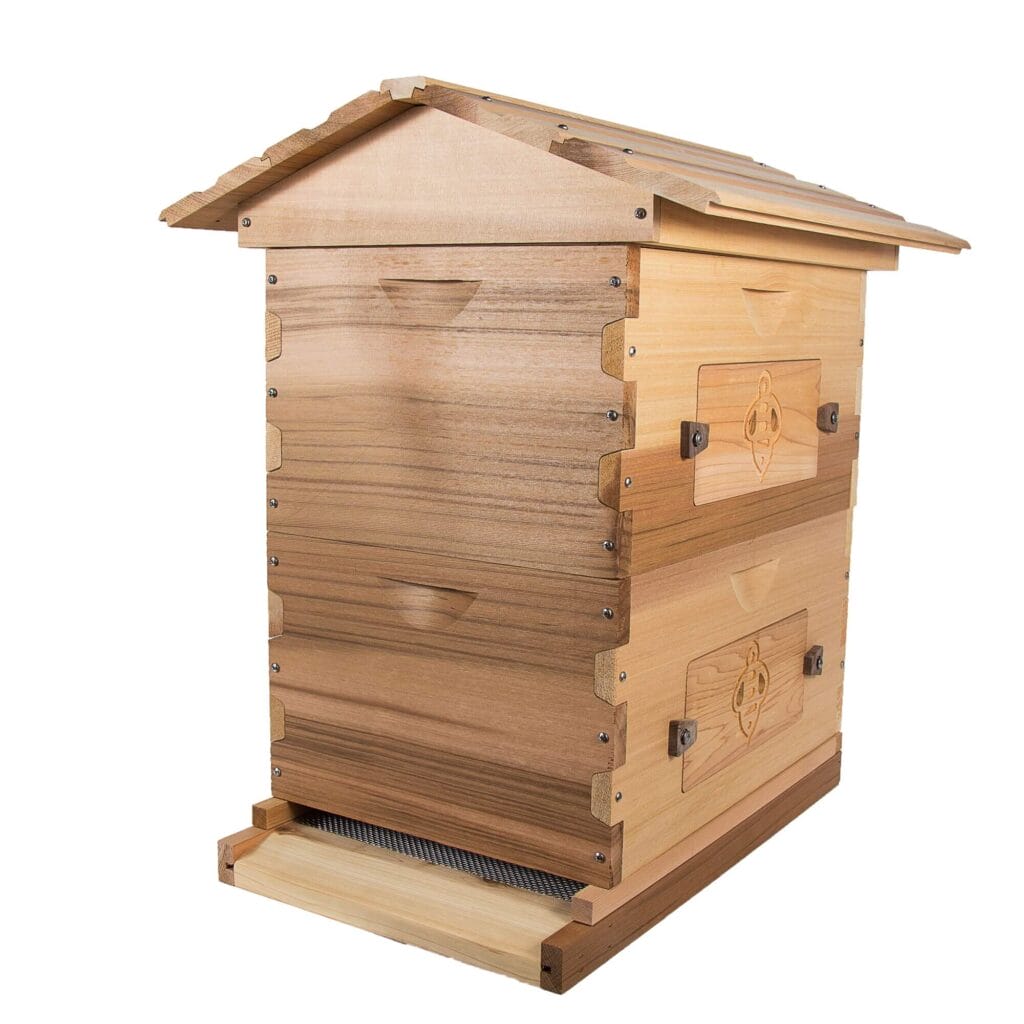
#2. Warre Beehive

The Warre beehive is considered a mini-Langstroth with square boxes.
What sets this beehive apart from others is that it mirrors the type of space bees choose in their natural setting (such as a hollow tree).
The boxes and sheets you use are smaller and stack beneath other boxes, instead of on top. Bees typically build their comb downward in this beehive.
- Advantages
- Low maintenance
- Not as heavy
- Space-efficient
- Minimal disruption to bees if moved
- Disadvantages
- Expensive
- Inspections are needed more often
- New boxes are placed on the bottom, instead of the top (takes more time)
#3. Top Bar (TBH) Beehive
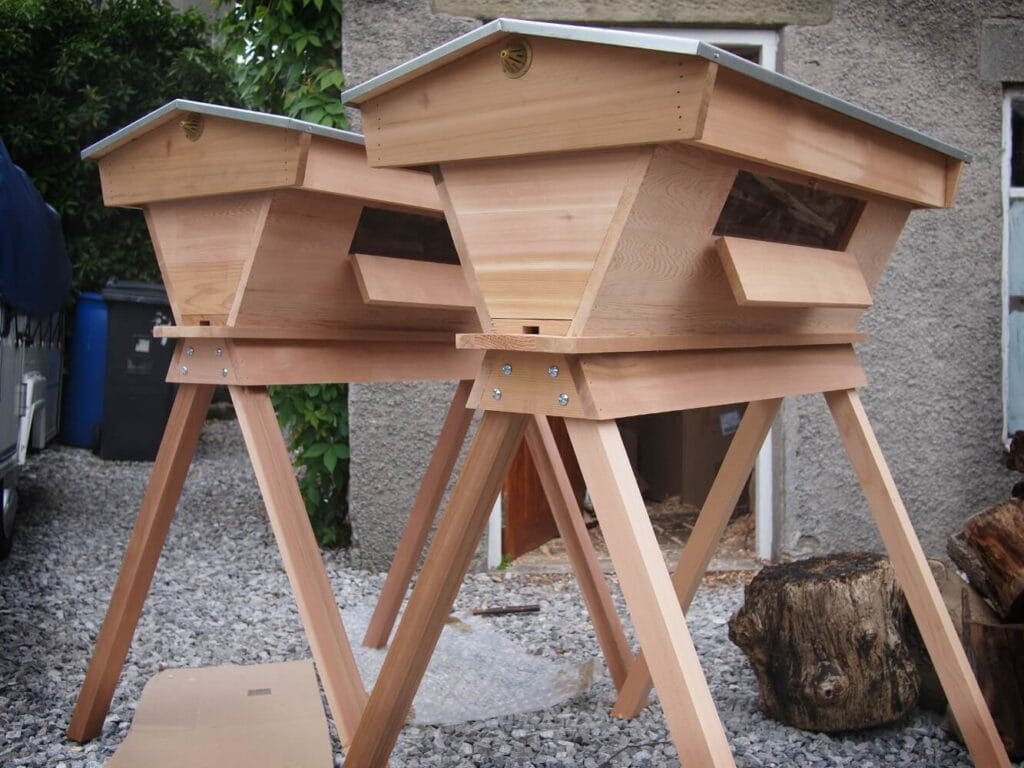
The Top Bar beehive is a much different design than the Warre and Langstroth. It is also the newest type of design in beehive making.
This type of beehive requires no heavy lifting but has no expansion capabilities.
In addition, the Top Bar beehive is a much more comfortable design at a convenient height. There is only one beehive box and it has a starter strip, which is where bees build their comb.
- Advantages
- No heavy lifting
- Inexpensive
- Low disturbance if moving the beehive
- Disadvantages
- Needs large space
- Produces less honey than other designs
- Needs frequent monitoring
Bee Houses
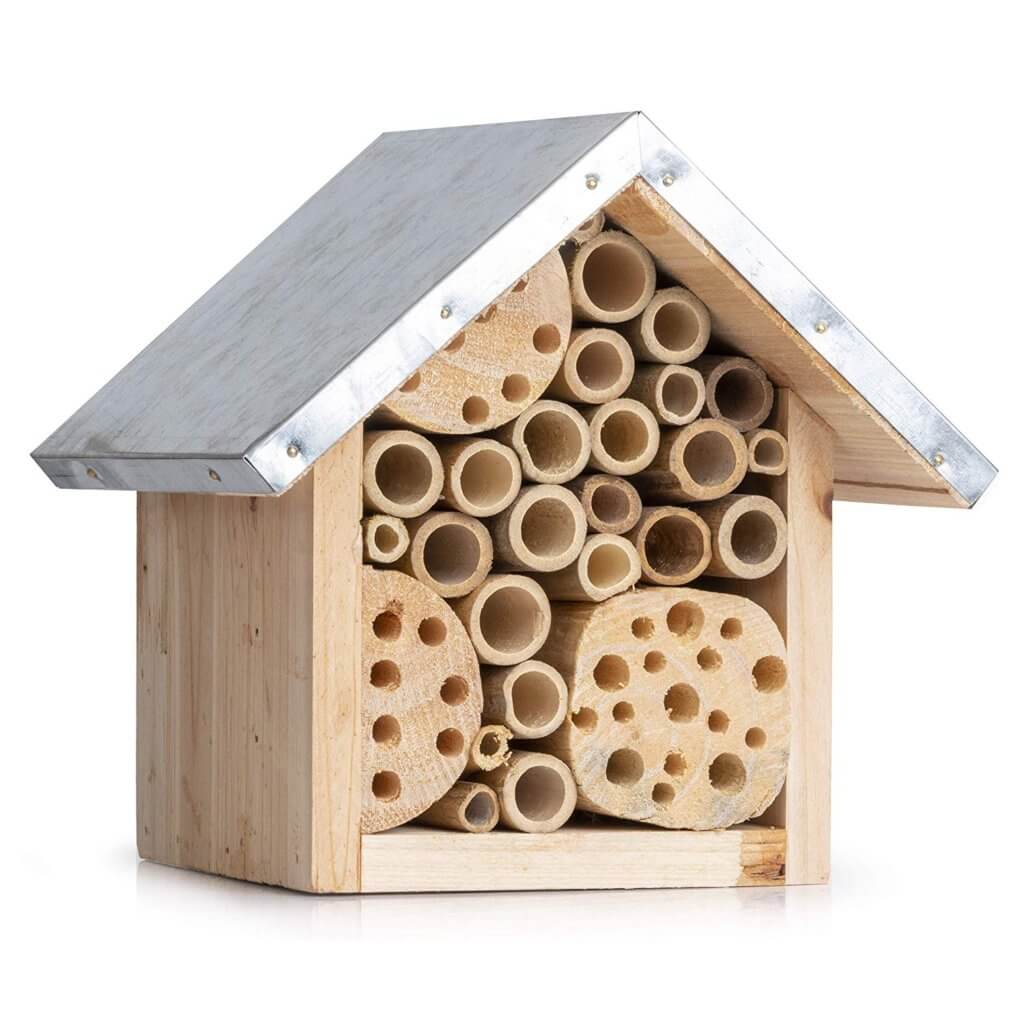
If you are interested in attracting bees and beekeeping, but don’t want to purchase a beehive, you may want to think about purchasing a beehouse.
How to Make a Beehive in 8 Simple Tips
Tip #1. Purchase a Beehive Kit
If you want to have the most success creating a beehive in the easiest and cheapest way possible then I recommend purchasing a beehive kit.
Purchasing a beehive kit will provide you with the exact material and dimensions needed for success.
Too often DIY projects go awry when you use incorrect materials or do not follow precise instructions.
Not only this, but a beehive kit will reduce the amount of time, work, and even cost that you put into beehive making.
I recommend the three bee-hive kits below.
These kits are the most popular, reliable, durable, and successful kits on the market.
Also, these kits will provide you with everything you need to make a beehive in the most cost-efficient way possible. Just follow the instructions and you’ll have success!
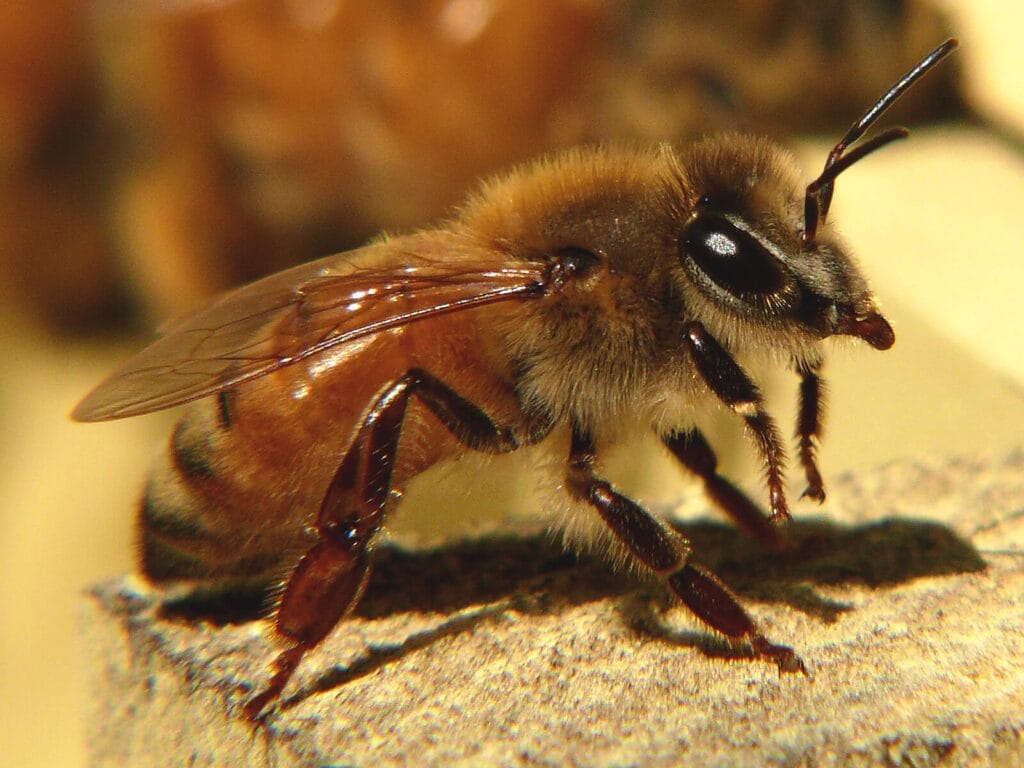
Tip #2. Purchase one of these 3 Bees
The next most important feature to consider in making a beehive is the bees themselves.
The reason that this is so important is that certain bees will do better in certain climates and hardy zones.
In addition, different bees have different habits and temperments that a beekeeper will need to understand how to manage.
Not only this, but different bees will produce different types and quantities of honey.
The best time to order your bees is in January or February so that you can have them in time for Spring.
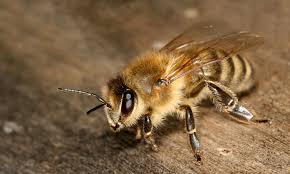
#1. Italian Bee
The Italian bee is the most common races of bees.
They are perfect for all climates, are mild temperament, and don’t swarm.
This type of bee is a great honey producer and is perfect for beginner beekeepers.
It should be noted that they have been known to drift and rob other colonies.
They also require large winter food reserves due to a huge population.
#2. Carniolan Bee
Carniolan bees are another common race of bees.
They are perfect for wet, cooler climates.
This type of bee is another good honey producer, has a calm temperament, and doesn’t swarm.
It should be noted that Carniolan bees have been known to produce too much honey in the winter which can cause issues.
#3. Russian Bee

Russian bees are the third most popular race of bees among beekeepers.
They are great for cold, wet climates.
This type of bee has a smaller, but sweeter production of honey.
They also have one of the best mite resistances among bees too.
It should be noted that they have been known for excessive swarming, are fussy, and are defensive.
You can purchase bees one of 4 ways:
- Nuc starter kit – This is a great way to buy a starter kit and honeybees that will product honey right away
- Package of Bees – This is another great way to purchase bees. It should be noted that typically these are manufactured bees. What they lack in honey production they make up in hardiness
- Buy Wild Bees – You can also buy bees from other beekeepers. This is a great way to get natural honeybees.
- Capture Wild Bees – One of the best ways to get the purest honey bees is to capture them from the wild
And don’t forget to purchase your Queen bee too! Queen bees usually come separately.
I personally recommend buying your bees from:
Tip #3. Find the Perfect Location
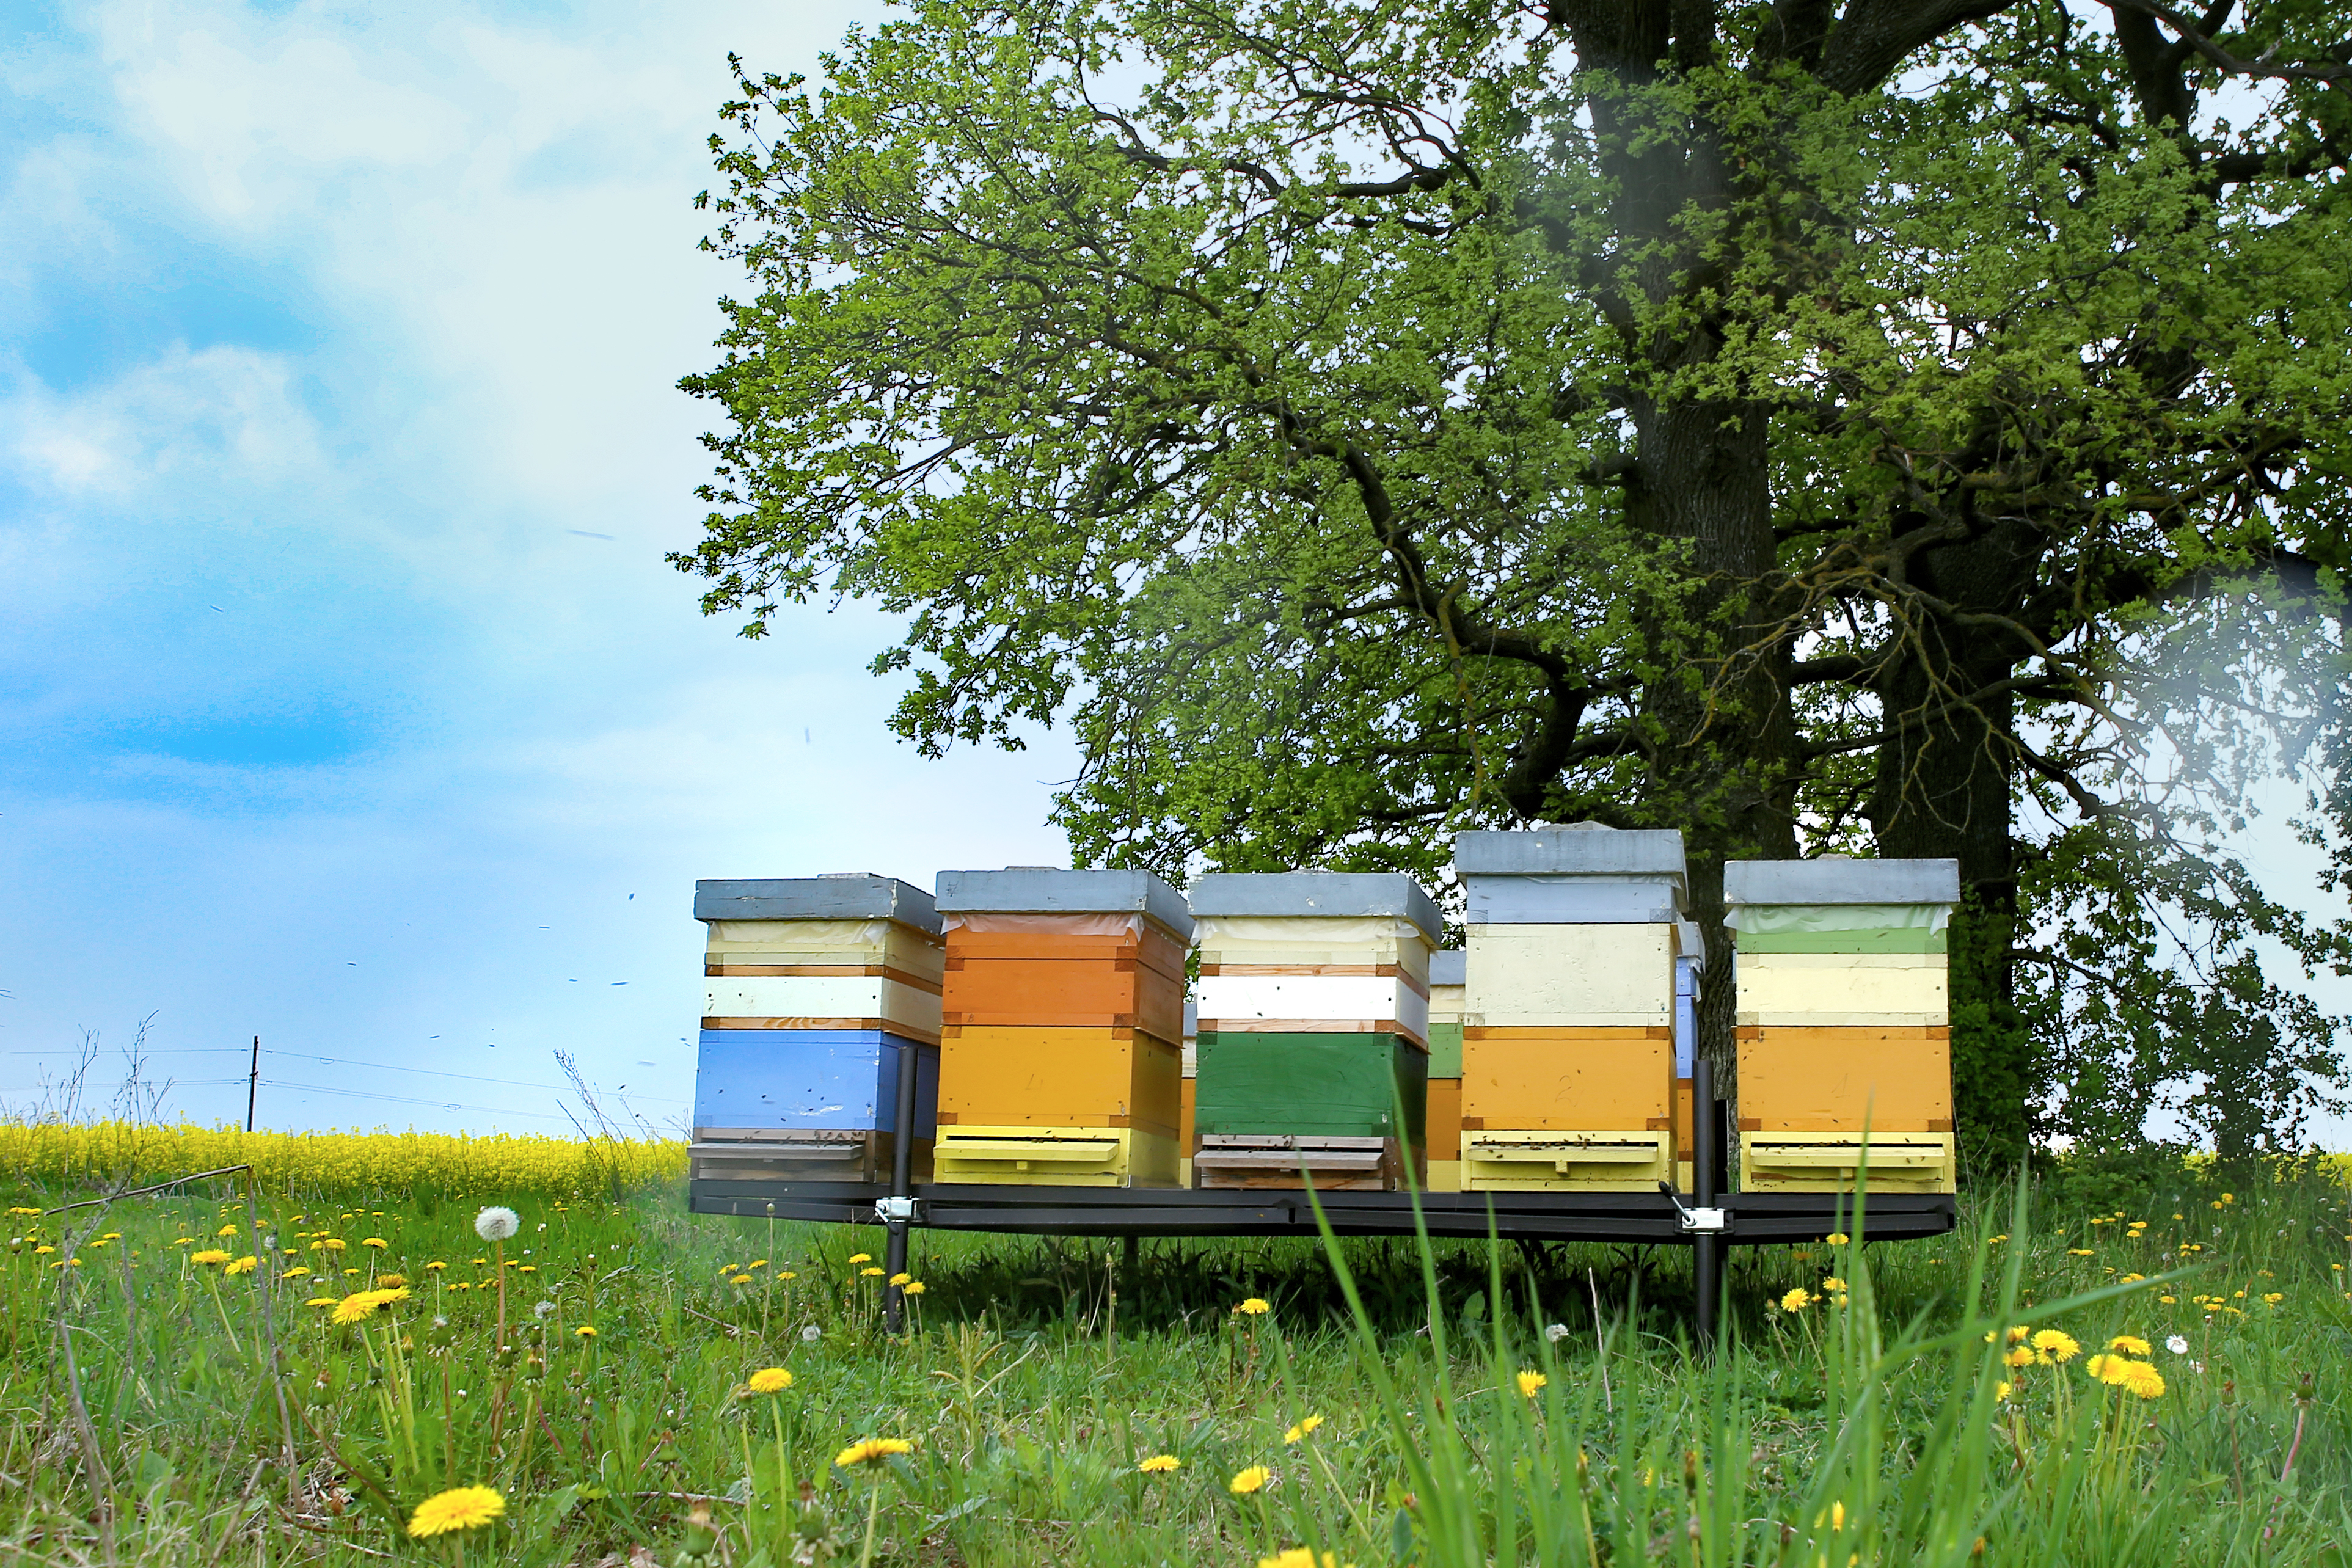
The location of your beehive is another very important factor when learning how to make a beehive.
Beehives should ALWAYS be placed away from foot traffic. This is for the safety of both humans and bees.
Also, you want to face your beehive’s entrance away from typical winds you received throughout the year. It is also best to place it east to south.
Make sure you place the beehive in an area that gets shade in the afternoon in summer and all sun during the winter. Shade trees are a great area for beehives.
Finally, there may be a benefit to placing the beehive on cinder blocks. This will prevent mold, mildew, and other diseases from wreaking havoc on the beehive.
Tip #4 Purchase Protective Clothing
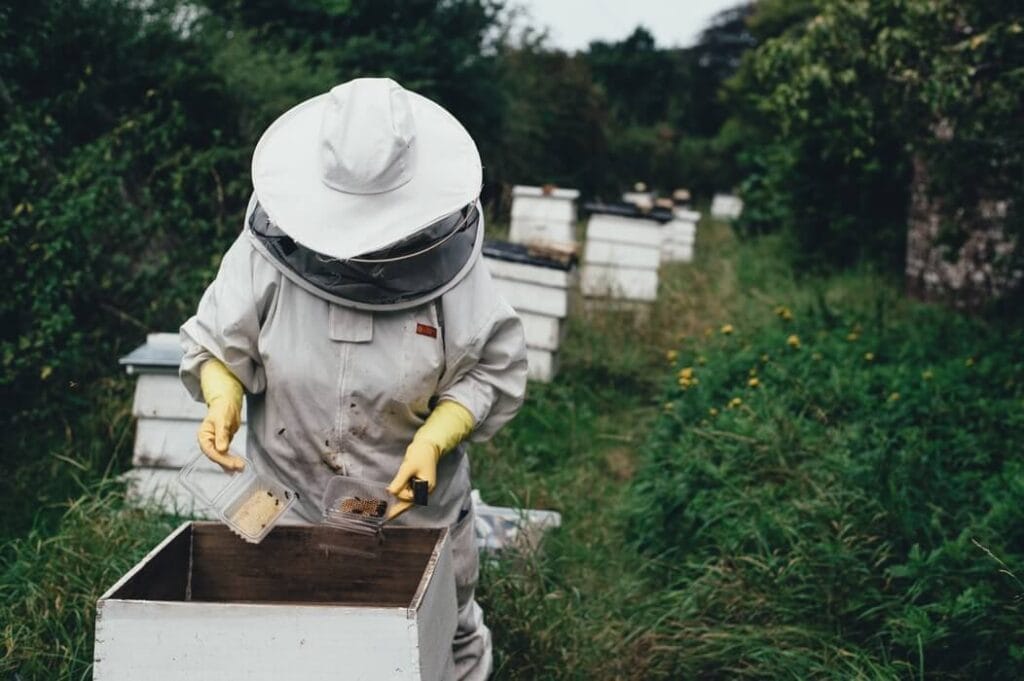
When learning how to make a beehive and becoming a beekeeper you need to make sure you purchase the protective clothing.
Purchase protective clothing is essential to protect yourself from potential bee stings, swarms, and even potential death.
When purchasing protective clothing for beekeeping you want to make sure you have the following clothing:
- Veil
- Jacket
- Gloves
- Pants
You may read from some articles that you can wear your own clothing if it is heavy enough. You may also read that you only need some of the clothing pieces.
I would disagree with both.
In order to properly protect yourself, I recommend purchasing the entire set of protective clothing.
Specifically, you want a set of protective clothing that is lightweight but made with protective material.
A polyester/cotton blend is good and almost all protective clothing is thick enough for beekeeping.
I personally recommend one of the below protective bee clothing if you want the most effective gear for the least amount of cost.
Tip #5: Build your Beehive
Out of all 8 tips provided in this article, building your beehive can be the most time-intensive and complex component of making a beehive.
Lucky for you, thegardeningdad is here to provide the easiest step-by-step instructions to the actual making of your beehive.
The most important tip I can provide you is to buy a beehive kit and follow the instructions provided. This will make building a beehive easier, quicker, and less expensive.
But if you want to learn more about the different components of a beehive and what is needed to assemble, please see the instructions below:
A) Equipment/Material Needed
When you purchase a beehive kit all of the materials needed to make your beehive should be included.
What will not be included in the equipment needed to put together your beehive.
Below, is an all-inclusive list of equipment needed to build a beehive.
The specific products below are what I own and recommend. These are reasonably price and are some of the best products on the market:
B) Components of a Beehive (Langstroth)
Sometimes it is important to have an understanding of the components you are assembling.
Below, is a list of all the components of a Langstroth beehive.
I have chosen the Langstroth because it has the most components of all beehives.
Typically, all other beehives will have similar, but fewer parts.
Hive Stand
The hive stand lifts the hive off the ground.
The hive stand is the foundation of the beehive and is what makes it work
Bottom Board
The bottom board is the first layer of the box.
It is the solid screen and keeps pests out and adds ventilation.
This is the area where bees come and go from the entrance of the board.
Entrance Reducer
The entrance reducer is a small piece of wood that blocks off the entrance for pests and intruders.
This component of the beehive is smaller than the bottom board but is more important to prevent pests.
Slatted Rack
The slated rack is the layer between the bottom board and the broad chamber.
The slated rack makes it easy access to the broad chamber and prevents bees from forming ladder combs.
Ladder combs will end up either making little honey and none at all.
Deep Super
The deep super is a large section that bees build their hives into.
Deep Super Frames
Deep Super frames are individually inserted frames that hold the foundation of the beehive. The foundation of the beehive is the wax and hives. Typically you’ll find 8-10 in a set.
Queen Excluder
The queen excluder is an area where the queen is.
You need a queen excluder so that the queen does not lay eggs in honey.
Honey Super
The honey super is where bees store honey.
Honey Super Frame
The honey superframe is pieces of wood inserted vertically in a honey super.
These superframes are where bees build wax and honey.
Inner Cover
The inner cover is the final layer of the beehive.
This section of the beehive is the non-winter lid that usually is found on top of the beehive.
Outer Cover
The outer cover is the lid of the beehive.
The purpose of the beehive is to protect your bees and combs from winter conditions.
Tip #6: Coat top bars with Beeswax

You can purchase your bees and build your beehive, but if you do not coat your top bars with beeswax you’ll end up with no fail.
The main reason you need to coat the top bars of your beehive with beeswax is to help increase the likelihood of acceptance by bees.
Acceptance by bees means they will make the hive their home and create combs and honey.
You can buy a wide array of beeswax and all of them have great results.
I would purchase what you feel is suitable for you and what gets good reviews on amazon.
Tip #7: Install your swarm of bees

Once you have your beehive completed it is time to install your swarm of bees.
Installing bees into your beehive is considered the hardest and most complicated part of creating a beehive.
If you follow the below steps though I promise it will be safe, easy, and quick.
*It should be noted that you will want to install your bees within 24 hours after receiving them.
*In addition, it is recommended that you install them in the afternoon or early evening hours for best results.
- You first want to remove the top and frames of your beehive. This is specifically the hive top and inner cover. Pull out 3-4 frames from the body.
- You then want to remove the feeder can. Pry the feeder loose and slide it up and out of the box. Place a barrier over the hole to keep a majority of the bees in the box.
- Next, remove the queen bee. Keep a barrier in place over the feeder over the can hole.
- Remove the cork from the Queen bee cage
- After, attach the cage to the frame. Use a staple or thumbtack to attach the queen cage to the center of the hive box.
- Next, pour the bees into the hive. Bump the box in order to shake the bees out.
- Then gently replace the frames. Put each frame back into the hive.
- Wait 30 minutes and then shake out the remaining of the bees.
- Do not disturb your hive and let the bees begin working on a comb!
Tip #8: Final Tips!
By now you should have all you need to make your own beehive.
But there are still a few tips that I would follow to help ensure long-term success for your beehive.
- Most beginners will start with 2 to 3 beehives. Keep beehives approximately 5 to 7 feet apart from each other.
- If you want a great resource for beekeeping and even beehive making then read honeybeeconservancy.org.
- If you become successful in making beehives and beekeeping then help out a local organization. Masthead Brewing Company produces a great honey beer where proceeds go towards saving the honey bee!
- If you enjoy a tangible book then I recommend purchasing Building Beehives for Dummies
Conclusion
Building a beehive can be a fun and exciting start to beekeeping.
As we have talked about above making a beehive can be a complicated DIY project. But if you follow the steps provided it will be much easier and more enjoyable.
Specifically, I recommend the following:
- Building a Langstroth, Warre, or Top Bar beehive for the best chances of success
- Purchase a beehive kit. Don’t DIY. There are too many things that can go wrong.
- Purchase Italian, Carniolan, or Russian Bees for better chances of success
- You can purchase Nuc Sacs, package, wild, or even capture bees
- Find the perfect location in your yard. This is a place where there is no foot traffic, is protected from wind, and will get sun in the winter an
- Buy protective clothing. This will greatly reduce the chance of stings.
- Build your beehive with the instructions provided and make sure you have a proper understanding of the tools needed and purposes of each component.
- Coat your bars with wax for a greater chance of bees accepting the hive
- Install your bees with my easy to read instructions
- Join a bee community and take advantages of the many resources available
What’s Next?
If you enjoyed this article then I highly recommend reading: